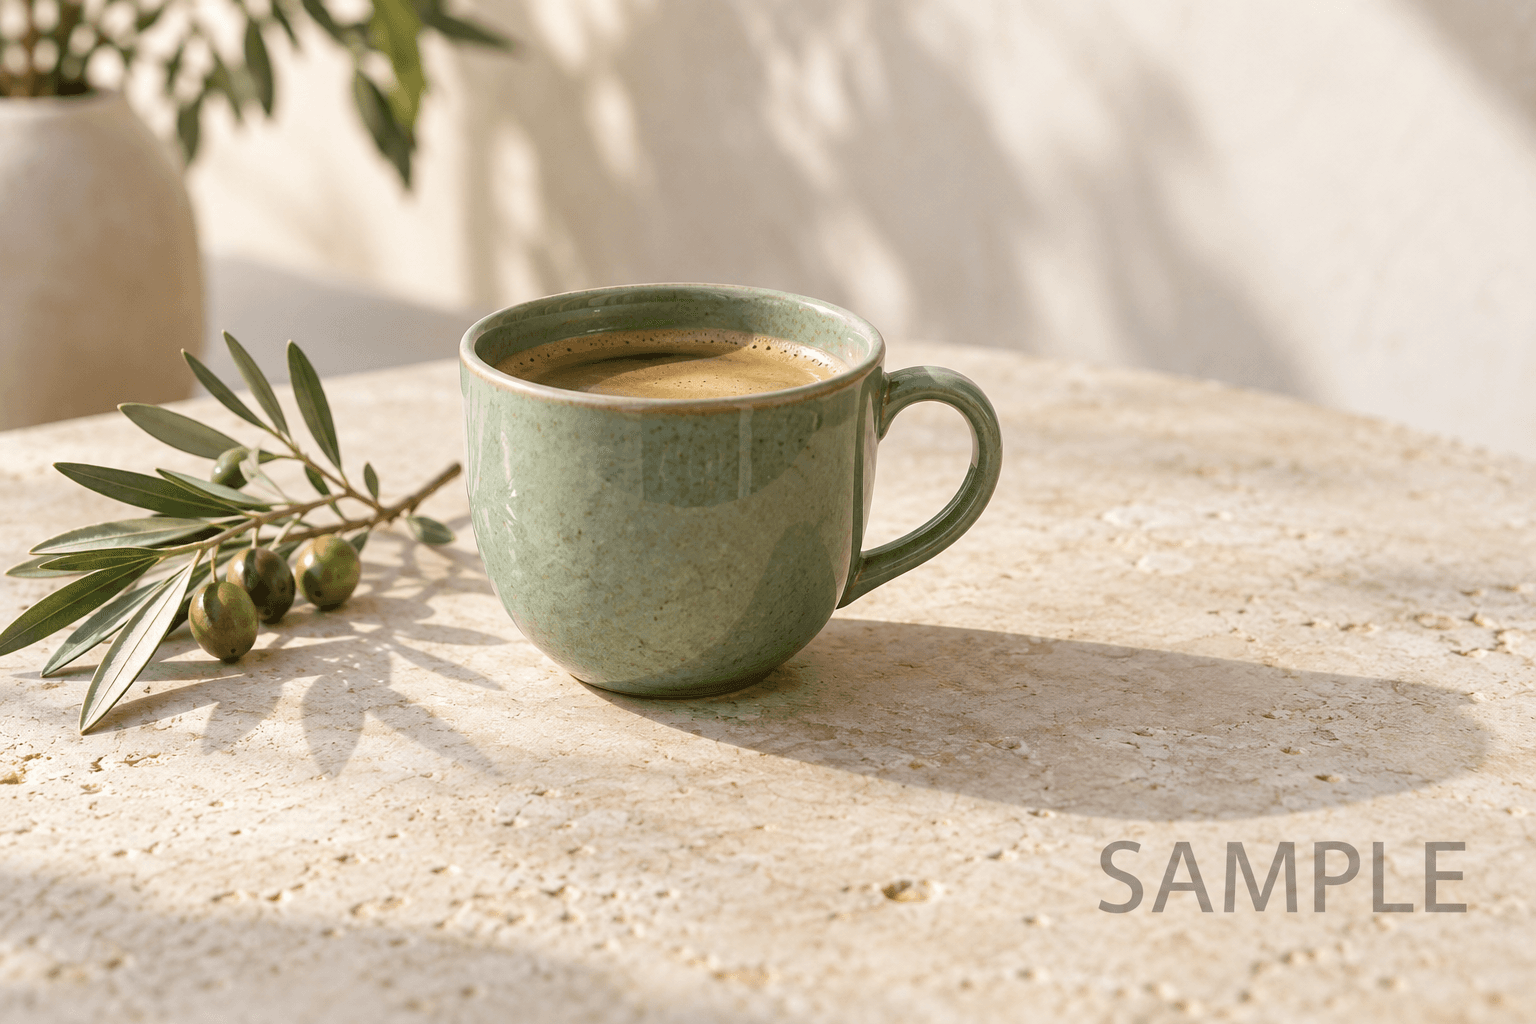
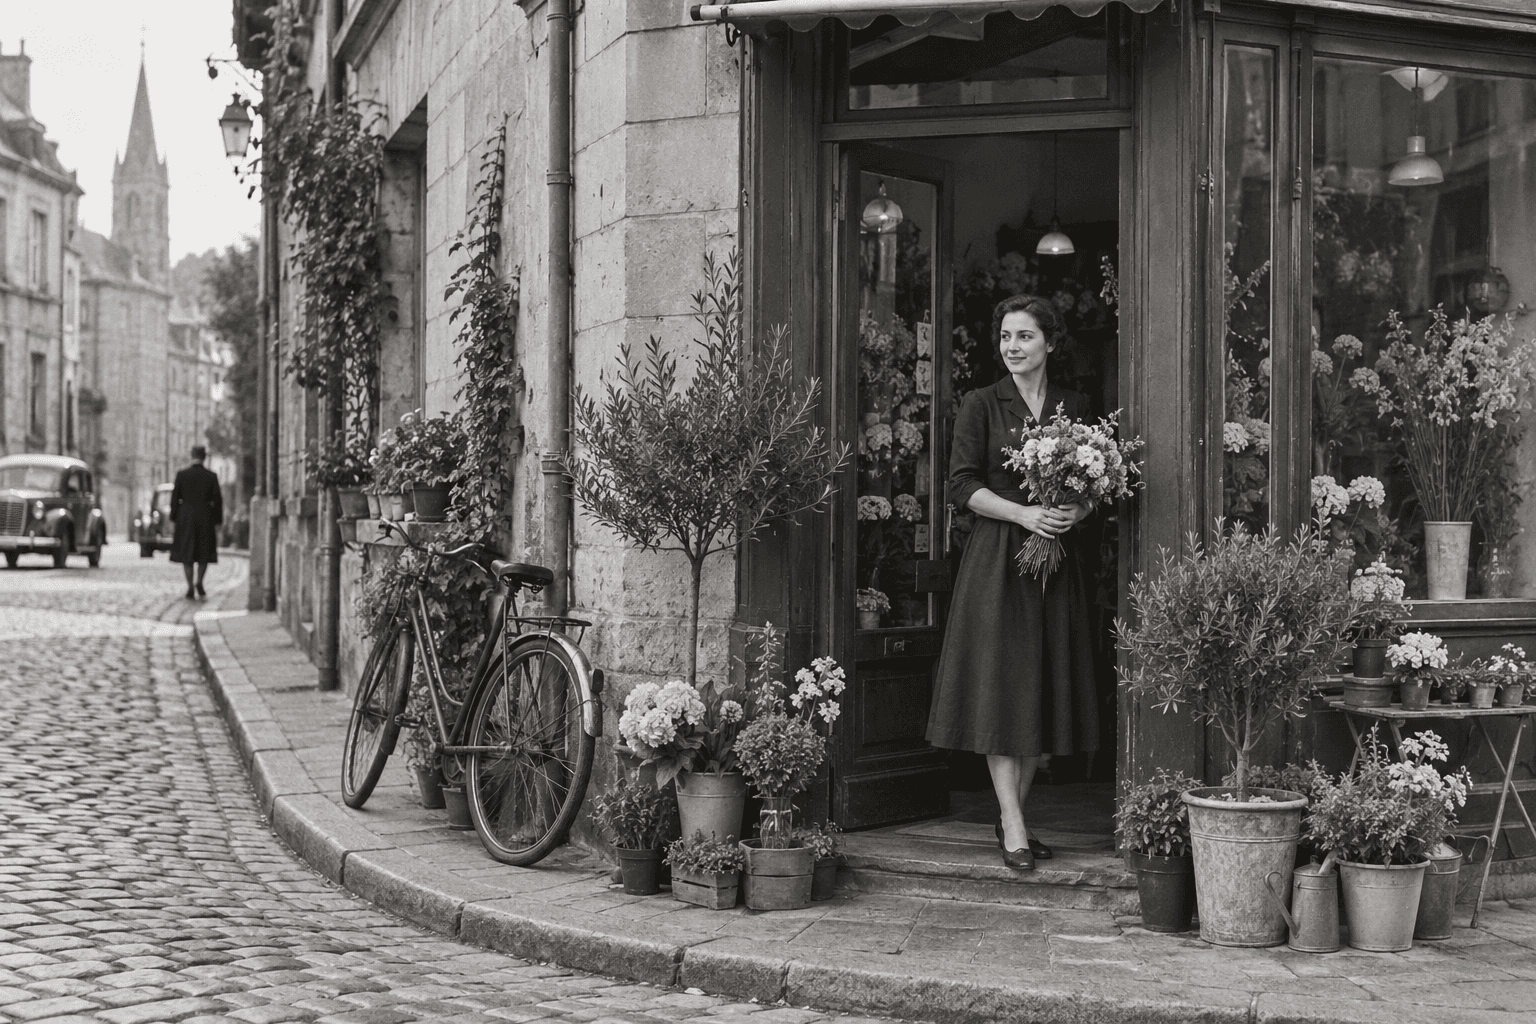
Blur background while retaining the setting
The blur background editor keeps the location and overall colors of your photograph. Rather than putting the subject on a different backdrop, it combines the separated foreground with a softened version of the original scene. That makes it useful when the setting matters but competing signs, leaves, shelves, or other details pull attention away from the subject.
A successful blur background edit should still look coherent. Start with a low strength and increase it gradually. Too much softness can make a small subject look pasted onto an unrelated surface. Check the original lighting and the distance suggested by the scene. A little separation often communicates the intended focus more naturally than making every background feature disappear completely.
Blur background for portraits and personal photos
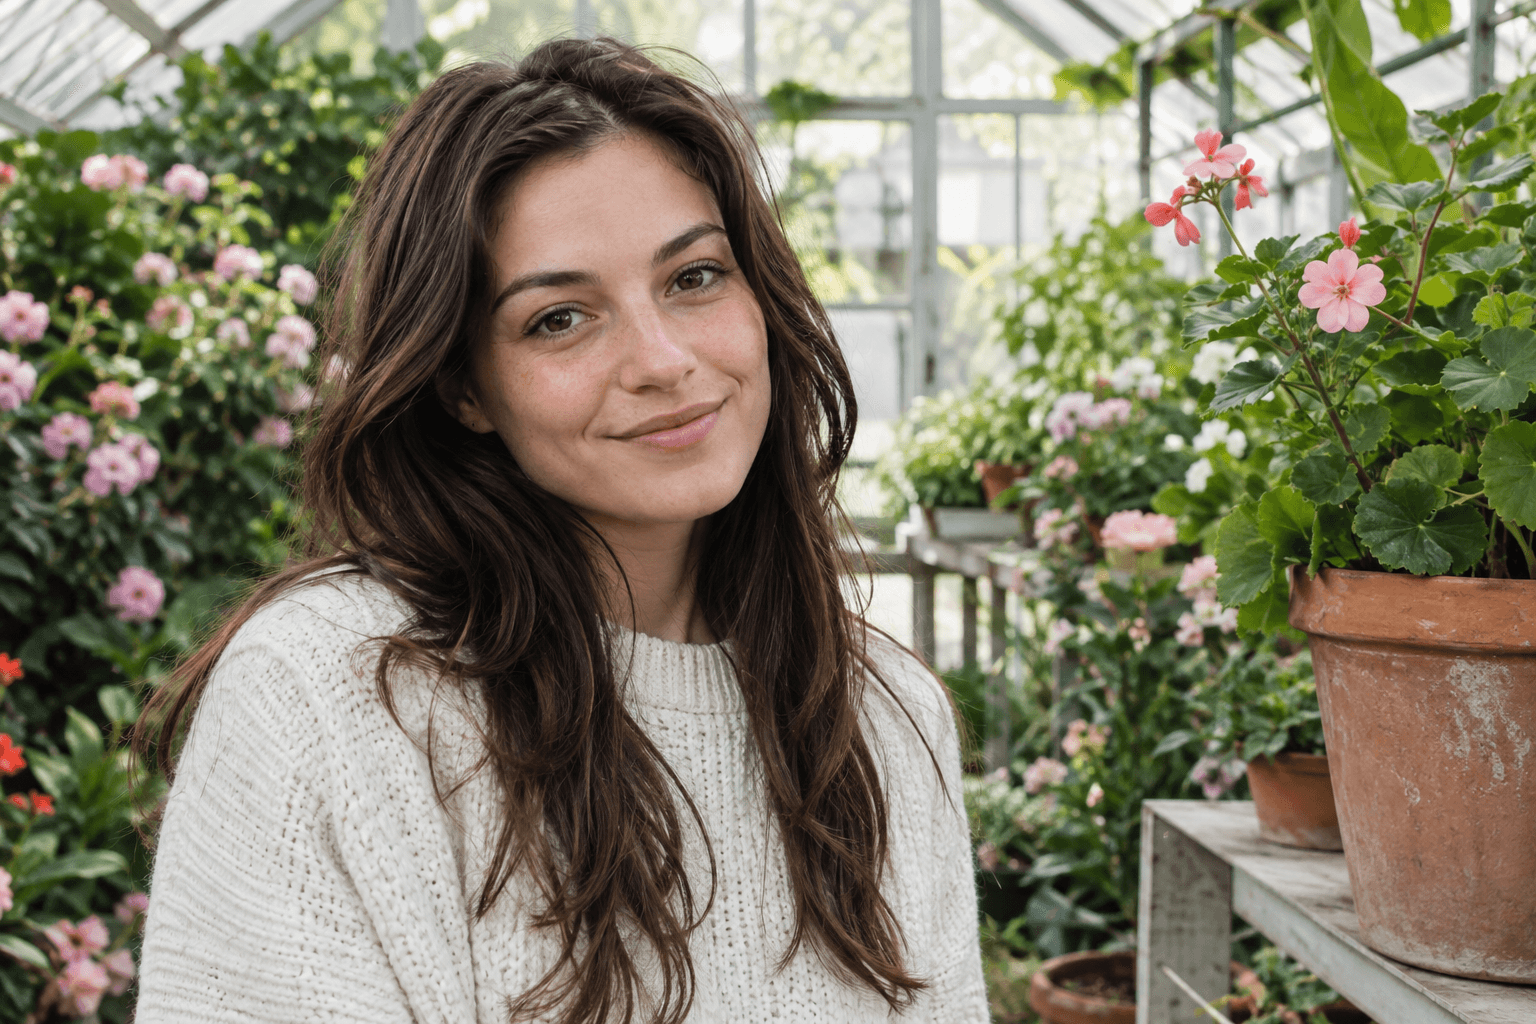
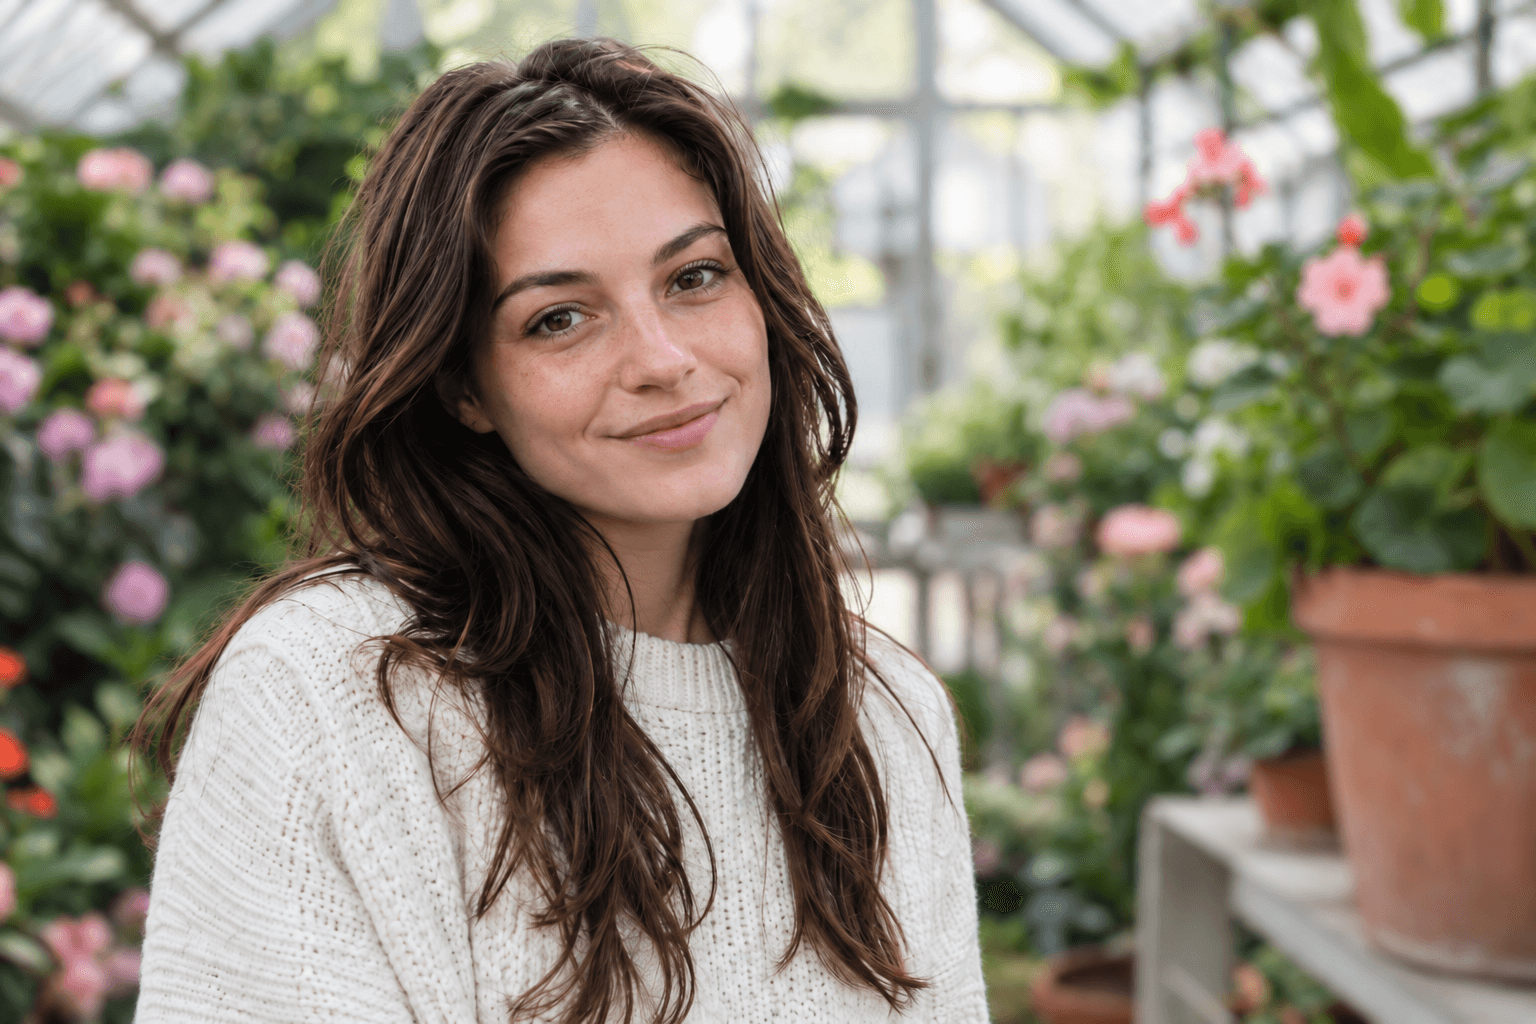
Use blur background editing for a portrait taken in a room with visible shelves, a garden with detailed foliage, or a street with distracting activity. The foreground separation is the important first step. A clean silhouette and sufficient contrast between the subject and surroundings make the result easier to judge, particularly when a person has loose or fine hair.
Before sharing a blur background portrait, zoom in around ears, shoulders, glasses, and clothing edges. Background pixels may remain in small gaps, and hair may be partially removed during segmentation. The effect does not establish accurate optical depth for every object. Keep a lighter blur when the foreground boundary is uncertain, or choose a source with clearer separation.
Blur background for products and editorial images
A blur background treatment can make a product stand out while preserving a real tabletop or studio setting. Keep the object itself legible, including any required label text. A naturally contrasting background can be easier to soften than a scene where the product and surroundings share the same color, especially for clear bottles or reflective materials.
When you blur background details for a product, check contact shadows and transparent areas. A separated object may lose some of the visual cues that connect it to the surface. This tool does not rebuild realistic depth maps or automatically relight the scene. If accurate shadows are essential, treat the downloaded image as an intermediate composition for further review.
Adjust blur background strength with purpose
The blur background slider changes the local composition after foreground processing has finished. You can compare softer and stronger settings without starting a fresh segmentation job each time. Use the live preview to decide how much detail the background should retain. A subtle setting may be enough to quiet small patterns while leaving the place recognizable.
Check your blur background result at the size where people will see it. A strong blur that looks attractive in a small thumbnail may feel artificial at full size. A mild blur that is visible on a large monitor may be nearly invisible in a profile circle. The appropriate setting depends on subject size, composition, intended format, and your preference.
Blur background or change background?
Choose blur background when the original scene belongs in the story. A gardener in a greenhouse, a maker in a workshop, or a café product on a real table may benefit from retaining context. Choose the background changer when the original location is irrelevant and you want a solid color or a different uploaded photograph behind the subject.
The blur background tool is not a reliable privacy redaction method. Softened text or faces may remain recognizable, and a visual effect should not be treated as secure removal of sensitive information. For material that must not be visible, remove or fully cover that content with an appropriate redaction workflow before publishing. Here, blur is a photographic presentation control.
Export a blur background image you can reuse
Download the blur background composition after the preview has finished updating. The exported image combines the foreground and the selected blur setting, rather than just downloading the transparent subject. Keep your original file alongside the edited output so you can make a different choice later. Preview the downloaded file to check that it matches the composition you approved.
For a consistent series, blur background strength should be judged across several photos rather than copied blindly. Subjects at different scales can require different settings. Check color, exposure, and crop together with the blur. The tool does not provide batch processing in this version; work on one image at a time and review each result before using it in a collection.