Colorize photo memories while keeping the original
Use colorize photo editing to explore a new presentation of an old photograph without replacing your archival copy. Store the scan separately, then create a color version for a family album, presentation, or personal project. A descriptive filename can make the distinction obvious later, especially when relatives or collaborators receive the file without the surrounding explanation.
A colorize photo result should be introduced as a colorized interpretation when accuracy matters. Black-and-white values do not uniquely determine the original colors. Two garments with similar brightness could have been completely different hues. The model makes a plausible choice from visual context, so preserve written notes or reliable color references rather than allowing the new image to overwrite them.
Prepare a scan for colorize photo processing
Give the colorize photo tool an evenly lit, well-focused source. A flat scan usually avoids the glare and perspective distortion introduced when photographing a glossy print. If you use a phone, keep the camera parallel to the photograph, avoid reflections, and make sure all important faces are in focus. Crop unwanted scanner borders in a separate editor if needed.
Before you colorize photo content, consider whether severe damage needs attention first. Scratches, folds, missing corners, and stains are not simply missing color. This page focuses on color treatment and does not guarantee comprehensive restoration. A repaired source can give the model clearer shapes to interpret, but keep the unretouched scan so every restoration decision remains reversible.
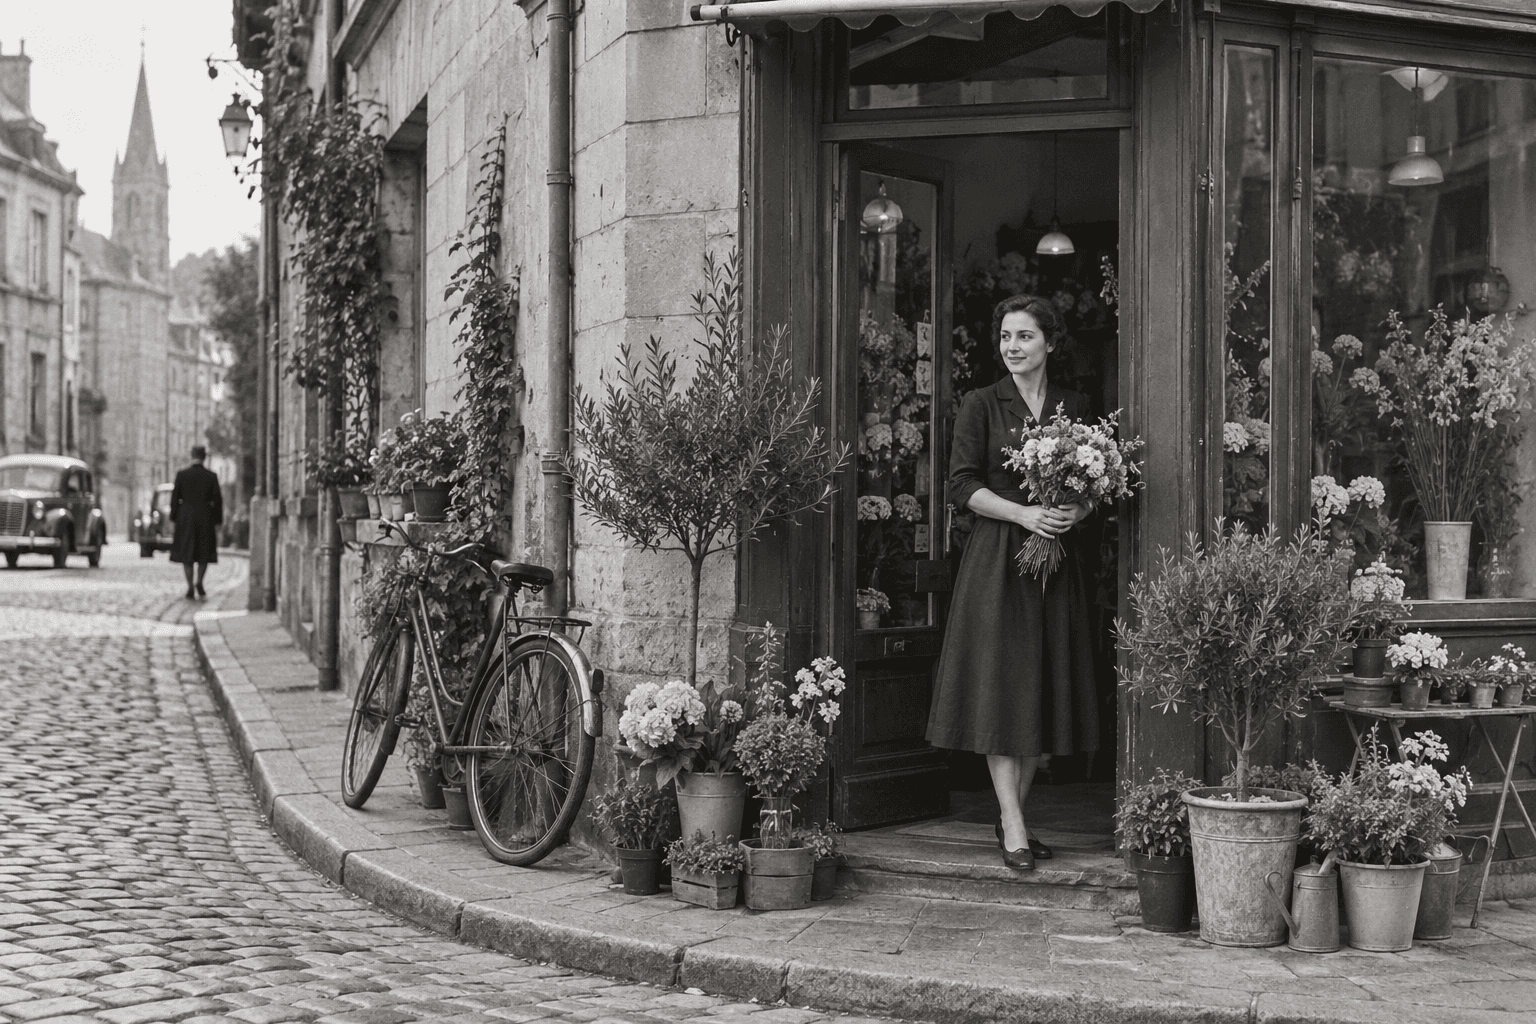
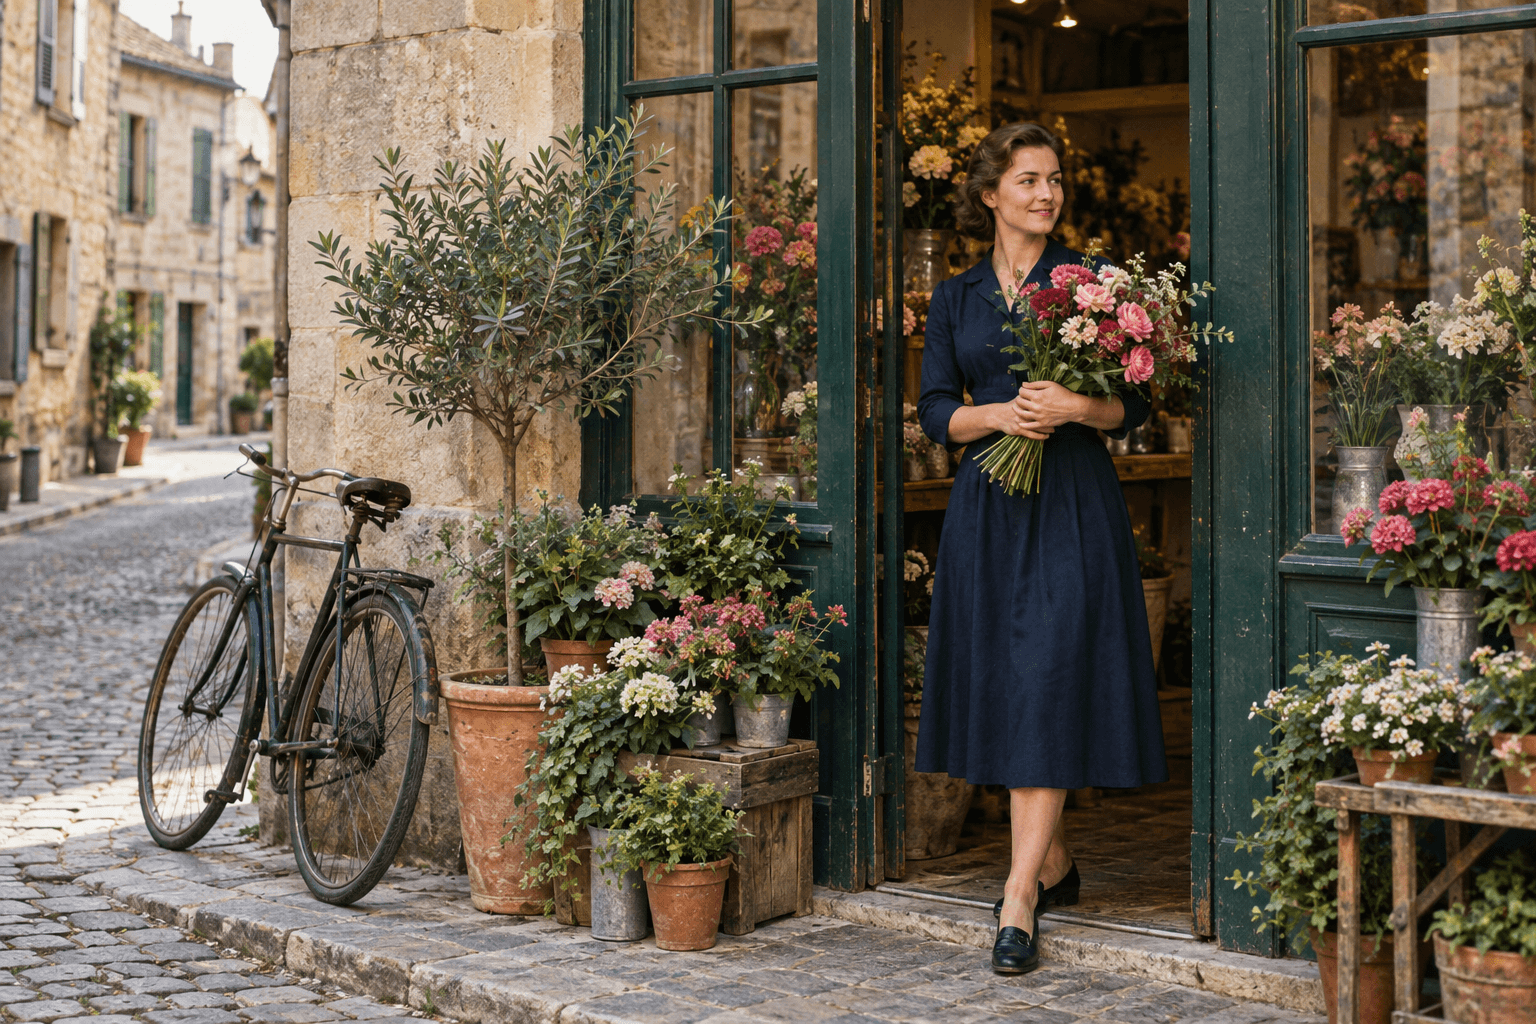
Colorize photo portraits with careful review
When you colorize photo portraits, pay attention to skin, eyes, lips, and clothing. Natural-looking skin is more important than dramatic saturation. Compare the face with the original at the same scale, looking for changes in contours or small details. Generative editing can affect appearance as well as color, especially when the source is blurry or heavily compressed.
Use a colorize photo portrait as a creative version, not as an identity record. If someone remembers a uniform color or has another picture from the same occasion, use that information during review. The current editor applies a contemporary color treatment; it does not provide a control that guarantees historically accurate clothing dyes, medals, regimental colors, or other specialized details.
Colorize photo landscapes and everyday scenes
A colorize photo treatment can help viewers distinguish foliage, brick, water, clothing, and other surfaces in an old scene. This can make a family outing or familiar street more approachable in a presentation. Examine the scene as a whole first, then inspect boundaries where colors meet, such as a sleeve against a wall or a tree against the sky.
The colorize photo model may choose convincing but incorrect materials or colors. A light painted door could become bare wood; an uncertain sky could receive a stronger hue than expected. If the scene is part of a factual archive, describe the result appropriately and keep the original next to it. Visual plausibility should not be mistaken for documentary certainty.
Compare a colorize photo result fairly
After colorize photo processing, compare composition, facial features, and local edges before concentrating on the overall mood. A vibrant preview can hide small distortions. Download the actual output and inspect it outside the scaled browser view. If your project requires exact preservation of every line, the generative result may need manual correction or may not be suitable.
The examples on a colorize photo page are illustrative unless explicitly identified as outputs from the active processing service. A generated historical-looking portrait is not an authentic archival photograph. Use examples to understand the kind of transformation you are considering, and judge your own source independently. Different scans, contrast levels, and subjects can lead to noticeably different outcomes.
Use colorize photo output in your next project
Save the colorize photo output as a separate version for your album or layout. Pair it with the source if you want viewers to appreciate both the historical image and the new interpretation. For a printed collection, compare a small proof before ordering a large print run because screen brightness and printed colors can differ substantially.
After you colorize photo memories, you may want a larger version for a layout. Review the color edit before moving to image enlargement so an unwanted change is not amplified. The tool processes one image per request and displays its credit cost before submission. Keep a simple record of your chosen file rather than repeatedly processing an already acceptable version.