Object Remover
Keep the scene. Remove the distraction. Upload an image and describe the object you want to erase.
Explore before and afterYour prompt and settings follow you through sign-in. Review them before generating.
See the difference. Make it yours.
Explore an example, then compare the original with the edited image.
 After
After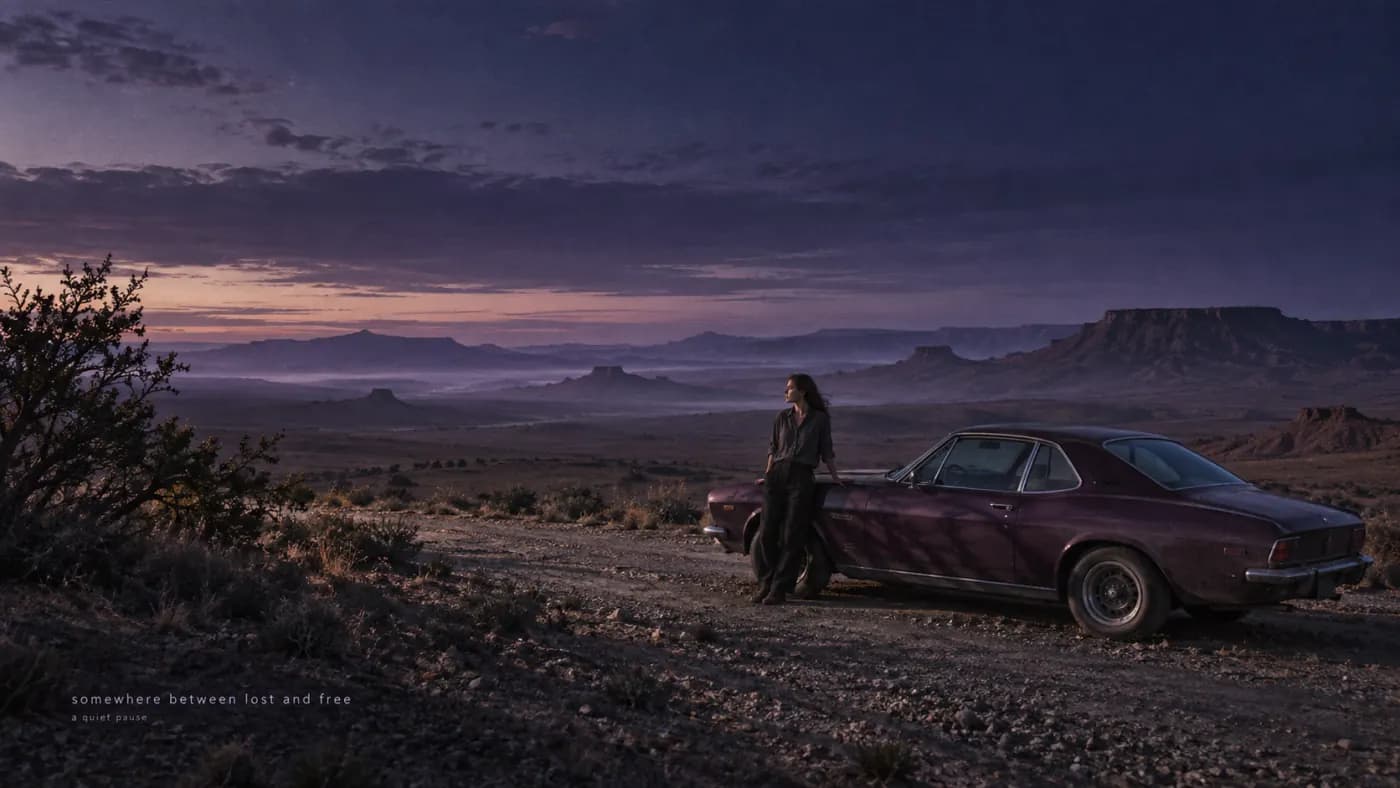
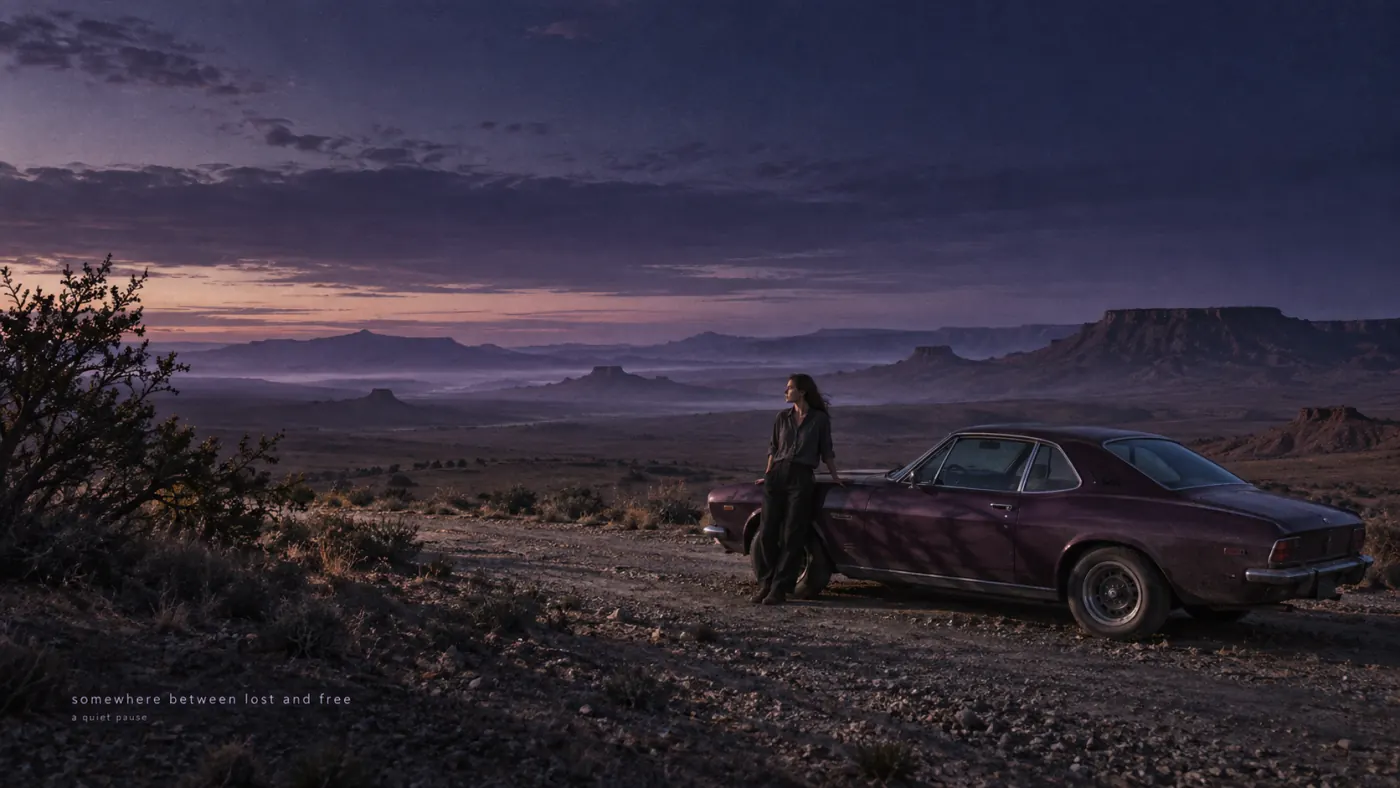
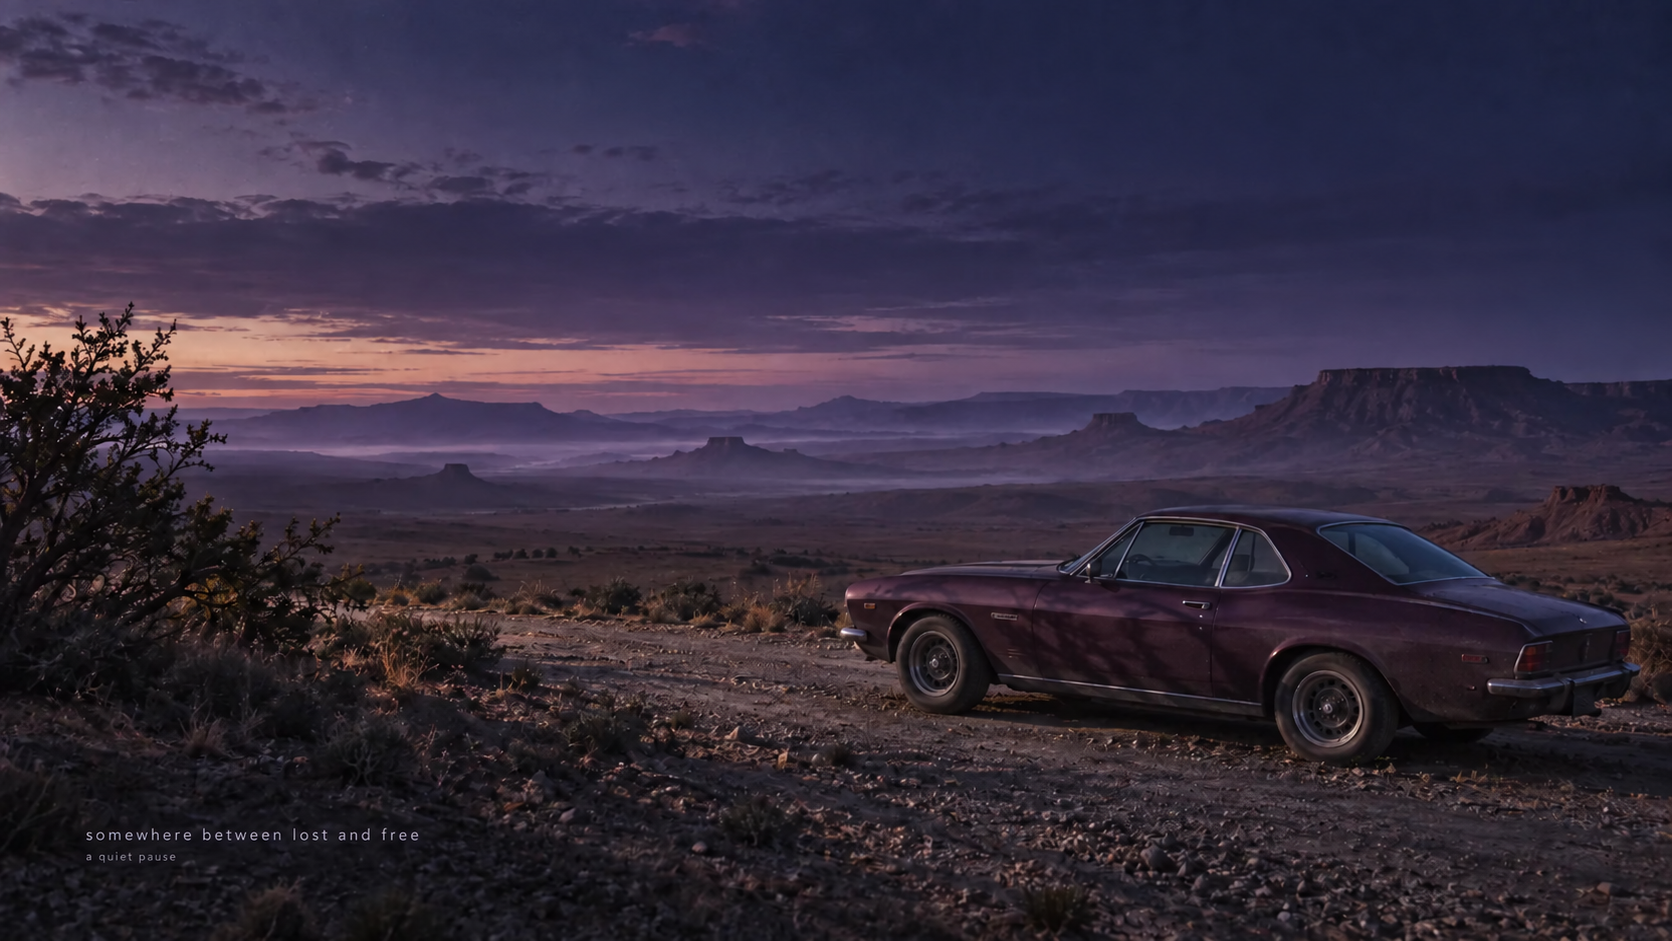
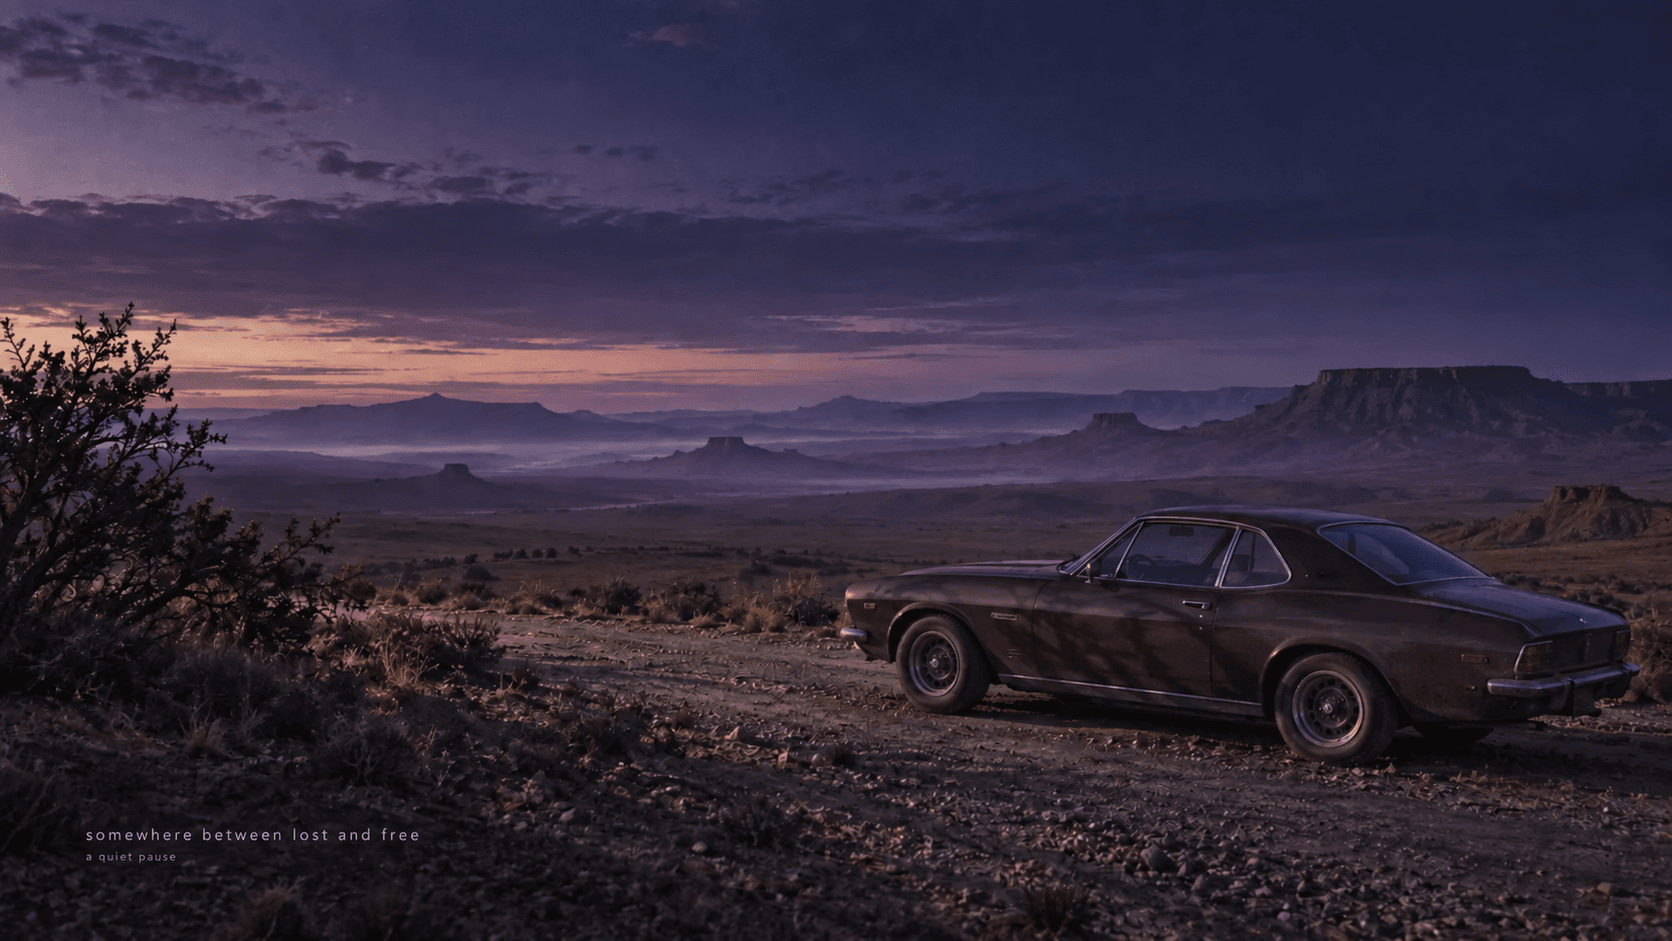
The person is removed and the covered area is filled in. Compare the car panel and ground: generative editing can also change nearby details.
View edit brief
Remove the person leaning against the car. Fill in the car panel and ground while keeping the dusk landscape and composition.
 After
After
The watermelon, pitcher and cup are removed and the wooden tabletop is filled in. The room remains recognizable, while some nearby painted details change.
View edit brief
Remove the watermelon, glass pitcher and patterned cup from the bedside table. Reconstruct an empty wooden tabletop; keep the bed, book, curtains, blue shutters and sea view in the same illustration style.
 After
After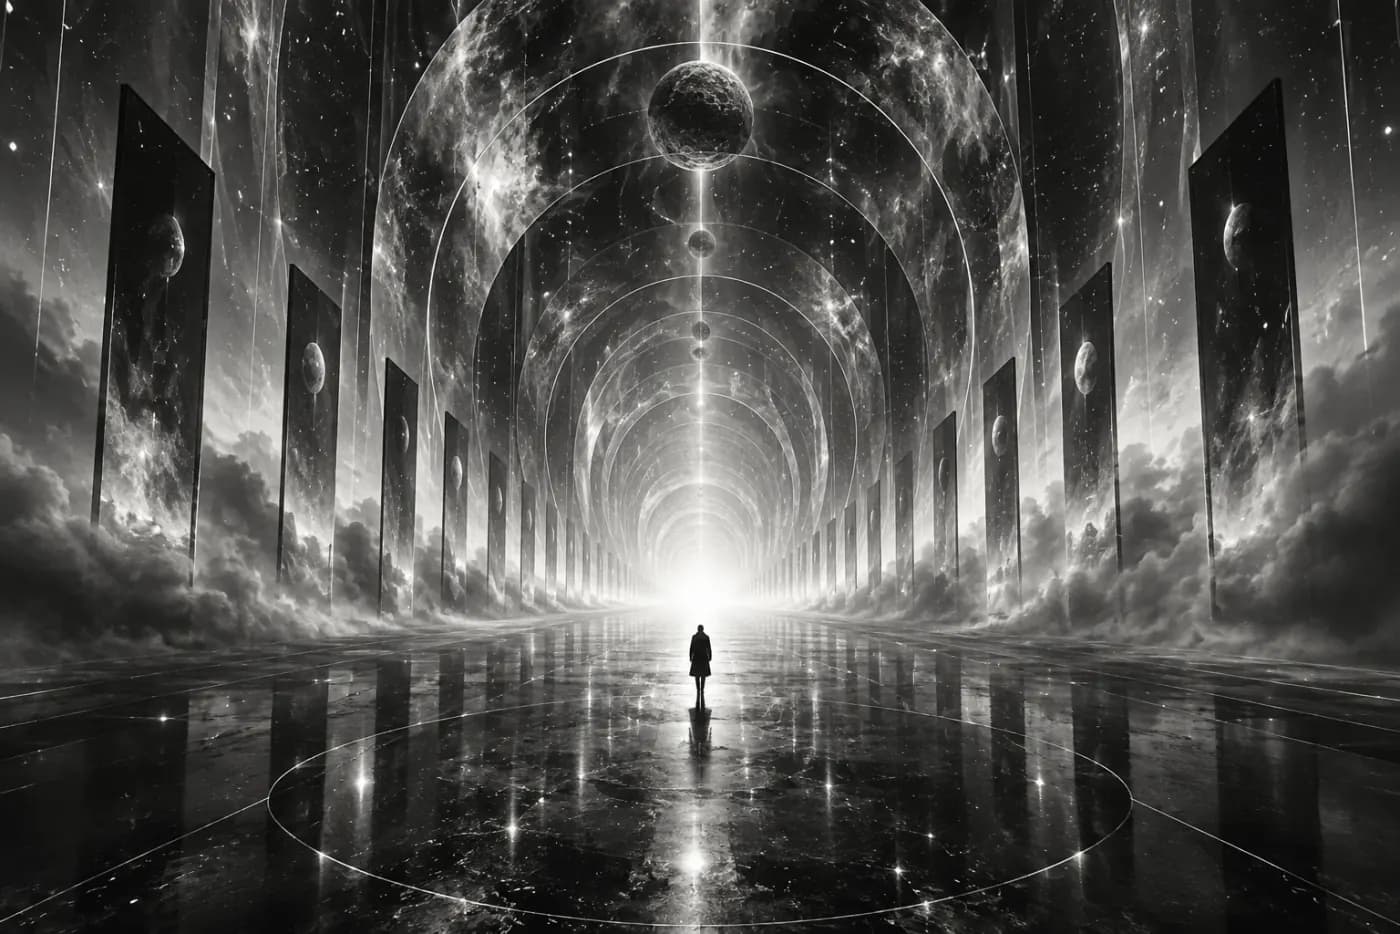
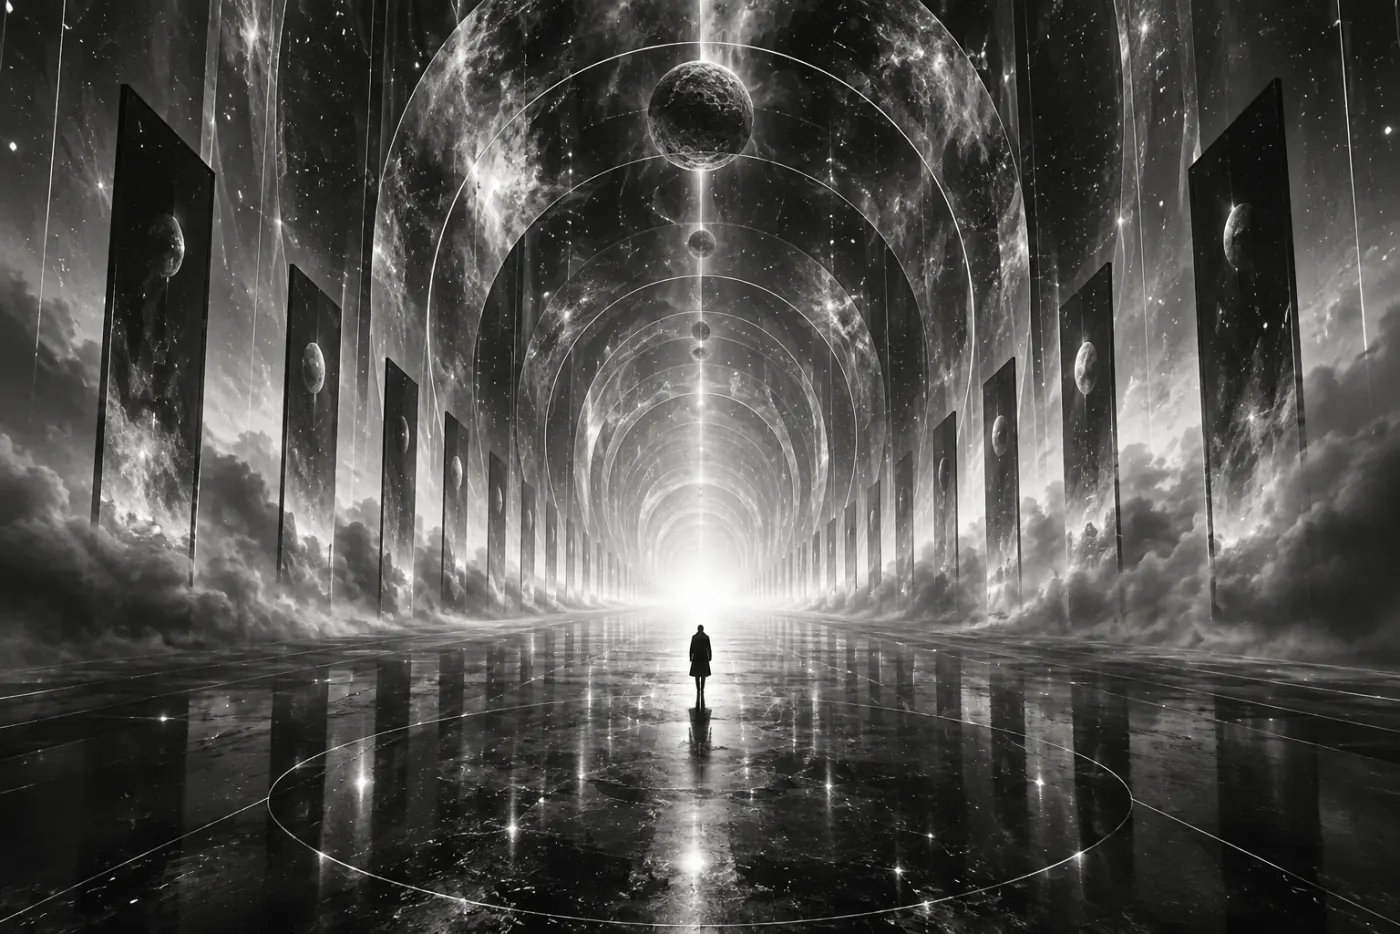
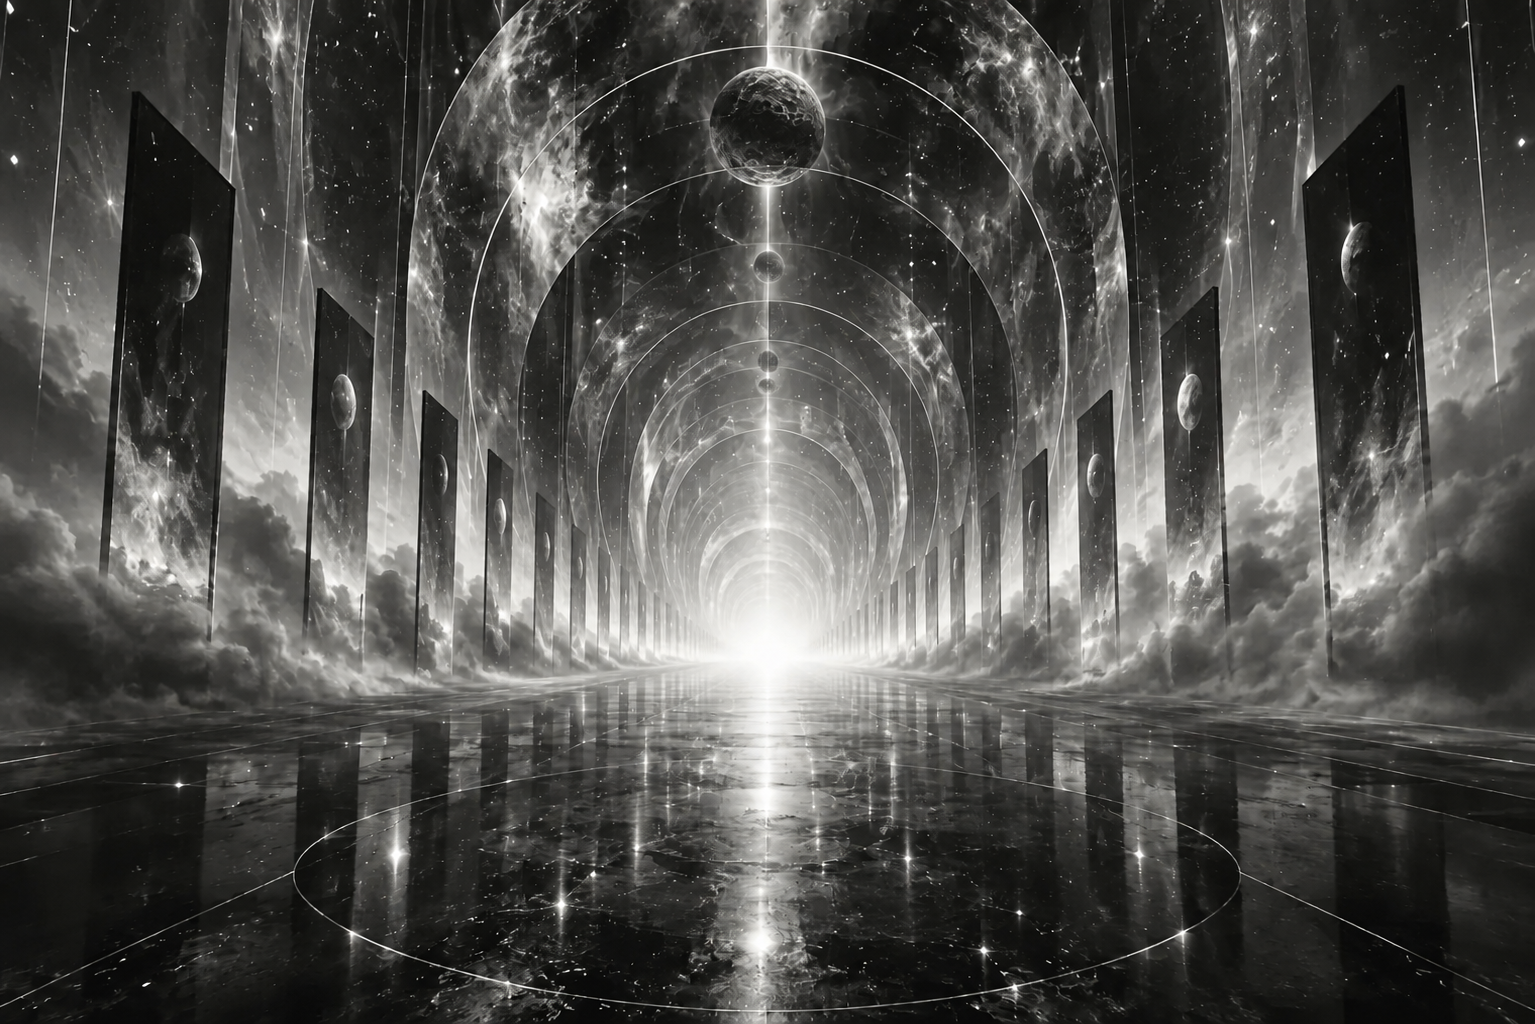
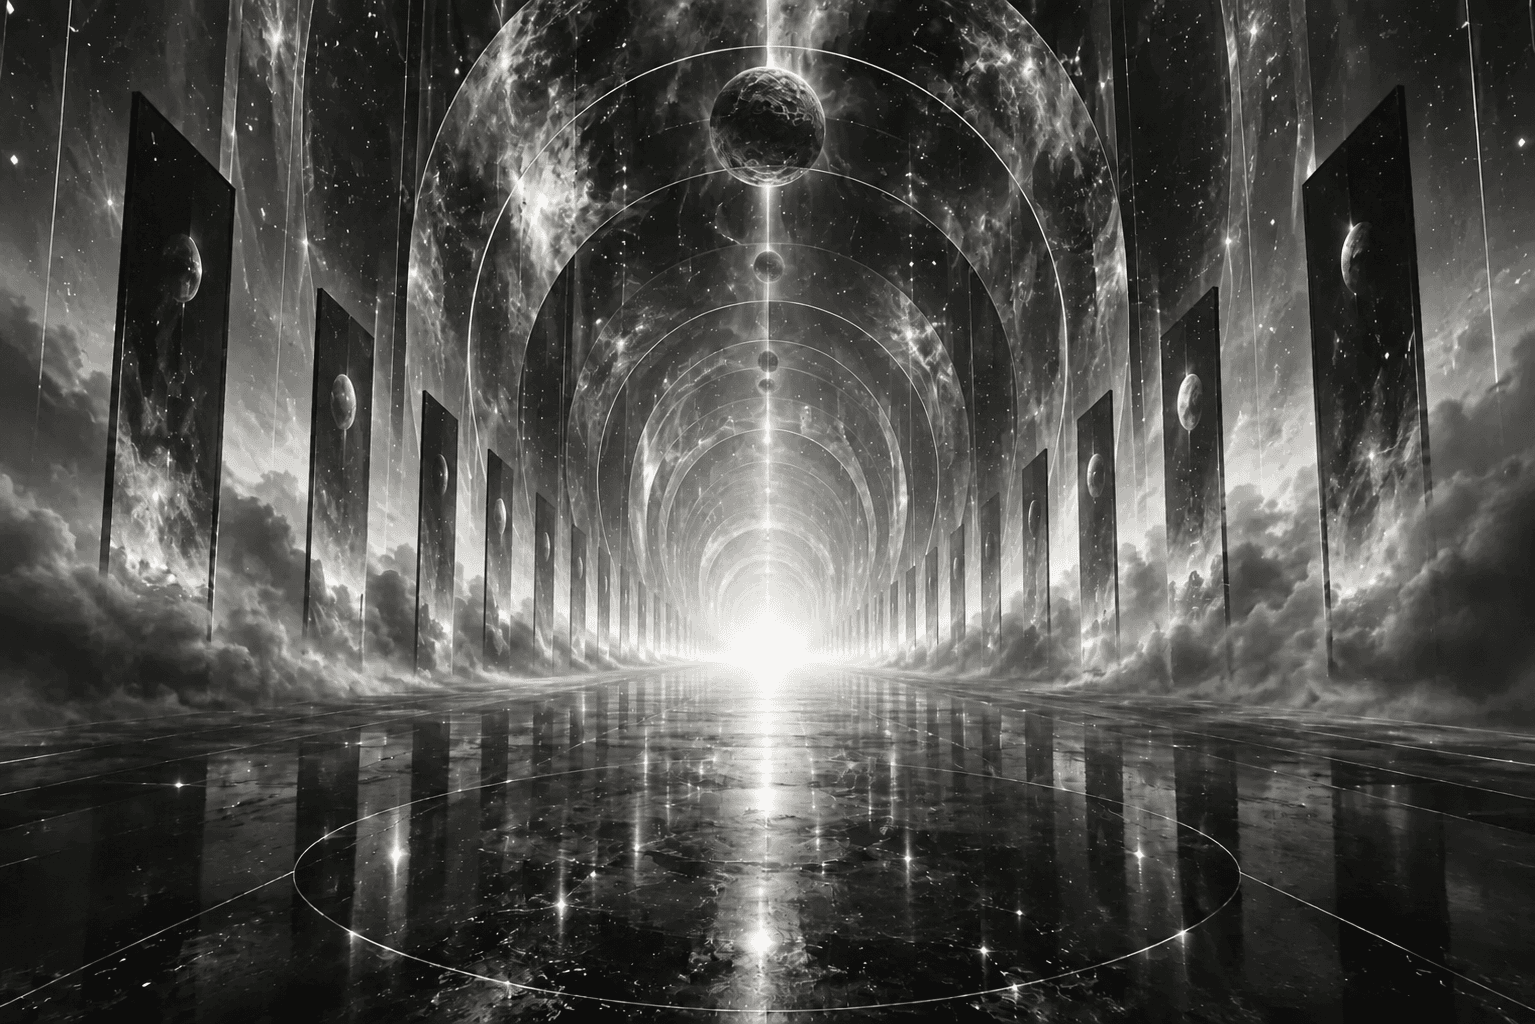
The central figure and reflection disappear into a reconstructed reflective floor. Compare the perspective and surrounding light; generative filling is not pixel-identical outside the subject.
View edit brief
Remove the person at the center of the cosmic corridor and their reflection. Fill the glossy floor naturally while retaining the arches, planets, monoliths and monochrome perspective.
Slide through the example edits to compare subjects, backgrounds and details.
Let the subject have your attention
Be specific about what goes
Describe the object and its location: the person beside the car, the cup on the table, or the figure in the centre.
Review what fills the space
The hidden background must be reconstructed. Inspect nearby textures, reflections and perspective; surrounding details can change.
From original to result in three stepsA clear view of every step.
Follow one image from upload to final review. These example previews illustrate the workflow; start with your own image when you’re ready.
Upload your original
Start with a clear source image. Keep a copy so you can compare the result.
Confirm the task
Check the selected tool and credit cost. For prompt-based editing, describe your change clearly.
Review and download
Compare edges, text and textures with the original before downloading your result.
Frequently asked questions
Not necessarily. Generative removal reconstructs image content and can also change nearby details. Compare the result with the original before using it.
View both images at the same display scale. Compare the composition first, then inspect subject edges, lettering and textures. Download the files to examine details at full size.
Use a clear original image you have permission to edit. Check the selected tool after uploading. For object removal or photo editing, describe the target and its location.
Check the credit cost beside the generation button. Confirm the selected tool, settings and your balance before submitting.
Check source quality and the edit brief first. Complex edges, occlusion, text and faces can produce imperfect results. Try a clearer original or a more specific edit description.
Check permissions for the source image, likenesses and brand elements, along with the selected model's and this site's terms. Editing an image does not grant rights to its source material.