AI Photo Editor
A new light, a different colour, another possibility. Upload your photo and describe the change you have in mind.
Explore before and afterYour prompt and settings follow you through sign-in. Review them before generating.
See the difference. Make it yours.
Explore an example, then compare the original with the edited image.
 After
After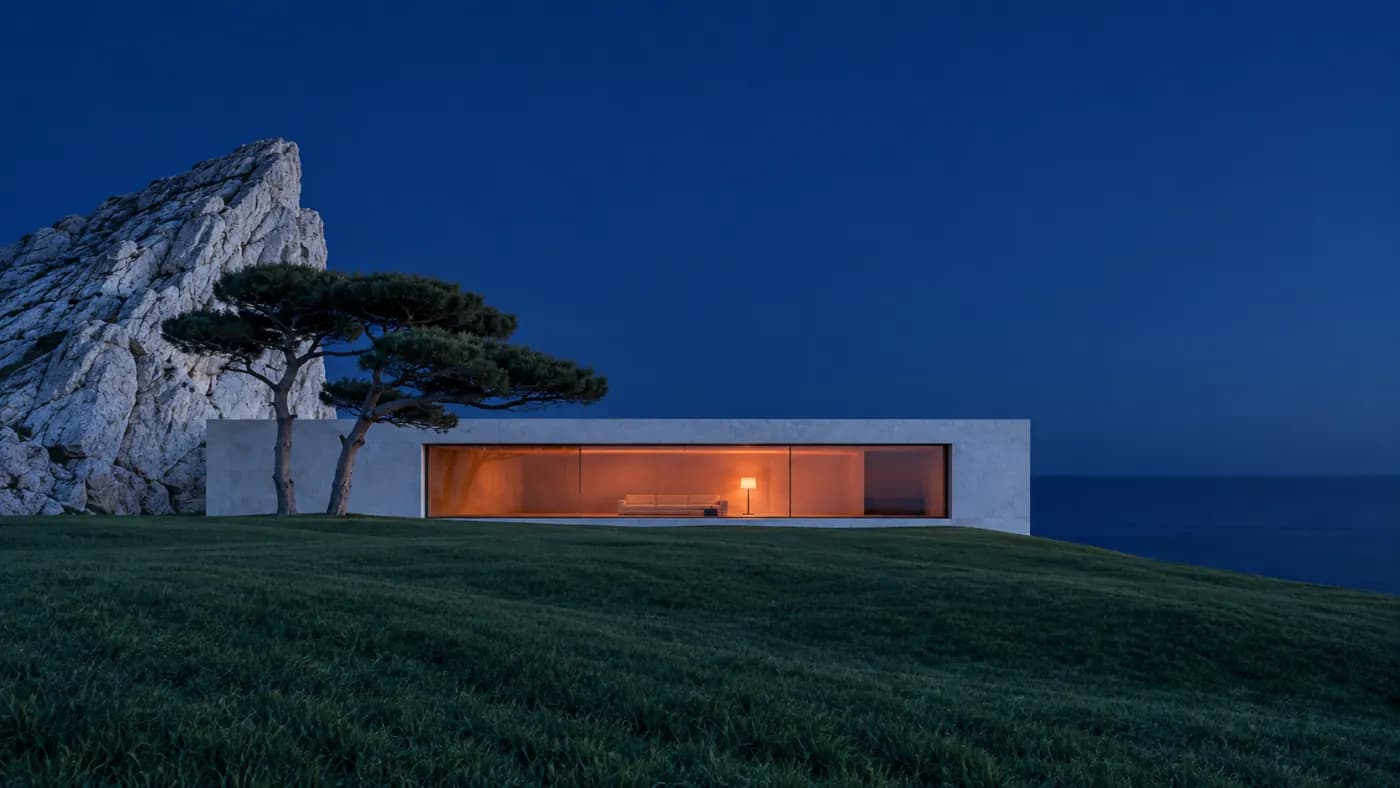
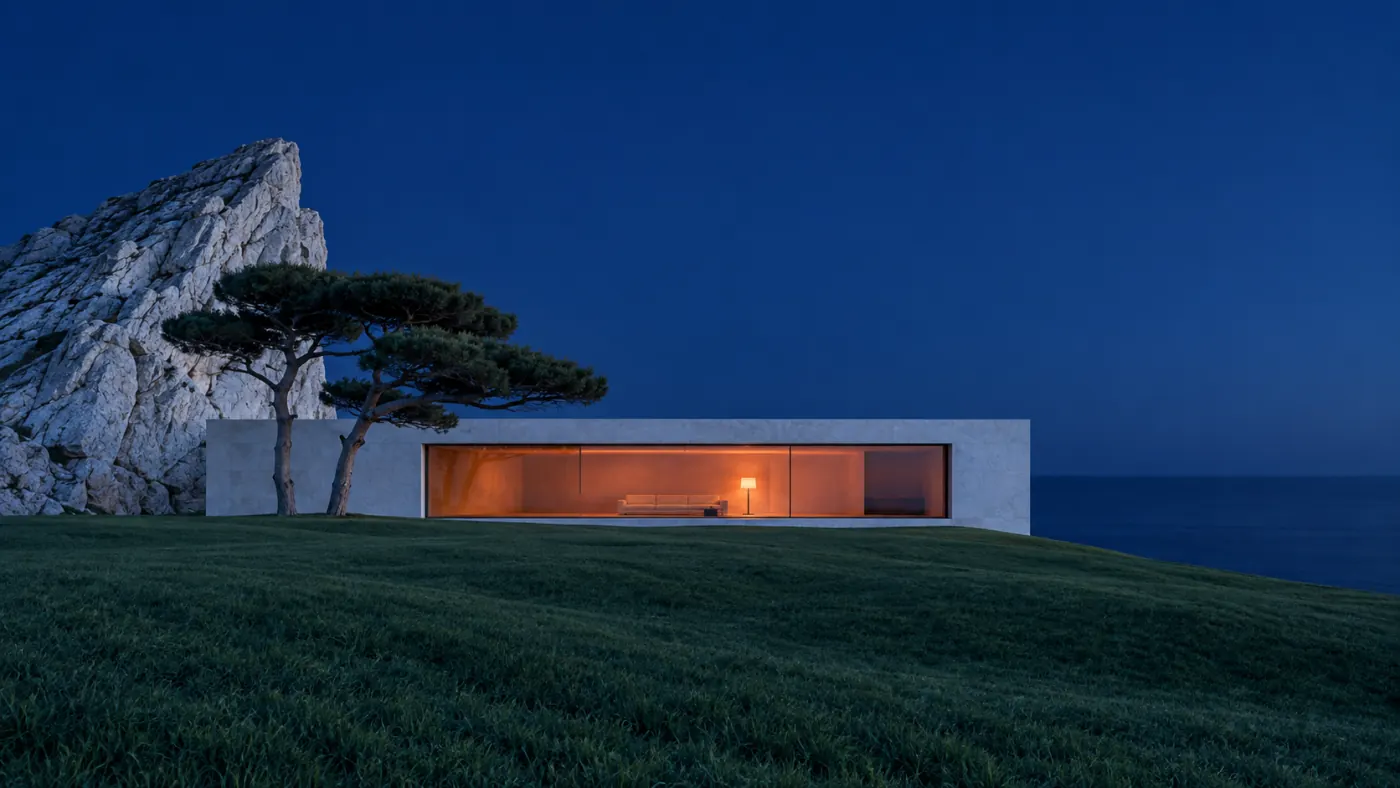
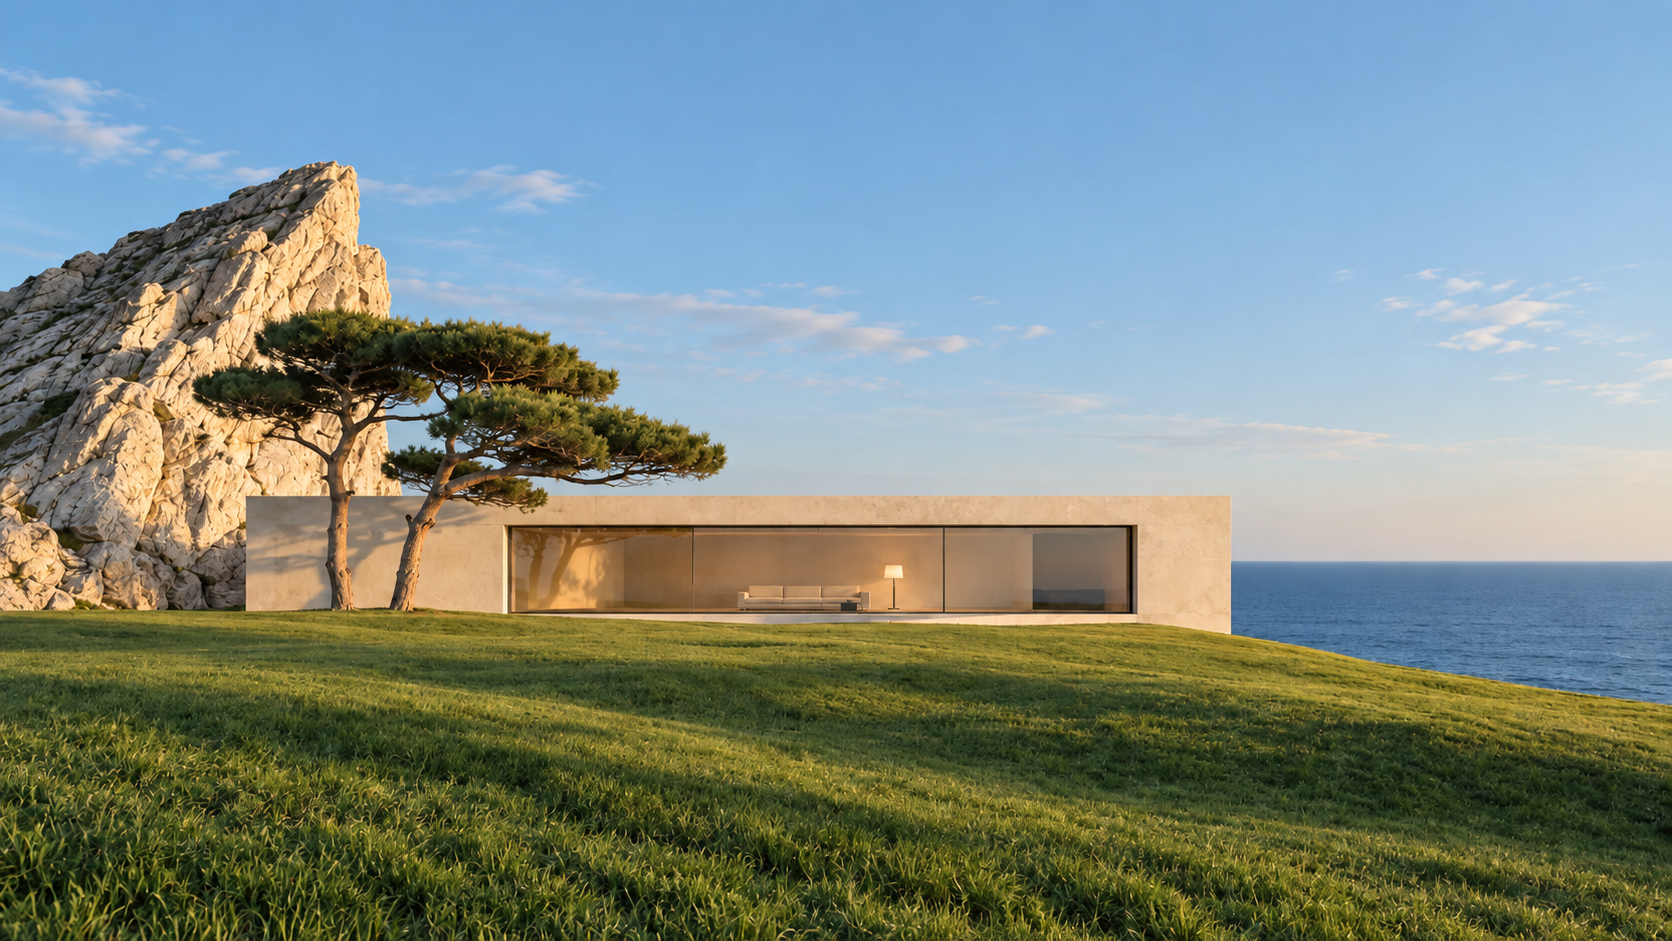
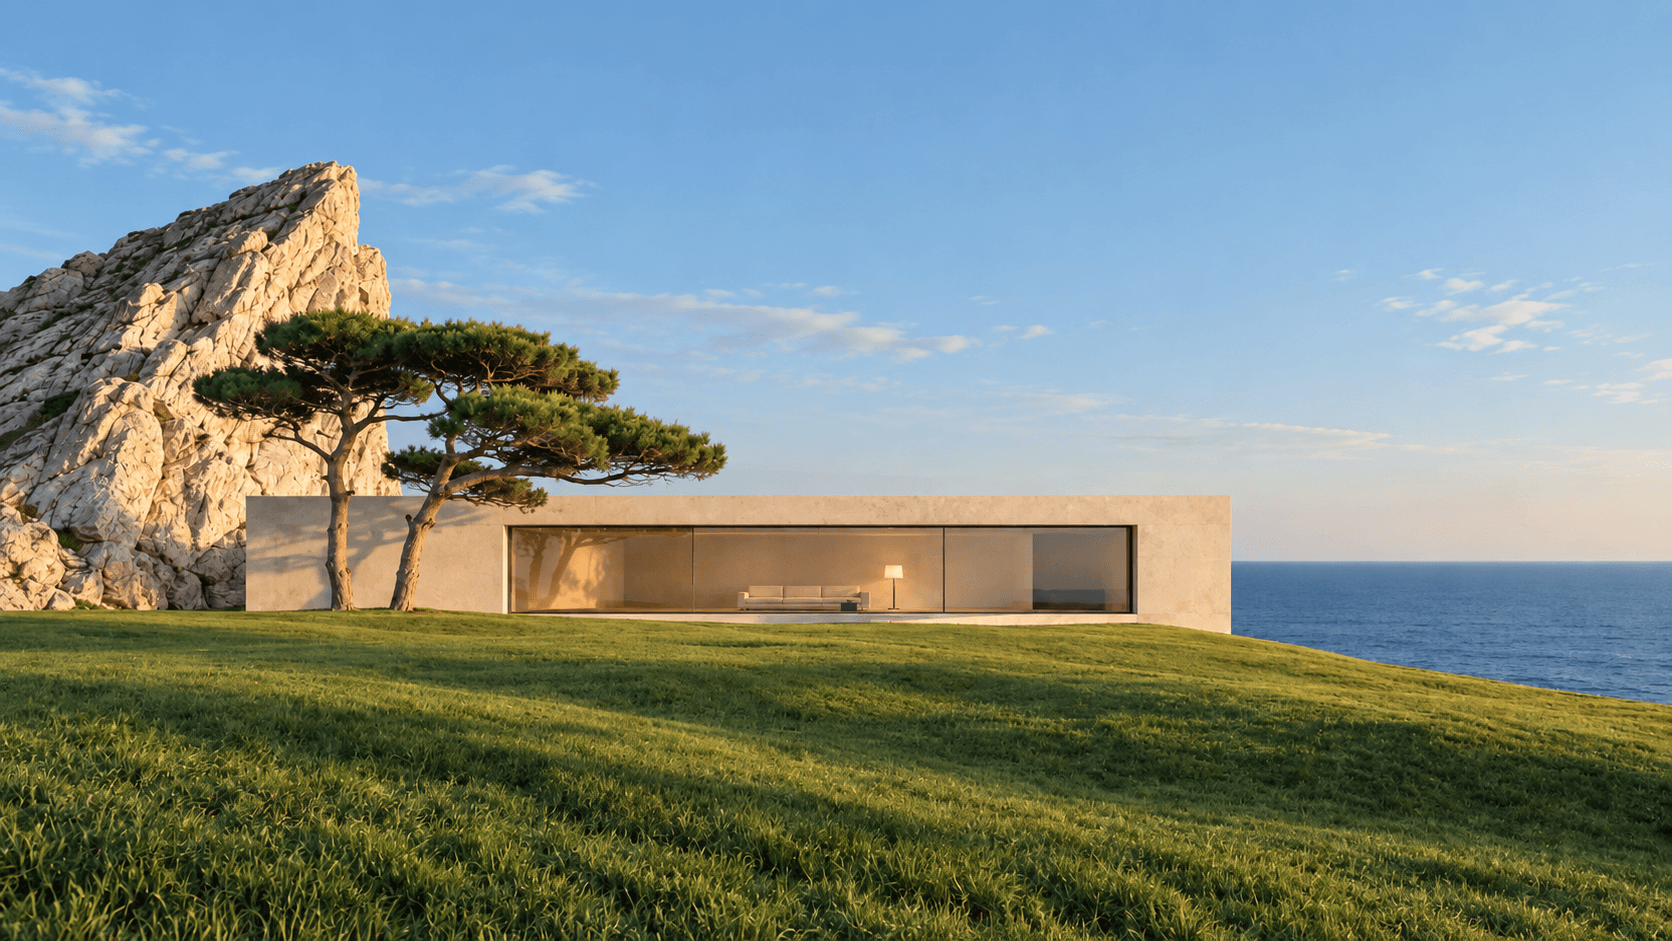
The same architectural scene is relit with a pale blue sky, warm sunlight and visible grass texture. Compare the light across the building, tree and cliff.
View edit brief
Change this blue-hour scene to warm late-afternoon daylight. Keep the villa, tree, cliff, sea horizon and camera framing.
 After
After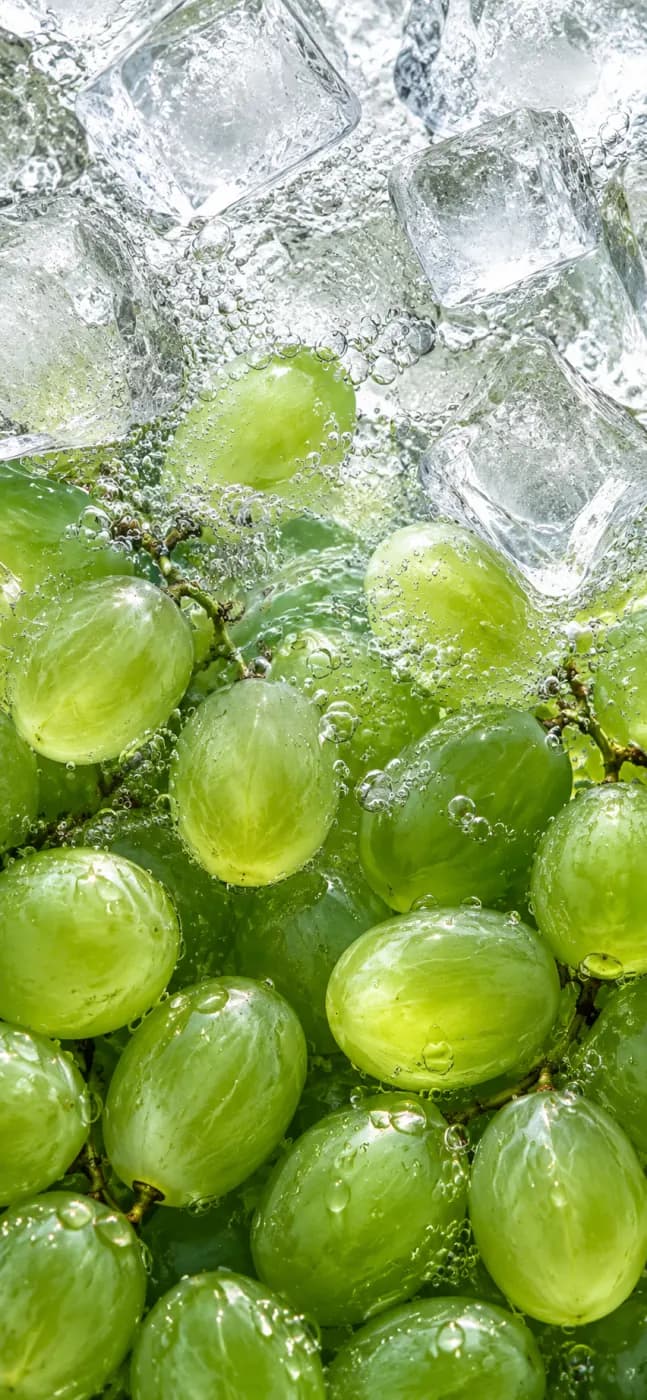
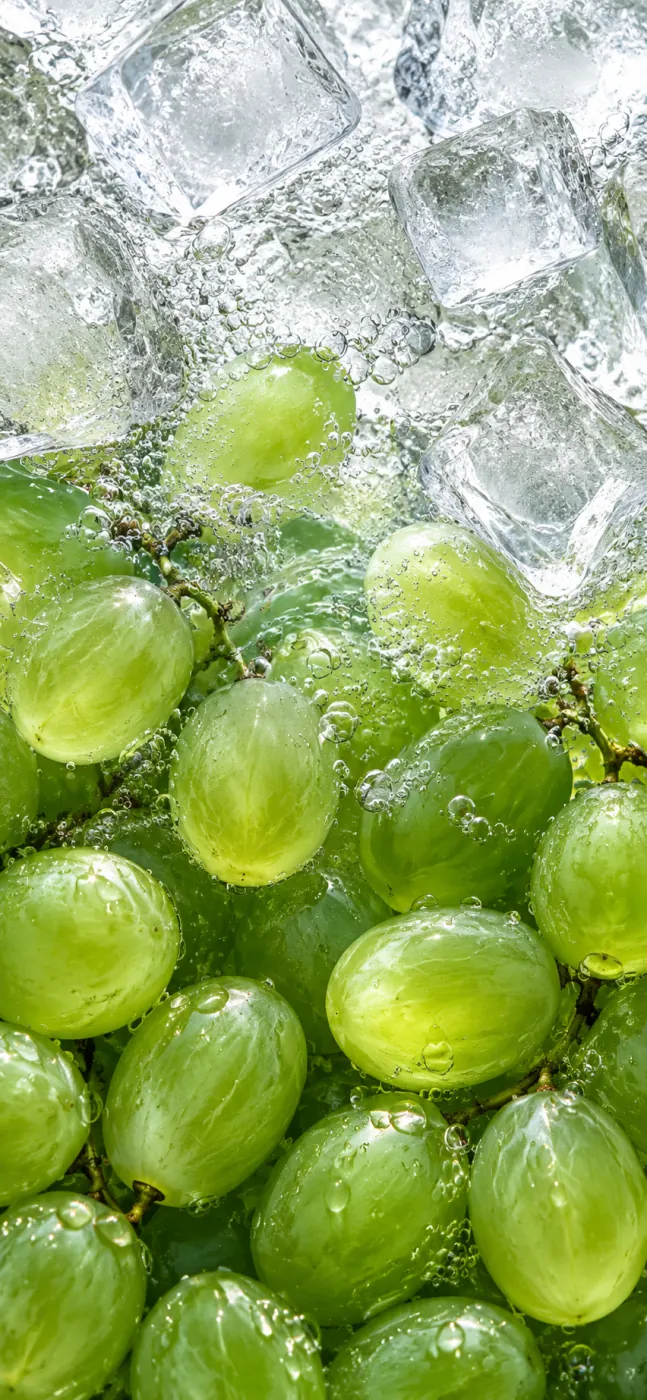
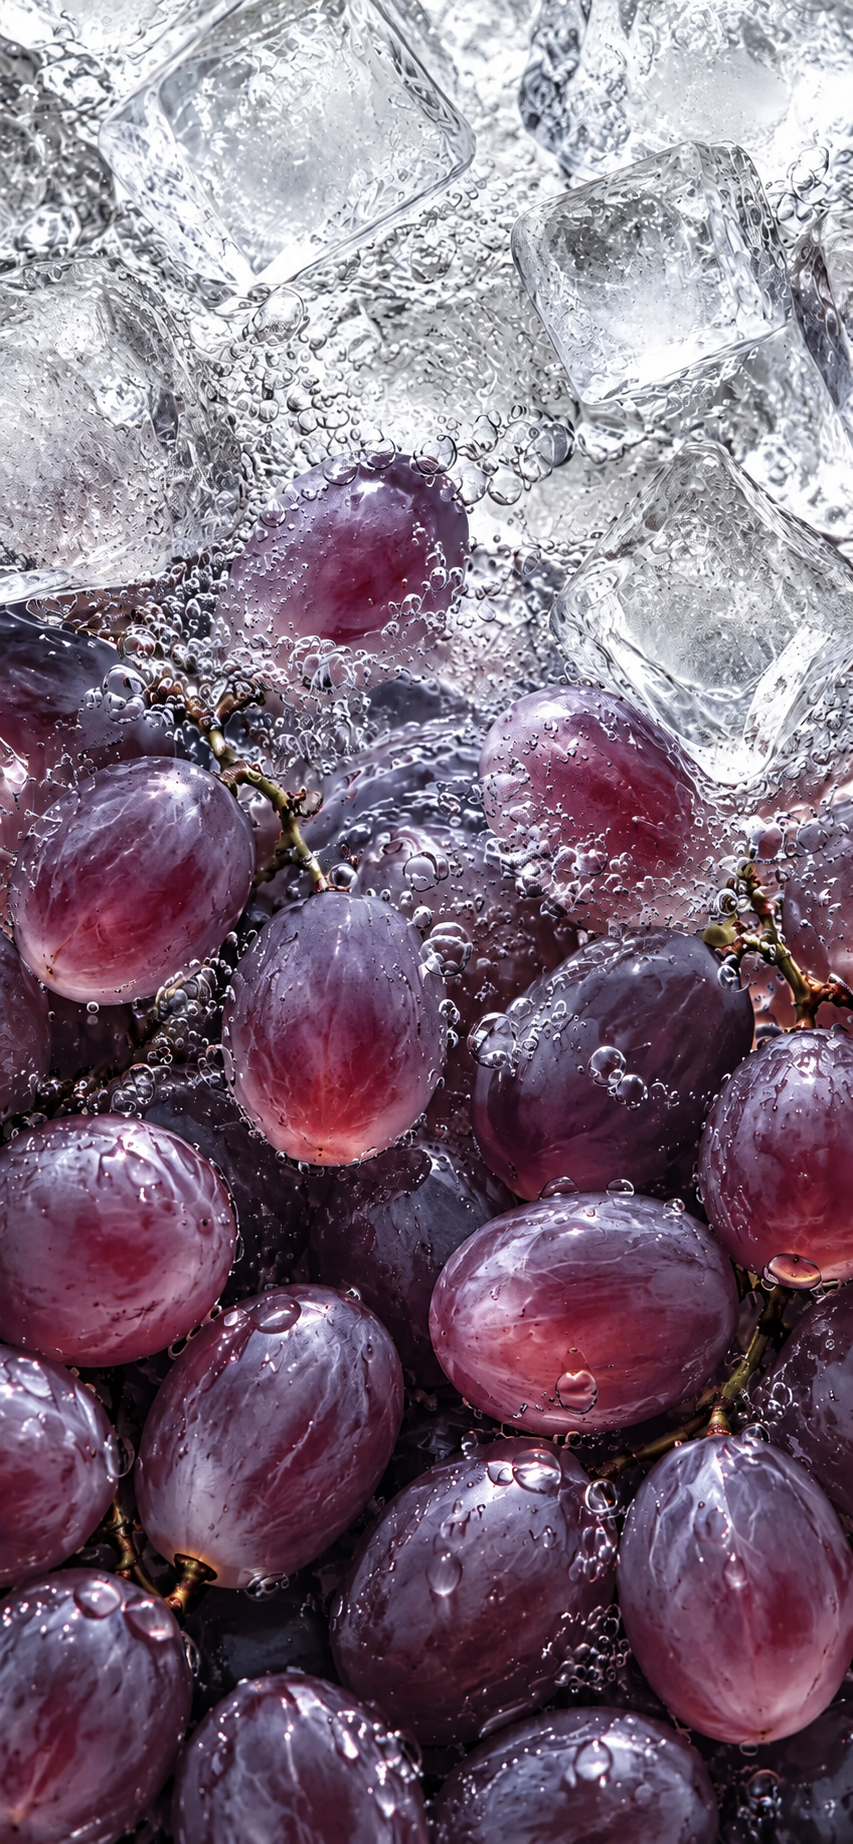
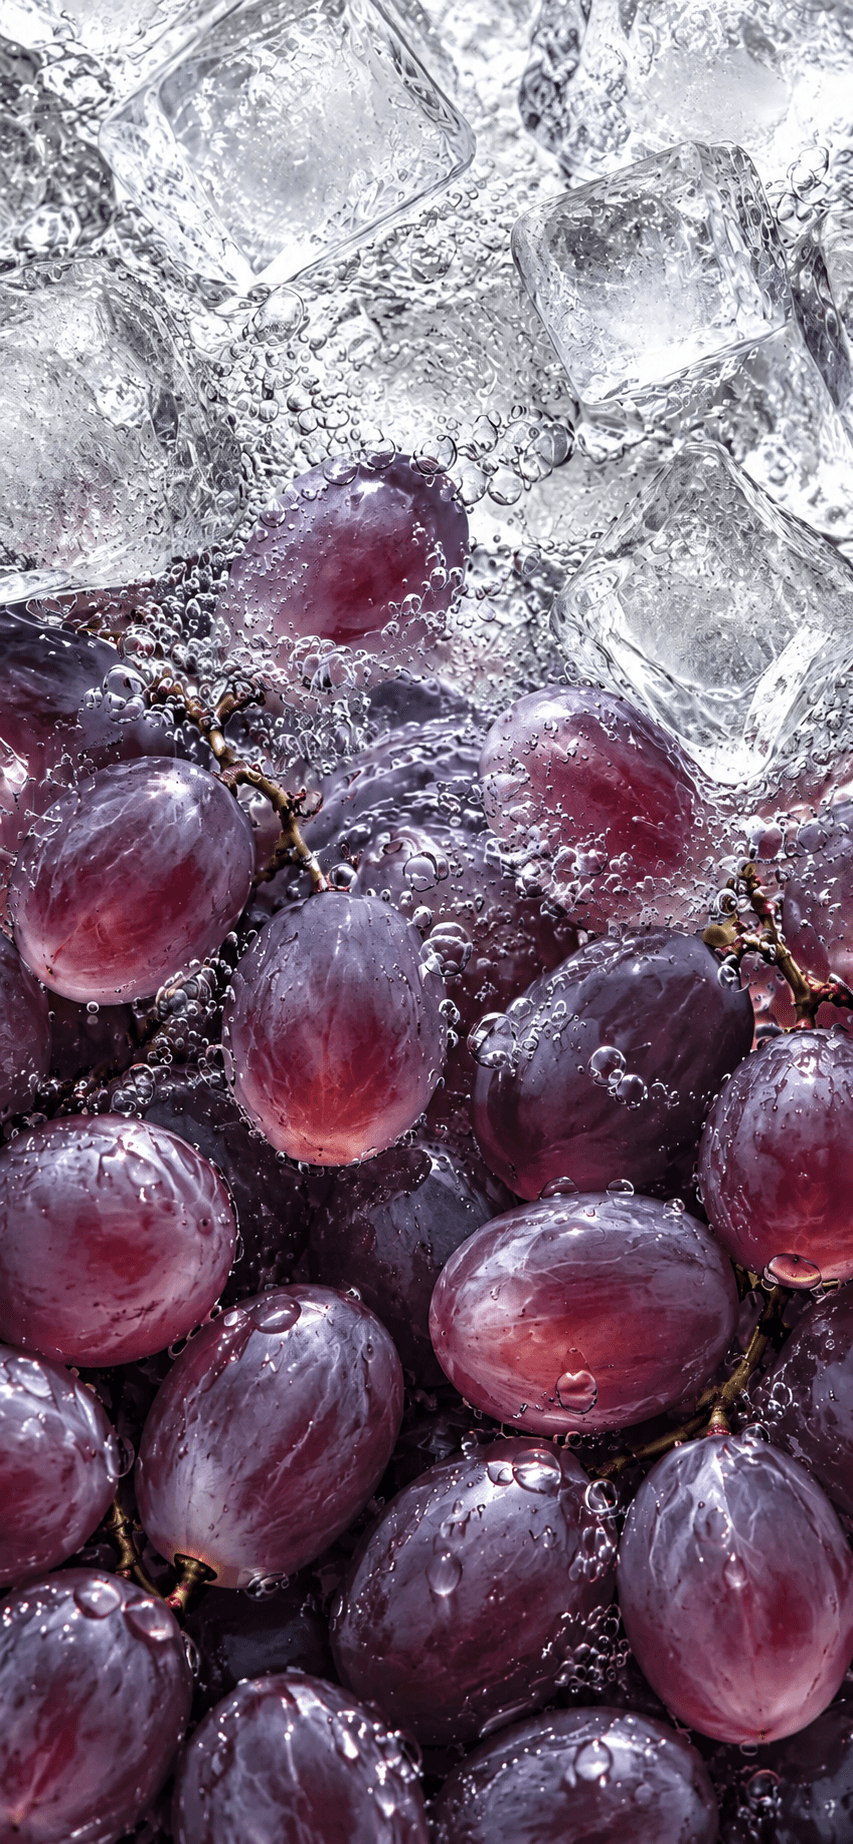
Green grapes become purple in the same close-up setting. The ice and bubbles remain part of the composition, with some local detail changes from generative editing.
View edit brief
Change the green grapes to rich natural purple. Preserve the ice, water splashes, bubbles, lighting and close-up composition, with realistic highlights on the fruit.
 After
After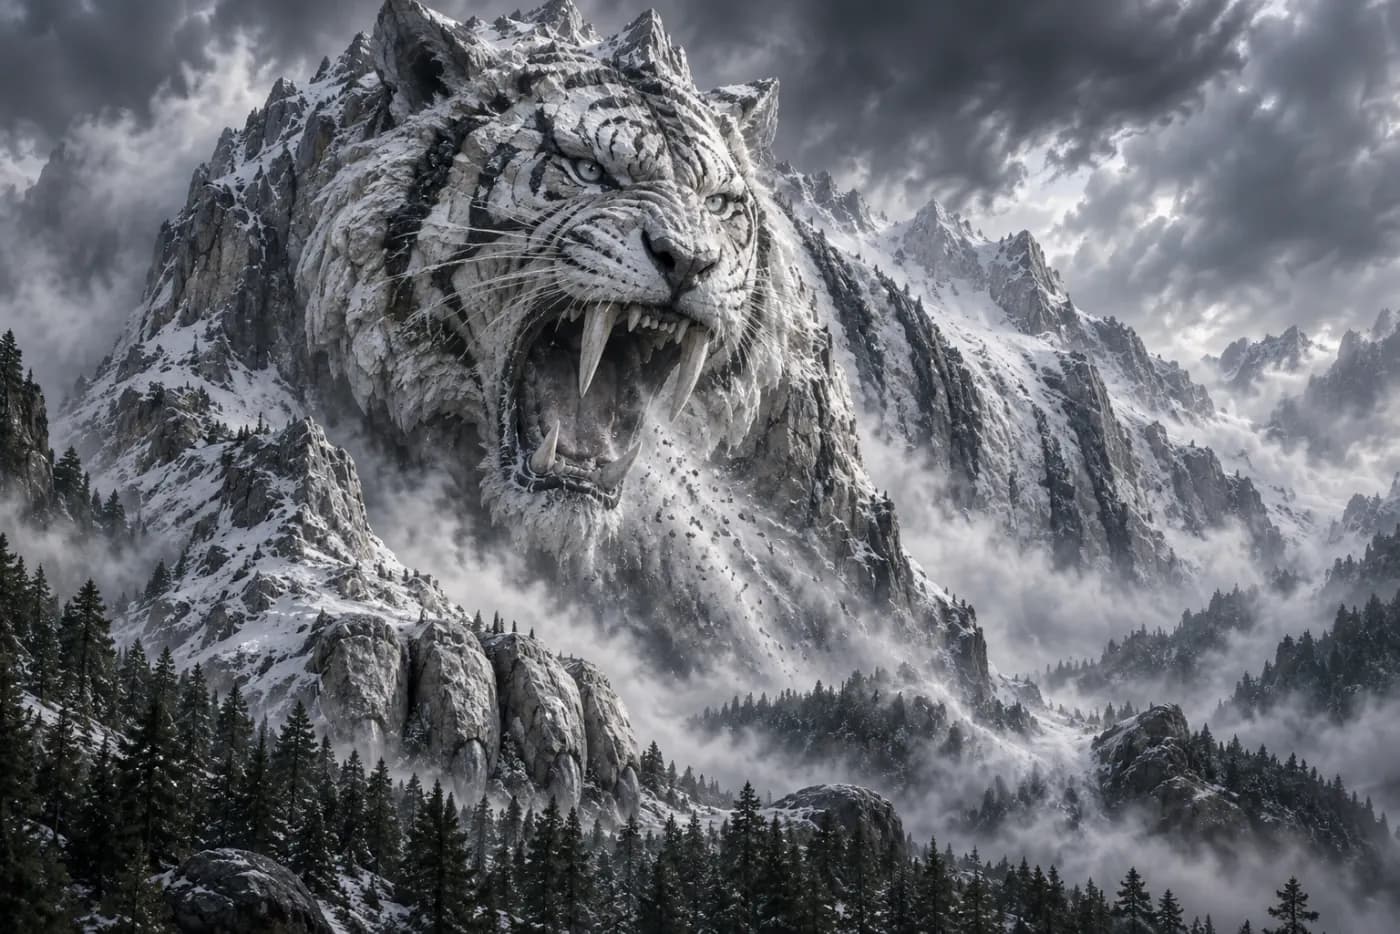
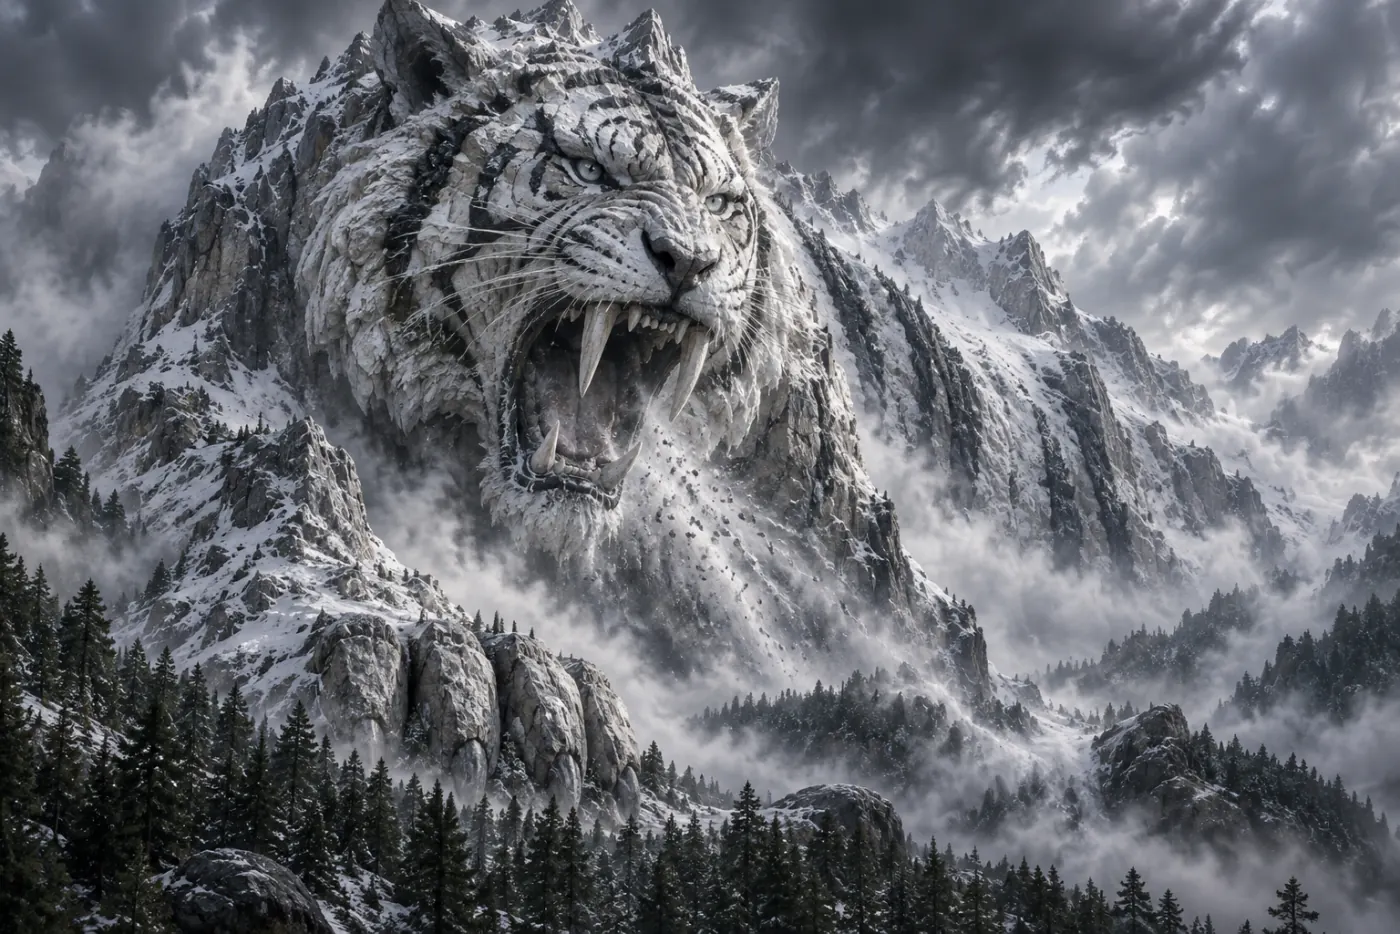
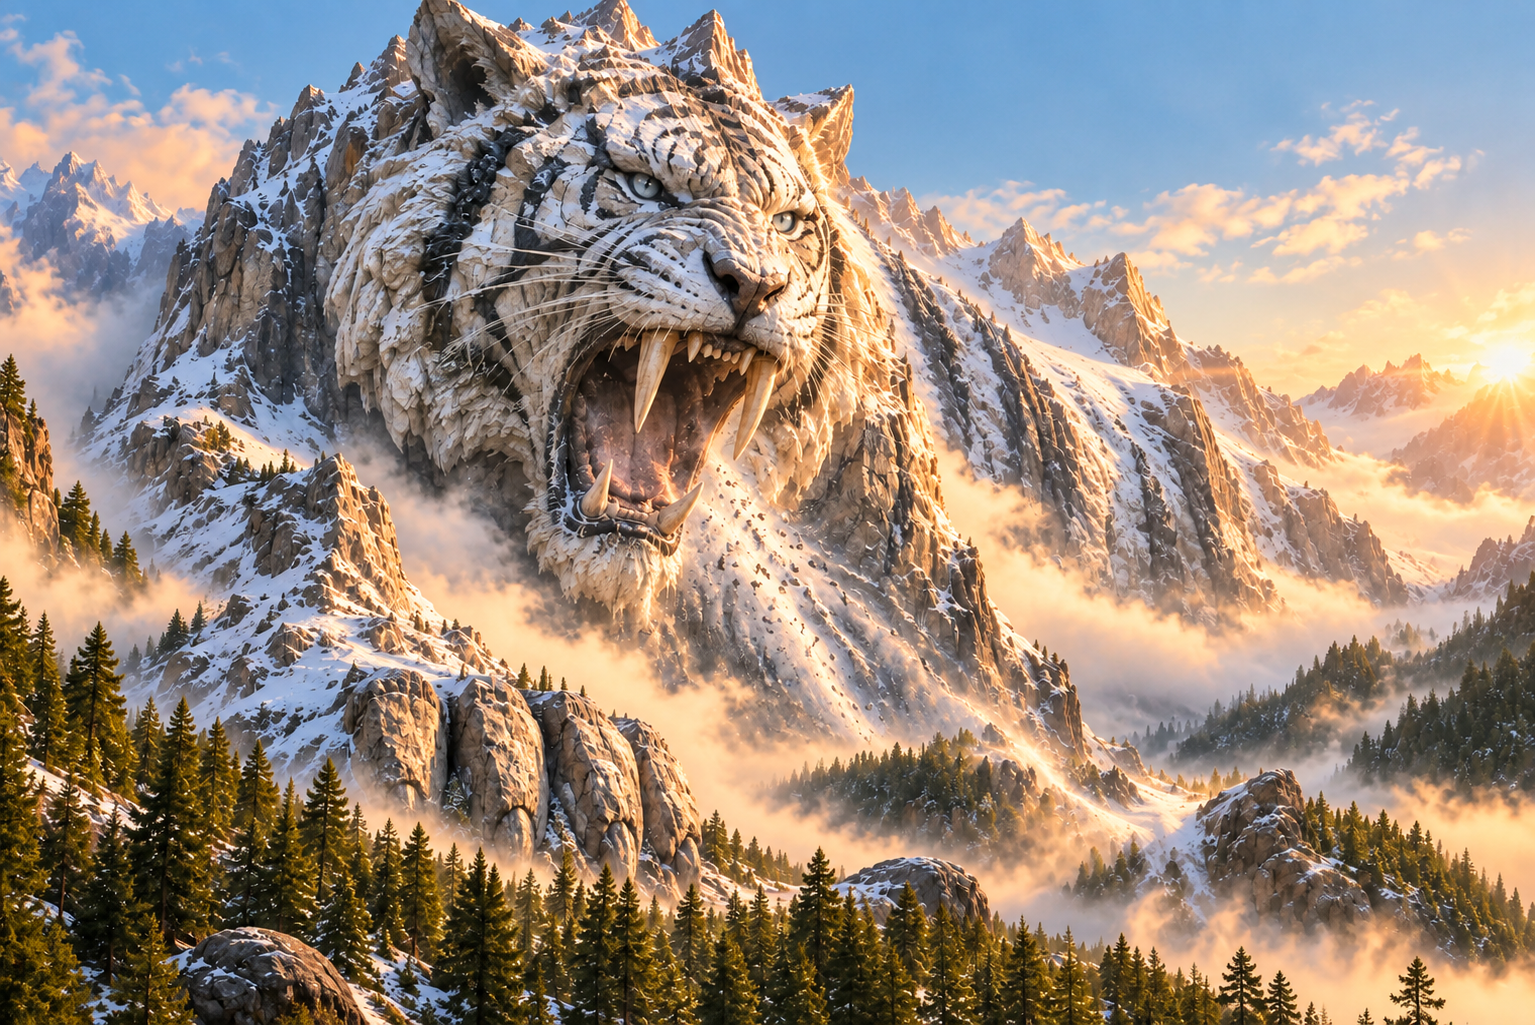
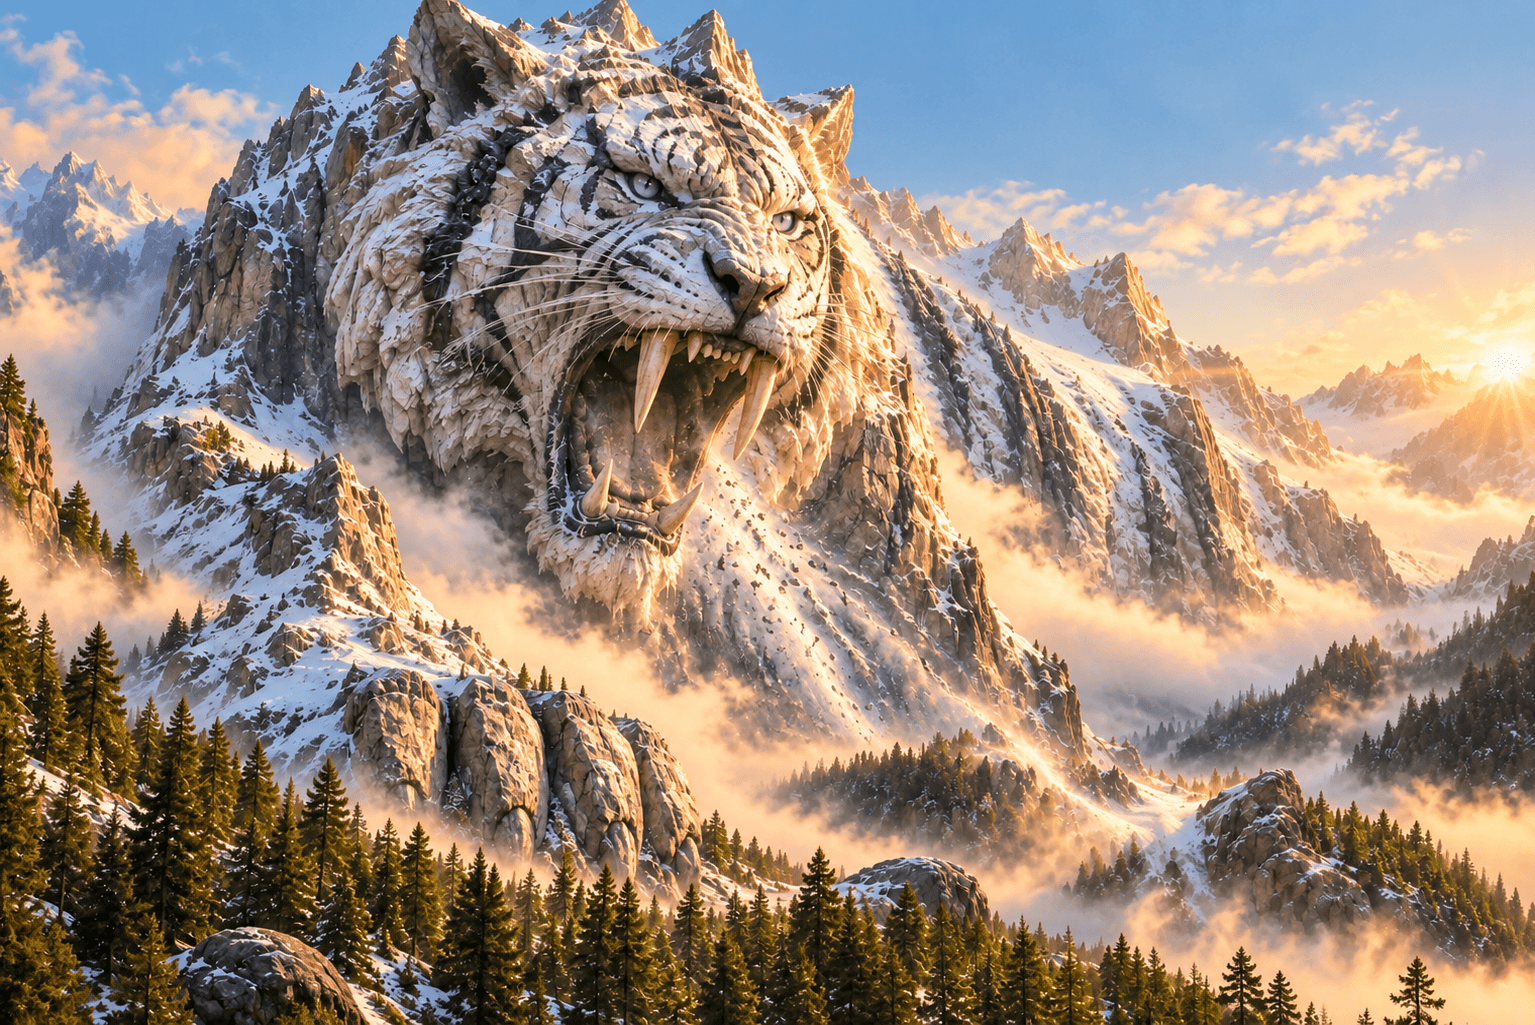
A gray storm scene becomes a warm alpine sunrise with blue sky, golden mist and evergreen forest. The tiger-shaped mountain remains the visual anchor, with details reinterpreted by the edit.
View edit brief
Relight this mountain as a vivid alpine sunrise. Add peach sunlight, pale blue sky, golden mist and evergreen trees while keeping the tiger-shaped mountain silhouette and composition.
Slide through the example edits to compare subjects, backgrounds and details.
One image. A different direction.
Start with one clear change
Describe the lighting, colour or atmosphere you want, and name the elements that should stay recognisable.
Refine from the result
Compare the edit with your original. Adjust the brief when the composition or fine details move further than you intended.
From original to result in three stepsA clear view of every step.
Follow one image from upload to final review. These example previews illustrate the workflow; start with your own image when you’re ready.
Upload your original
Start with a clear source image. Keep a copy so you can compare the result.
Confirm the task
Check the selected tool and credit cost. For prompt-based editing, describe your change clearly.
Review and download
Compare edges, text and textures with the original before downloading your result.
Frequently asked questions
State the change first, then what should stay. For example: change the evening scene to warm daylight while keeping the building and camera framing.
View both images at the same display scale. Compare the composition first, then inspect subject edges, lettering and textures. Download the files to examine details at full size.
Use a clear original image you have permission to edit. Check the selected tool after uploading. For object removal or photo editing, describe the target and its location.
Check the credit cost beside the generation button. Confirm the selected tool, settings and your balance before submitting.
Check source quality and the edit brief first. Complex edges, occlusion, text and faces can produce imperfect results. Try a clearer original or a more specific edit description.
Check permissions for the source image, likenesses and brand elements, along with the selected model's and this site's terms. Editing an image does not grant rights to its source material.