Background Remover
Give your subject room to stand out. Remove the background and download a transparent PNG for your next layout.
Explore before and afterUpload your image in the editor, review the credit cost, then process it. No prompt needed.
Your prompt and settings follow you through sign-in. Review them before generating.
See the difference. Make it yours.
Explore an example, then compare the original with the edited image.
 After
After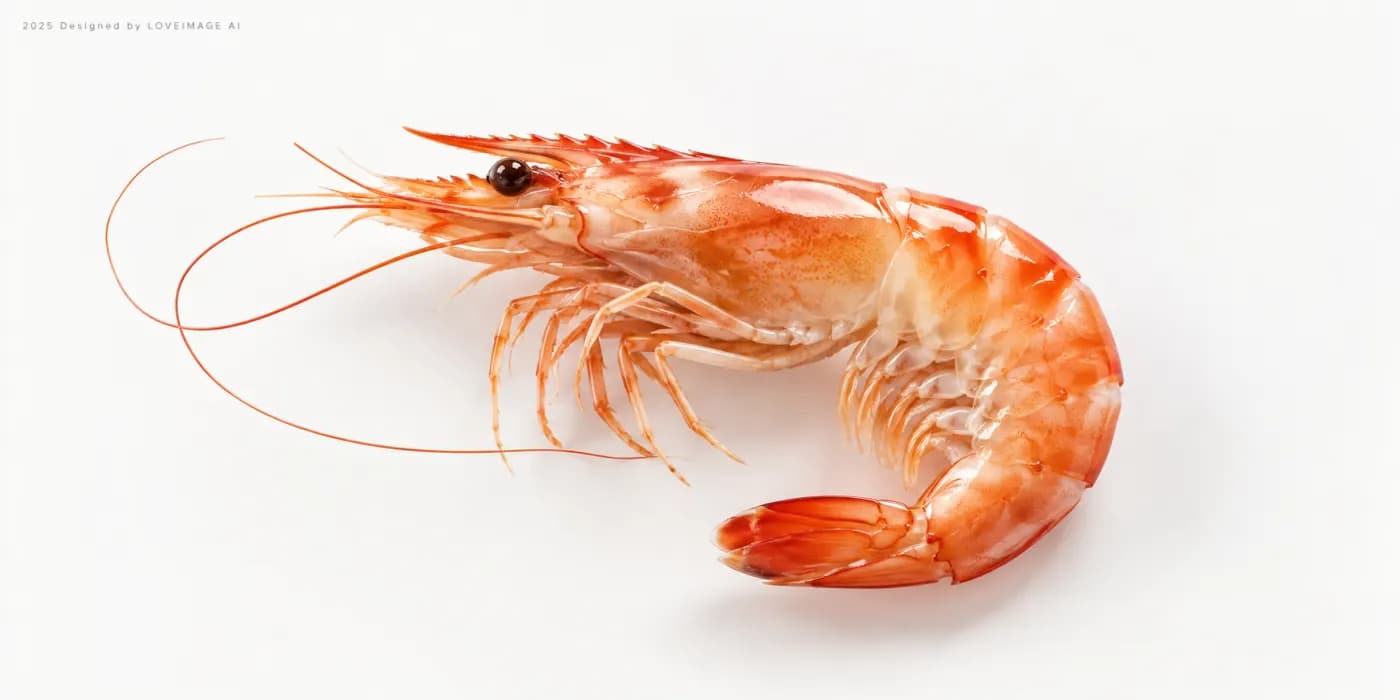
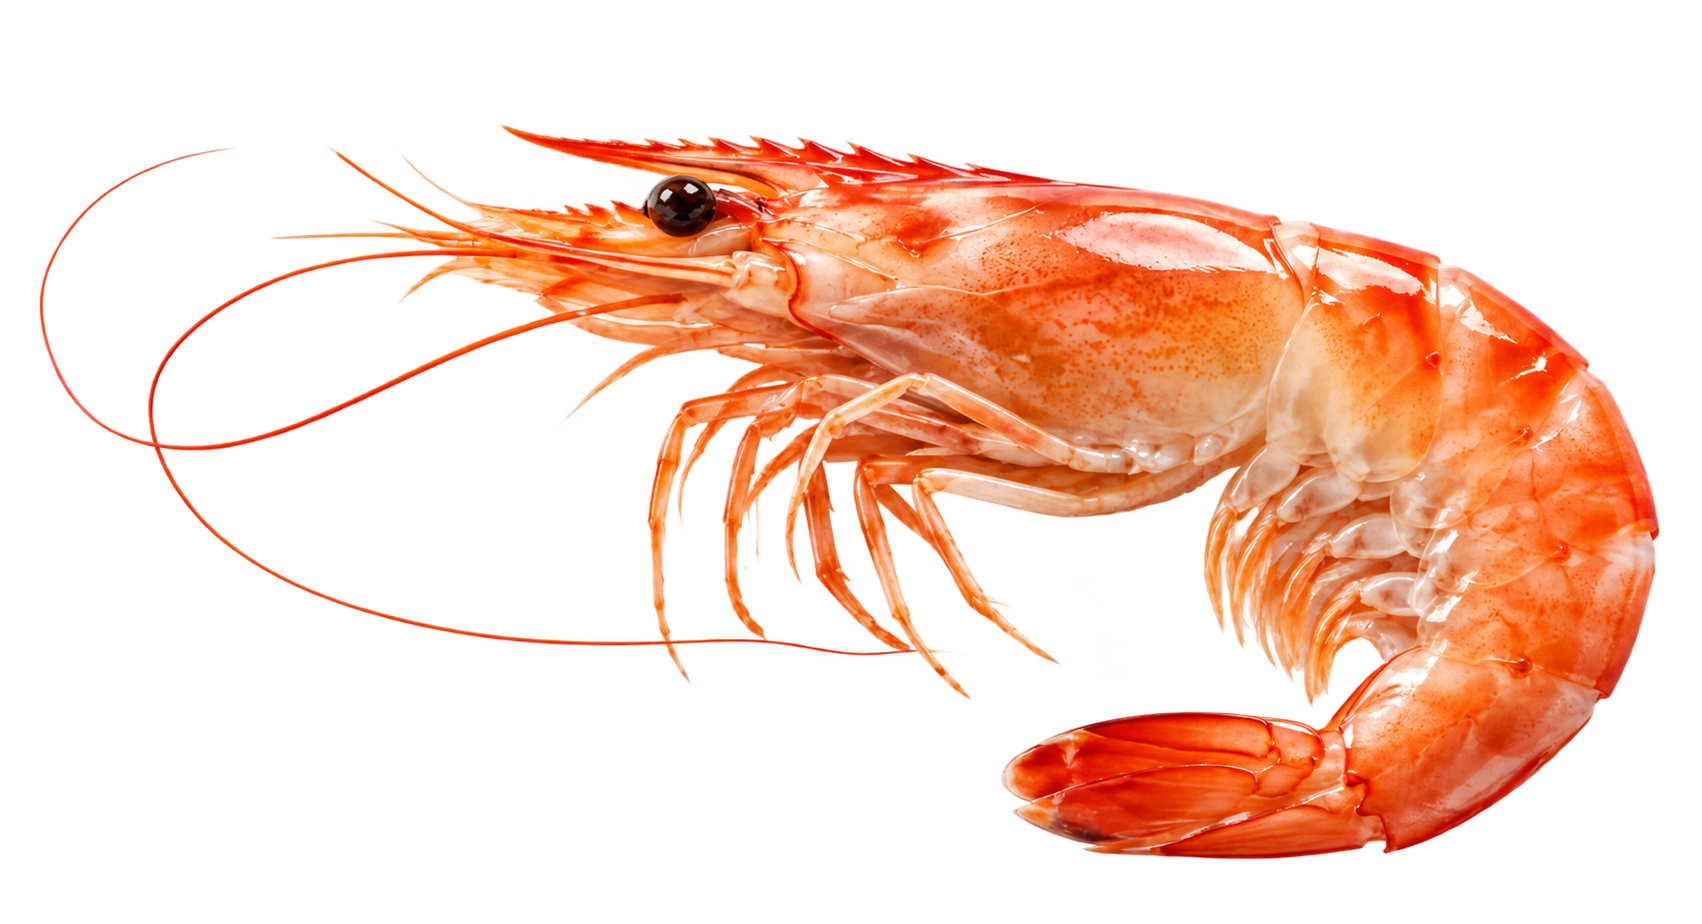
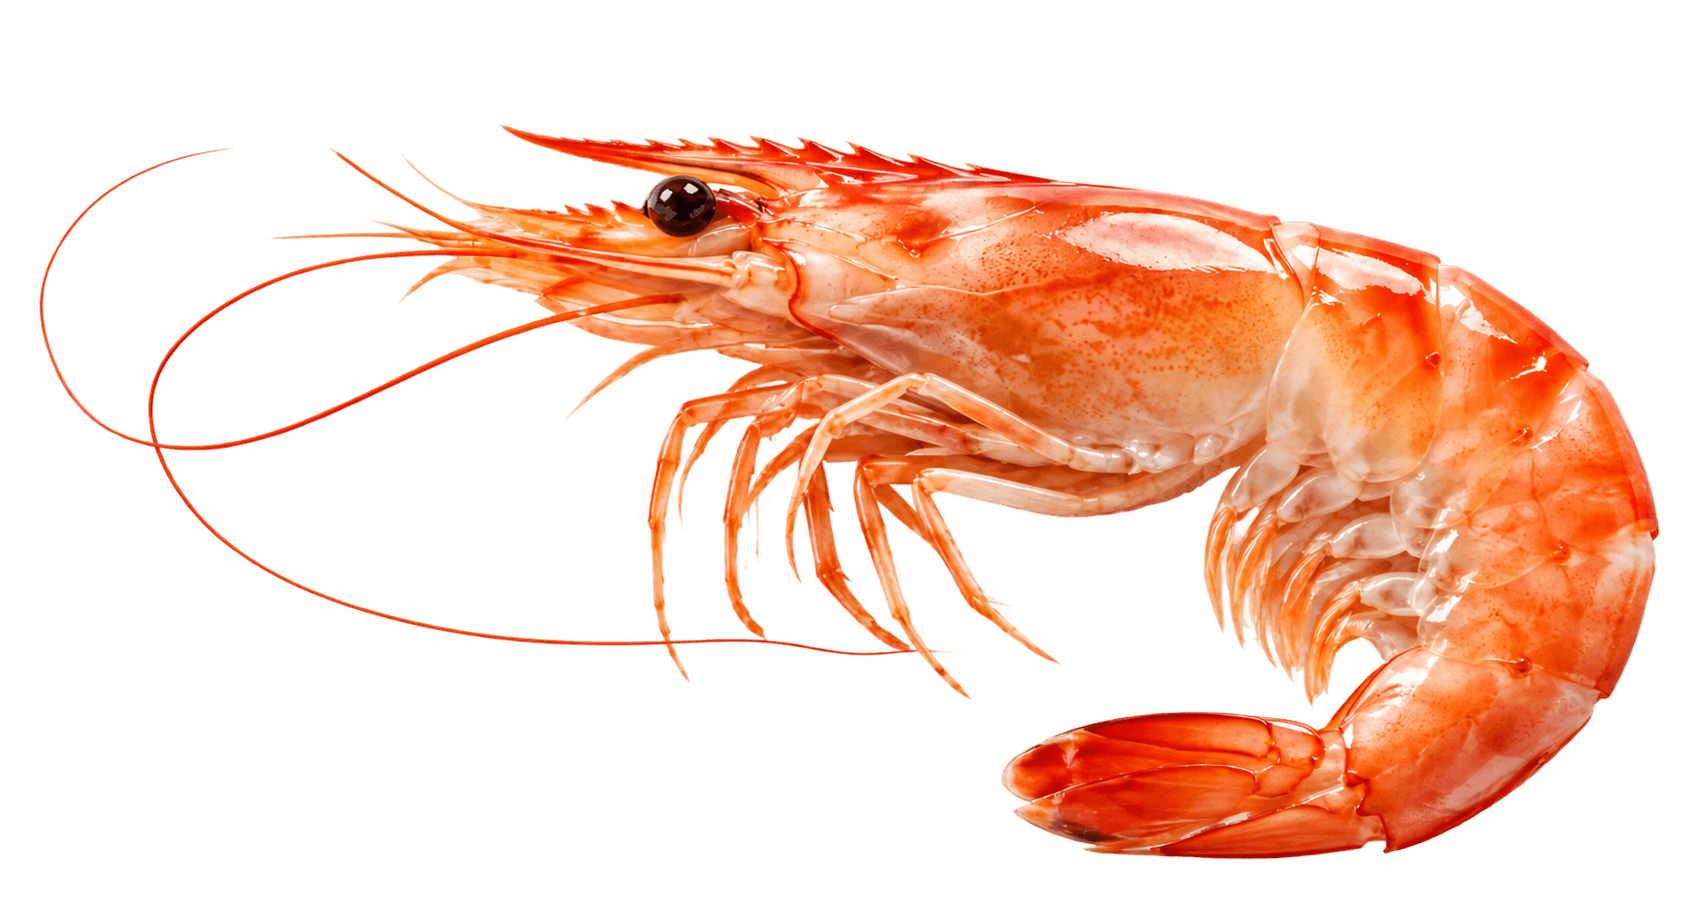
The edited PNG has a real alpha channel. The checkerboard is only the preview background; it is not part of the downloaded image.
View edit brief
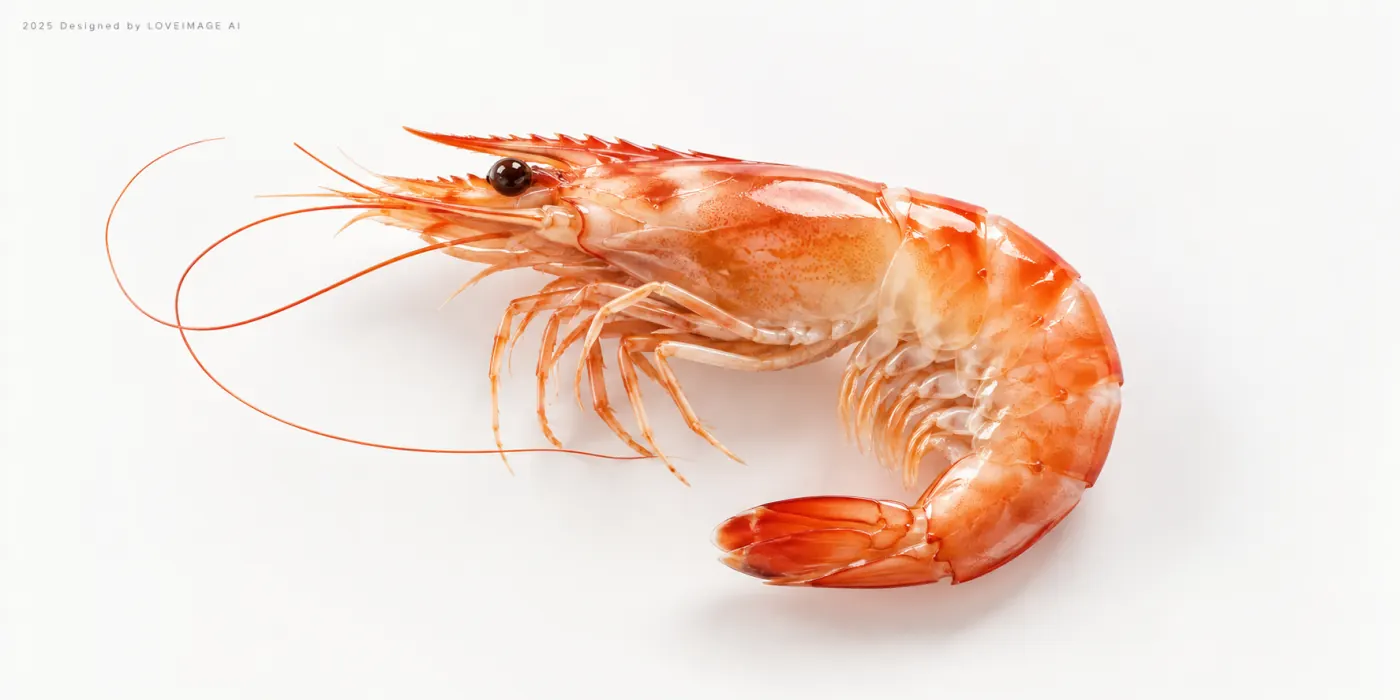
Remove the white background and cast shadow. Keep the prawn and its delicate antennae. Export a transparent PNG.
 After
After
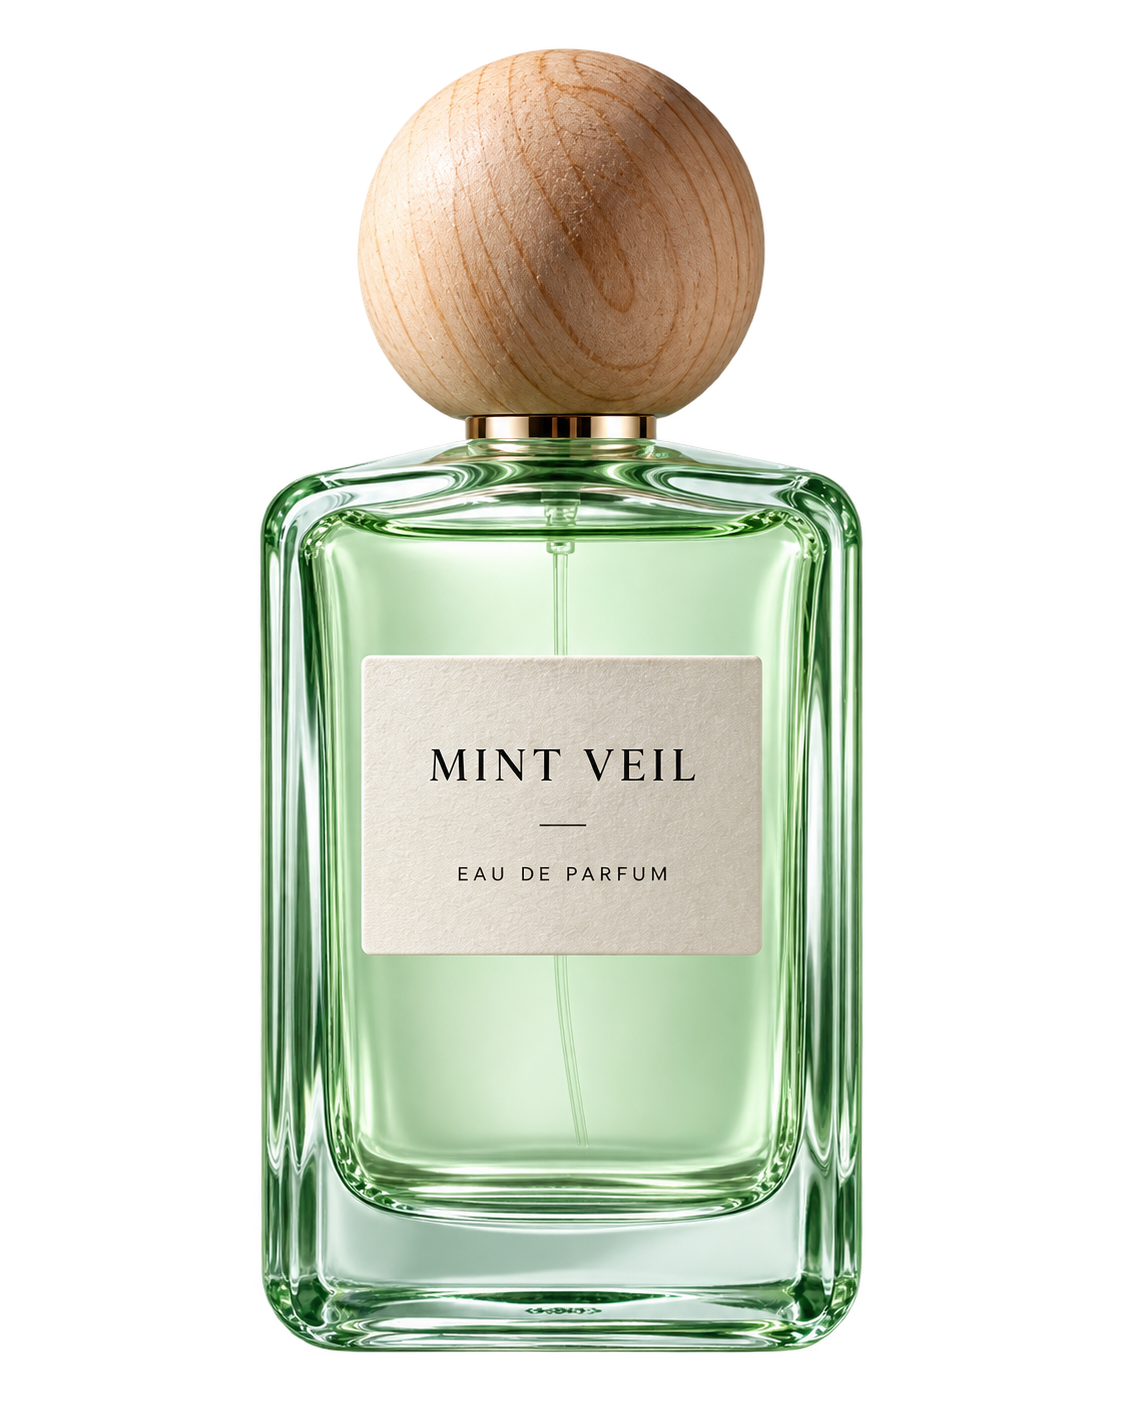
Flowers, leaves and ribbon are removed to leave a standalone product PNG with real transparency. Generative editing reconstructs areas hidden by the ribbon and can change fine details.
View edit brief
Remove the background, flowers, leaves, table and linen ribbon. Keep only the MINT VEIL glass bottle, wooden cap and label. Export a transparent PNG.
 After
After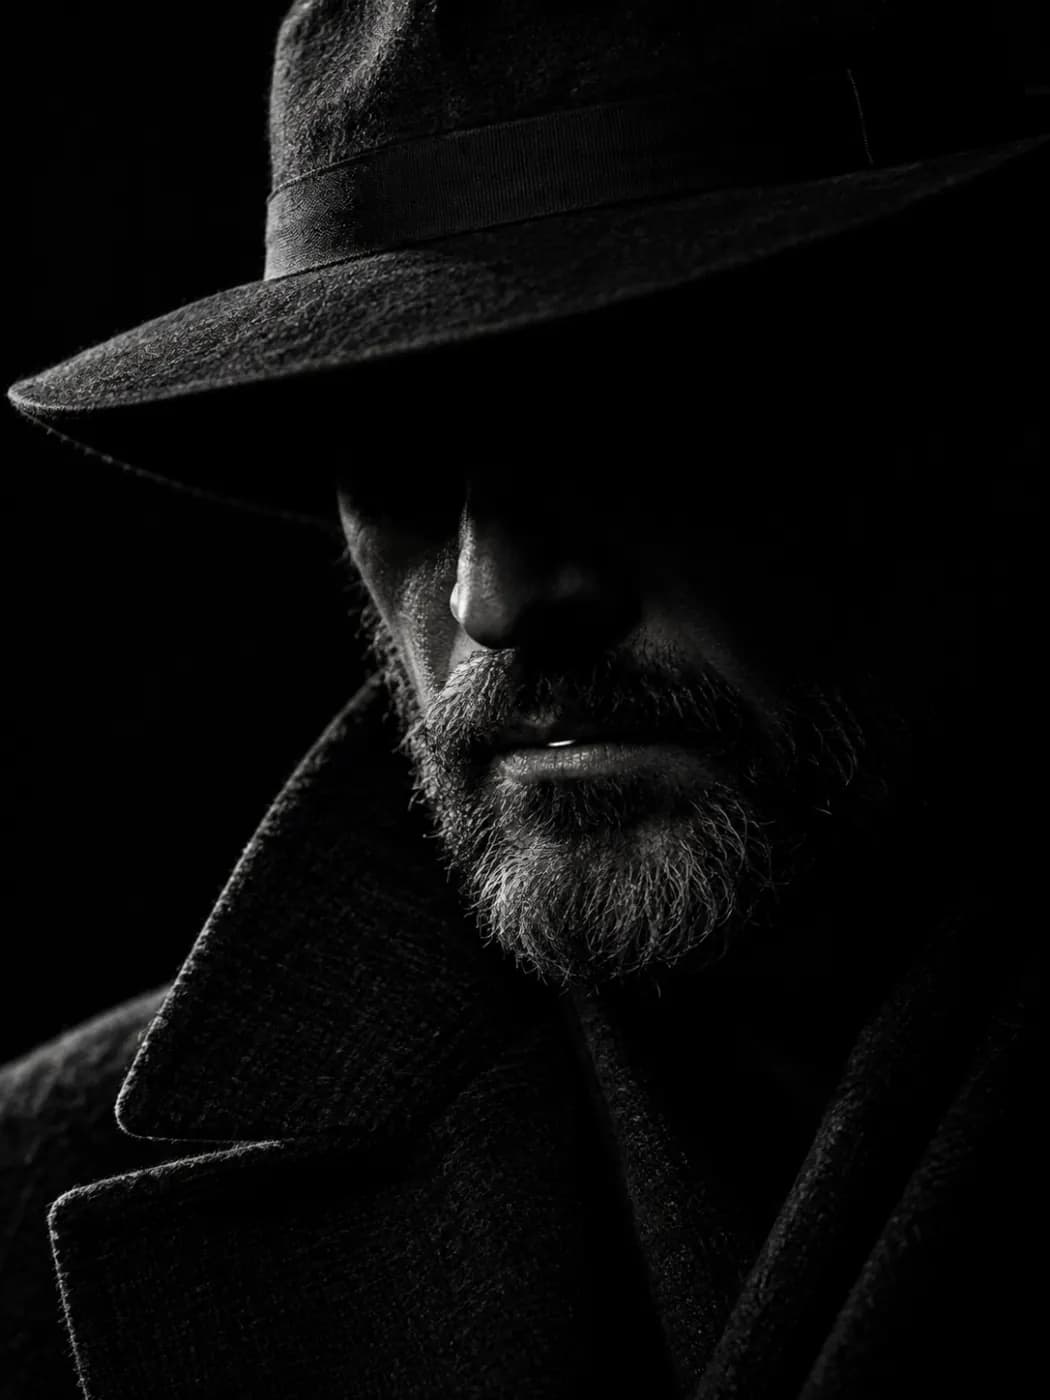
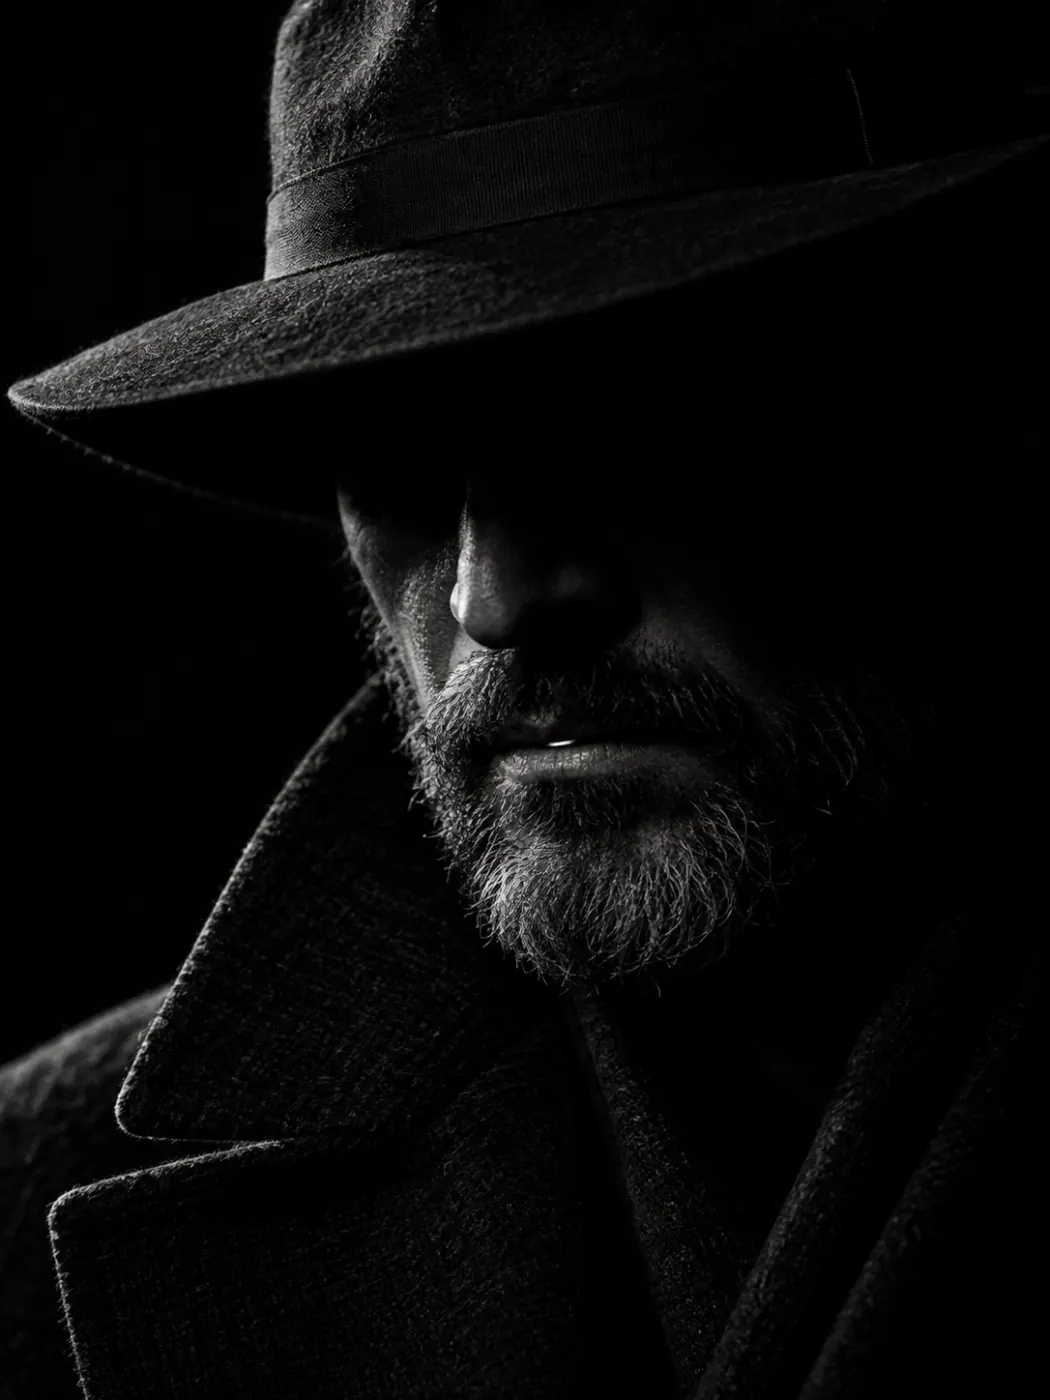
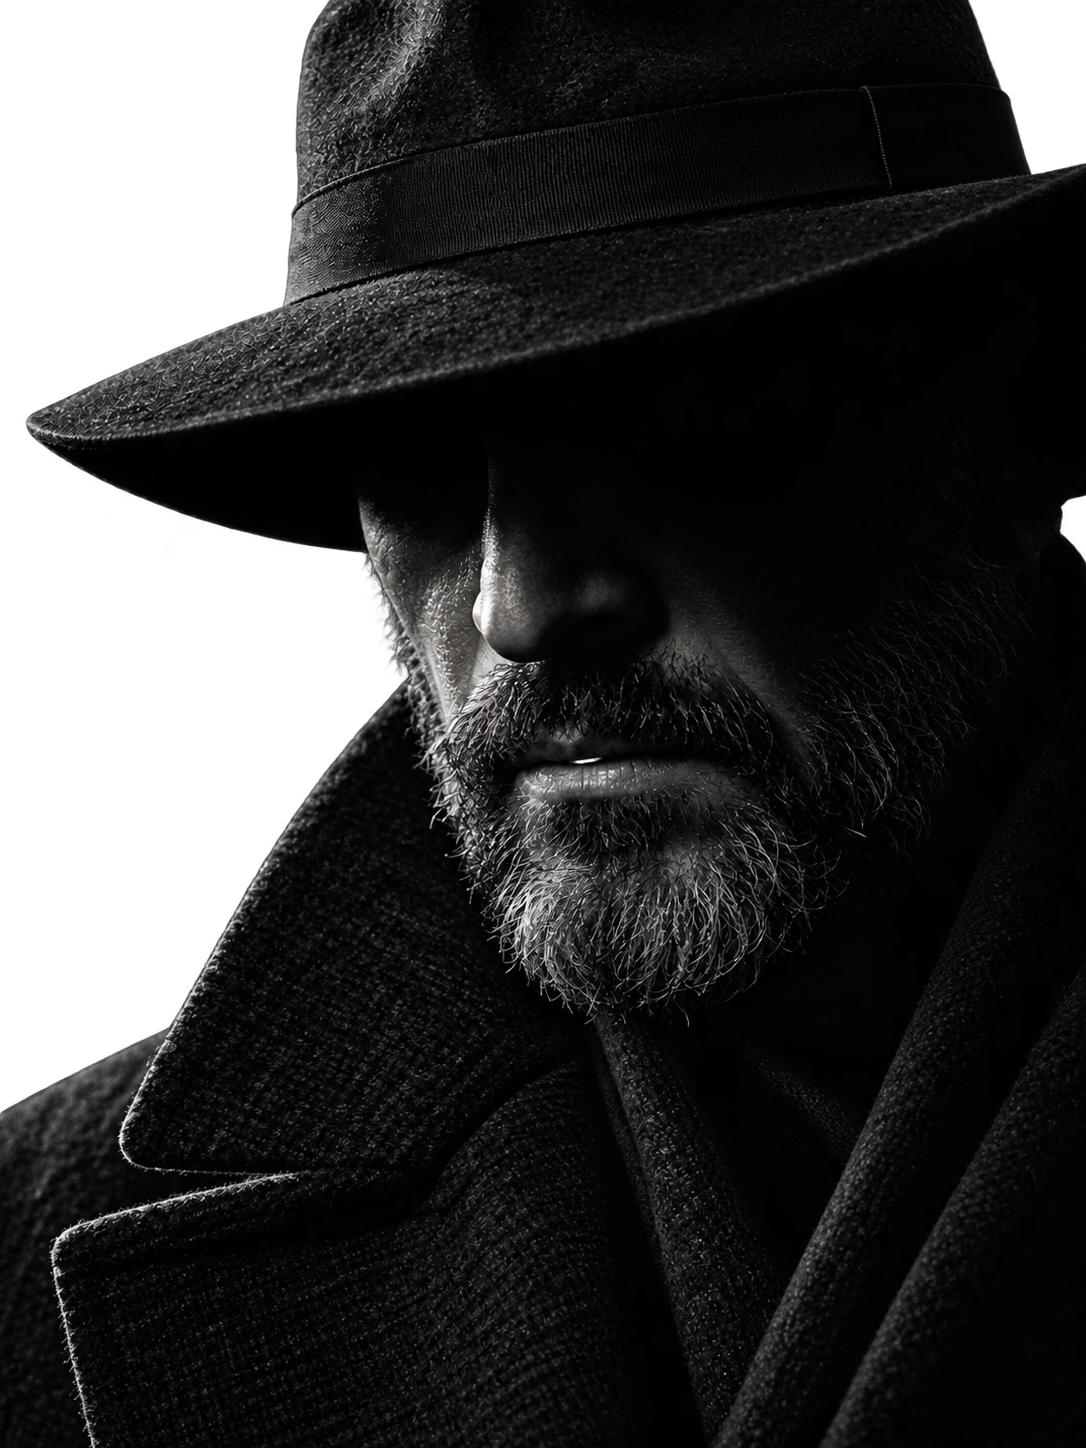
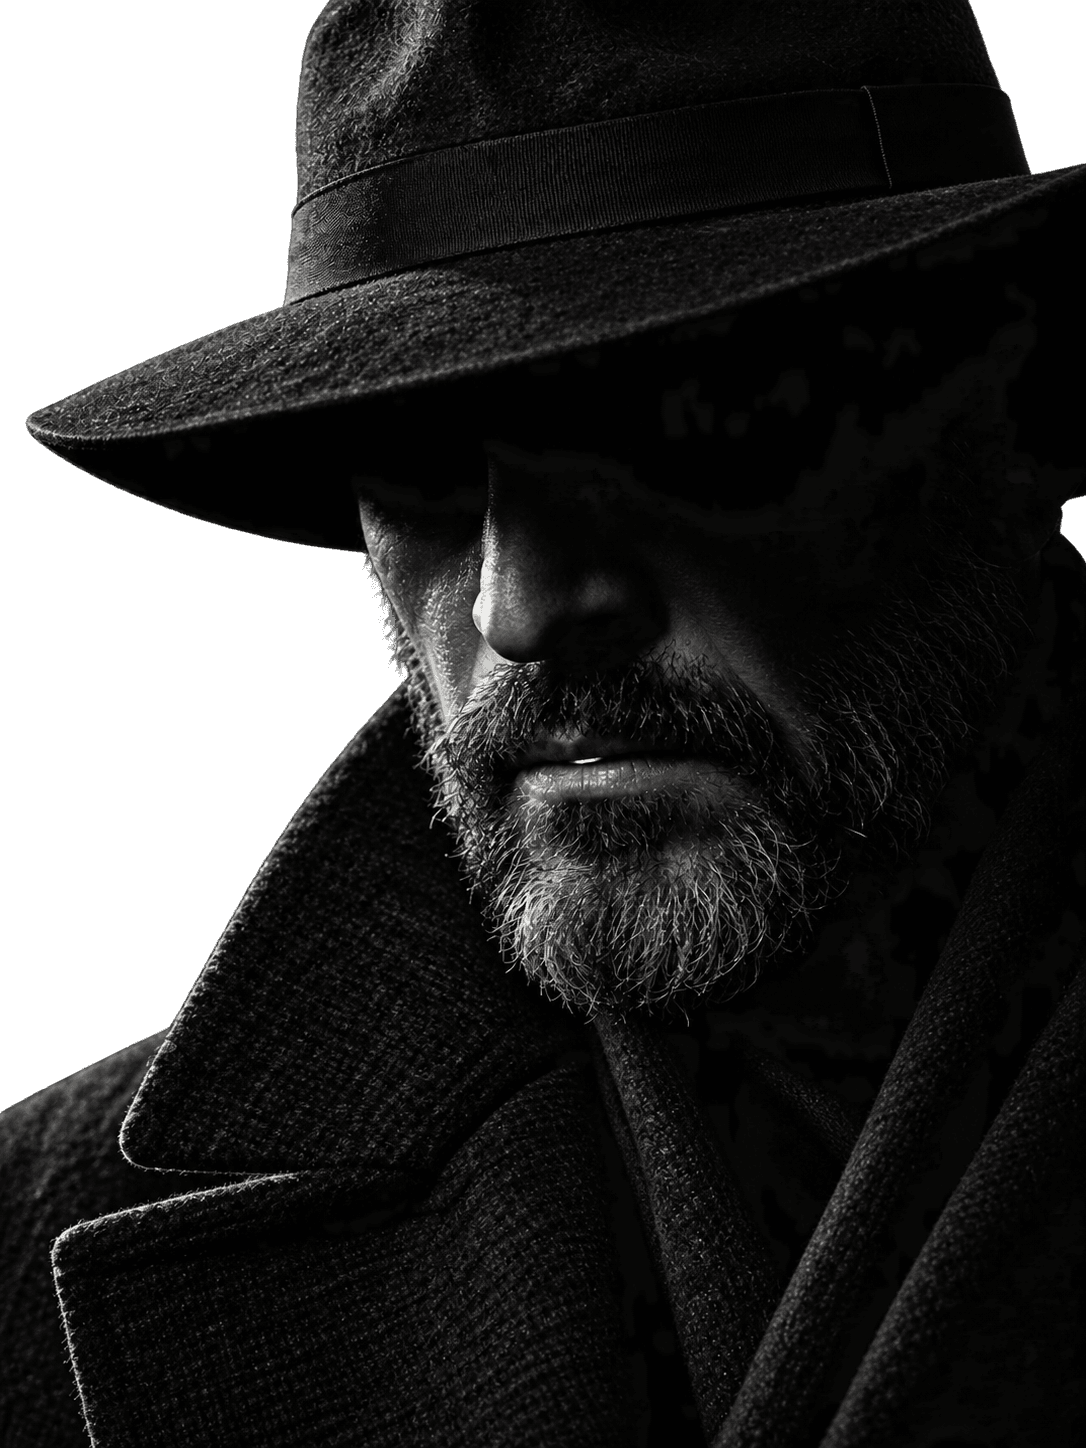
The hat, beard and coat form an opaque subject against a transparent background. Compare the silhouette and facial detail; generative cutouts can differ from the original.
View edit brief
Remove the black background around the man. Keep the hat and clothing opaque, preserve the monochrome lighting and framing, and export a real transparent PNG.
Slide through the example edits to compare subjects, backgrounds and details.
A clean starting point for your next design
Products, ready for a new layout
Separate a product from its surroundings before placing it into a listing, presentation or campaign.
Look closely at the edges
Inspect hair, glass and fine outlines against both light and dark backgrounds. Complex edges may need another pass.
From original to result in three stepsA clear view of every step.
Follow one image from upload to final review. These example previews illustrate the workflow; start with your own image when you’re ready.
Upload your original
Start with a clear source image. Keep a copy so you can compare the result.
Confirm the task
Check the selected tool and credit cost. For prompt-based editing, describe your change clearly.
Review and download
Compare edges, text and textures with the original before downloading your result.
Frequently asked questions
Download a PNG with transparency. Check the downloaded file, especially fine edges and partially transparent objects.
View both images at the same display scale. Compare the composition first, then inspect subject edges, lettering and textures. Download the files to examine details at full size.
Use a clear original image you have permission to edit. Check the selected tool after uploading. For object removal or photo editing, describe the target and its location.
Check the credit cost beside the generation button. Confirm the selected tool, settings and your balance before submitting.
Check source quality and the edit brief first. Complex edges, occlusion, text and faces can produce imperfect results. Try a clearer original or a more specific edit description.
Check permissions for the source image, likenesses and brand elements, along with the selected model's and this site's terms. Editing an image does not grant rights to its source material.