
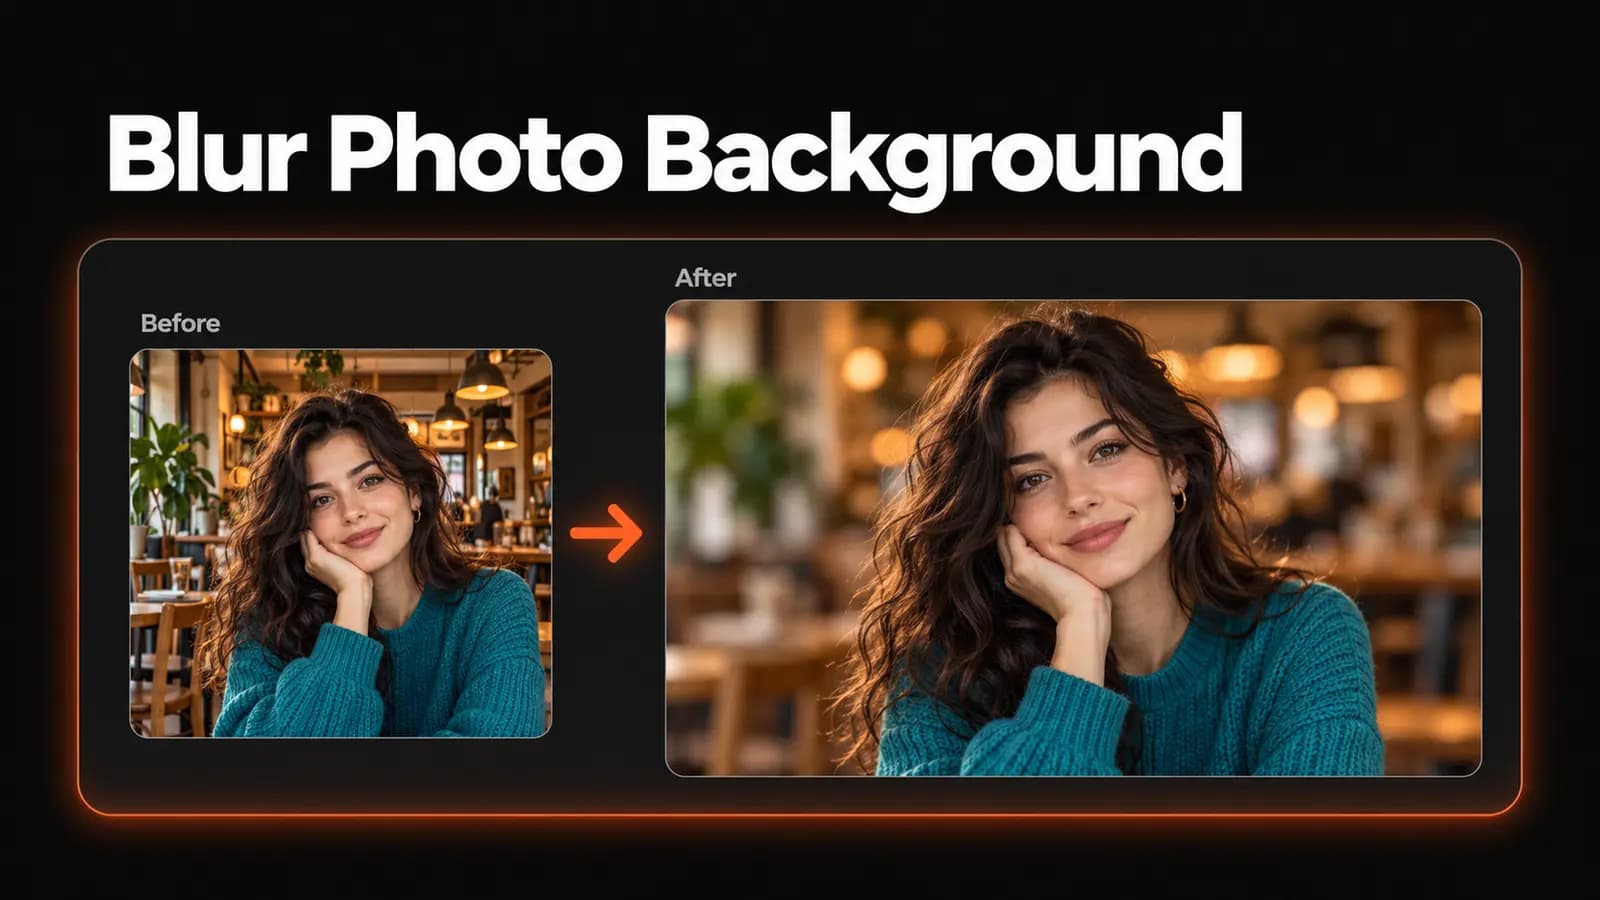
A good portrait can lose your attention to a row of chairs, a crowded shelf, or a bright sign behind someone's head. You can blur background details after taking the photo, keeping the subject prominent without rebuilding the whole scene.
The basic process is straightforward: upload a photo, let the tool separate the foreground, adjust the background blur, and save the result. The part worth slowing down for is the boundary around your subject. This guide walks through the controls and shows what to check before downloading.
Start with a photo that has a clear subject
Choose a photo where the face or main object is already in focus. Background blur can reduce distractions, but it cannot bring missing detail back to soft eyes, a shaky face, or an unreadable product label. If you have several similar shots, choose the sharper subject over the prettier background.
Look at the outline, too. Dark hair against a dark hedge, wispy fur, and transparent glass can make foreground separation difficult. A person in a contrasting shirt against a distant wall gives you a more forgiving starting point than someone tangled visually with nearby branches.
Use the original image file when possible, rather than a screenshot of a photo shared in a messaging app. For this workflow, prepare one JPEG, PNG, or WebP up to 10 MB, with neither side above 4096 pixels. If your file exceeds those limits, resize or export a smaller copy before uploading, and keep the original separately.
How to blur background details online
Open the LoveImage background blur tool and find Start with your image. You need an account, and you must sign in and verify your email before uploading or processing a photo.
1. Upload your source photo
Select Choose source photo and pick your file. Once it uploads, check the source preview and the displayed dimensions to confirm you selected the right version.
The tool processes one source image at a time. There is no need to write a prompt, choose a creative image model, or paint over the background in this editor.
2. Process the foreground once
Review the displayed credit cost, then select Process image. Keep the page open while the task runs; this is the step that separates the subject from its surroundings.
If processing takes longer and the page offers Check task status, use that control before submitting another task. A delay alone does not mean you need to start over.
3. Adjust the blur in the result
Use Background blur strength, which runs from 0 to 35 and starts at 12. You can set it before processing, but judge the effect after Your result appears.
After the foreground is ready, moving the slider recomposes the image in your browser without another AI call. You do not need to press Process image again just to compare strengths; wait for the updated preview instead.
4. Download the composition
When the preview has finished updating, select Download image. The blur editor exports the combined foreground and background as a PNG named blur-background.png.
Download it before leaving the page, because the current composition is made in your browser. Keep your source photo as well so you can return to it for a different edit.
Choose the strength by what still distracts you
Start at the default setting and look away from the screen briefly. When you look back, notice whether your eye lands on the subject or on something behind it. Stop increasing the strength when the background no longer draws your attention first.
For a profile photo taken in a café, you might want the chairs to remain recognizable while their sharp lines stop competing with the face. For a flower against a tangled hedge, a stronger setting may suit the image. These are visual decisions, not fixed presets: the same slider value will not make every background equally quiet.
Check the photo at its intended display size as well as enlarged. A background that looks busy in a full-screen view may already be subdued enough in a small profile image. Heavy blur can also turn a bright sign into a large bright patch, so more blur does not always mean less distraction.
If you are taking another photo, give the subject more space from the background. That separation can help create optical background blur in-camera; Nikon's guide to bokeh explains how subject distance and aperture affect the result. For an existing picture, use the slider to work with the scene you have.
Check hair, gaps, and the ground beneath the subject
Before deciding the edit is finished, inspect the boundary around the subject. Hair and fur deserve particular attention: look for missing strands, a hard outline, or pieces of the old background left between curls. A small error can become more obvious when the background behind it is much softer.
Then check openings inside the silhouette. The space between an arm and the body, around a bag strap, or through a mug handle should make sense beside the rest of the background. If one gap stays sharply detailed while everything around it blurs, the cutout may have retained part of the scene.
For a full-length portrait, look at the feet and the ground they touch. For an object on a table, inspect its base and shadow. An abrupt change from a sharp subject to a very soft supporting surface can make the subject appear pasted onto the photo.
Lowering the blur strength may make a rough edge less obvious, but it will not restore a missing detail. This editor has no manual foreground-repair brush or individual person selector. If a hand, ear, or part of the object is missing, try a clearer source or use an editor with manual masking controls.
Group photos need the same scrutiny for every person you intend to keep. Do not assume that everyone in the foreground has been retained just because the central face looks right. Check the people at the edges and anyone partly hidden behind another person.
Understand what this blur tool changes
LoveImage uses its Background Remover model to extract the foreground first. The browser then blurs a copy of the original photo and places the extracted foreground over it. That is why the scene remains familiar and why slider changes do not need another generation.
The adjustment applies one blur strength to the background layer. It does not offer separate focus distances for a nearby chair, a wall, and a distant tree, or controls for shaping individual light highlights. Scenes with complex depth may therefore look less convincing at strong settings than a portrait against a simple backdrop.
The tool is available to free accounts with sufficient credits, but processing is credit-based. Check the amount displayed beside the processing button before submitting. If you plan to use an image commercially, review the plan features and commercial-use allowance: the free plan does not include commercial use, while Creator, Studio, and Scale do.
When removing or replacing the background makes more sense
Blur works well when you still want the original setting to be part of the photograph. A garden portrait can keep its greenery, and a home workspace can remain recognizable without every shelf demanding attention. Keep that context when it adds something to the picture.
If you need the subject on its own for a layout, use the background remover for a transparent cutout. A blurred background is still part of the image; it does not give you an isolated subject to place freely over another design.
If the original scene is the wrong setting altogether, consider the image background changer. It lets you choose a solid color or upload a background of your own. Compare the new backdrop with the subject's lighting and perspective before accepting it, since this compositor does not automatically relight the subject or create new contact shadows.
Give the downloaded photo one final look
Open the saved PNG and compare it with the original. Check that the face, clothing, or product details you care about remain intact, and that the blur has improved the photograph's emphasis. Inspect the file at the crop and size you intend to use, especially if a profile layout will cut away some of the surroundings.
Keep a moderately blurred version if you are unsure about a stronger one. You can download another version after adjusting the slider while the result remains open, then compare the files side by side. Rename them so you can tell which is which without reopening both.
You are finished when the background stops competing and the subject still belongs in the scene. Blur your photo's background, start with a restrained setting, and check the edges before saving.