
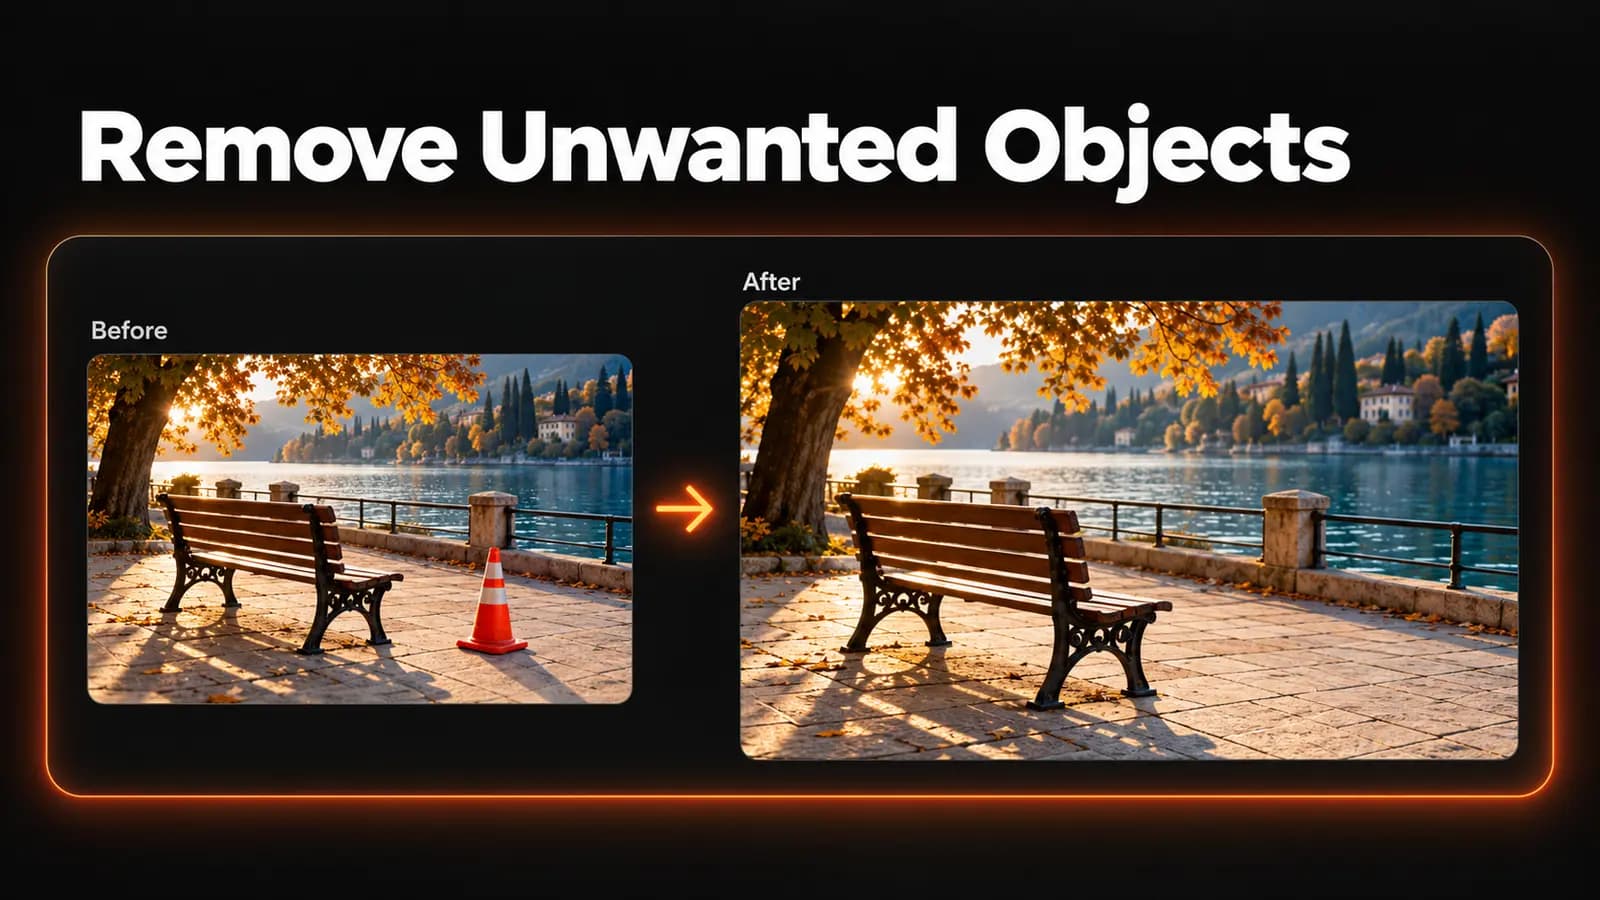
A traffic cone beside a bench. A stranger behind your family. A charging cable across an otherwise tidy desk. The promise behind “remove object from photo” tools is simple: lose the distraction and keep the picture.
Upload your original, describe the unwanted object and its location, then inspect what replaces it. That last step matters: removing something means filling a space the camera never saw. Here's how to approach the edit, with prompts you can adapt and ways to fix results that need another pass.
First, decide whether removal will help
Before opening an editor, look at where the distraction sits. If it touches the edge of the frame, a small crop may solve the problem without inventing any background. Keep the wider composition when cropping would cut off a hand, squeeze the subject, or lose part of the setting that makes the photo interesting.
For an object inside the frame, judge what lies behind it. A cup against a plain wall leaves a relatively simple area to fill; a cup covering someone's fingers requires the editor to invent anatomy. Neither result is guaranteed, but the second deserves much closer inspection.
Object removal also differs from cutting out a subject. Use it when you want to keep the scene while removing one distraction. If you need the person or product isolated on transparency, the background remover is the relevant tool instead.
Keep an untouched copy of your photo before starting. Use the original file when available, rather than a screenshot of a compressed social post, so you have a clearer source and a reliable comparison afterward.
Remove object from photo: upload, describe, review
LoveImage's Object Remover tool runs the Object Removal model. Its workflow uses an uploaded image and a text description of the target; these steps don't require drawing a brush mask.
- Sign in and open the tool. Create an account if you don't have one, and verify your email before uploading. Confirm that you're in Object Remover and that the model is Object Removal.
- Upload your source photo. Use one JPEG, PNG, or WebP image, up to 10 MB and 4096 pixels on its longest edge. Check the preview to make sure it's the correct image, with the surrounding scene visible so you can judge whether the repair fits it.
- Describe one target in the prompt field. Start with something concrete, such as “the orange traffic cone on the pavement beside the bench.” Identify the object rather than asking to “clean up everything.”
- Review the credit cost and generate. The cost appears on the Generate image button and in the review above it. Read it before submitting, especially when planning more than one attempt.
- Compare and download. Inspect the filled area and the subject you wanted to keep. Use Download to save a result worth keeping, then examine the file at full size.
If the first result misses the target, return to the original and revise the description. If it removes the object but damages something nearby, don't keep feeding that damaged version into new attempts. Starting from the original makes it easier to see whether a changed prompt actually helped.
Write a target description, not a whole new scene
A useful removal prompt answers two questions: what should disappear, and where is it? The prompt field asks you to describe the object to remove, such as the person on the right. Start with a short description that clearly identifies the target in your photo.
Name the object first, then add the detail that distinguishes it. Colour, clothing, position, and a nearby landmark can help identify the target. Skip instructions about lighting, mood, or a new setting when the job is simply to remove a cup.
| Situation | Starting prompt | What to inspect afterward |
|---|---|---|
| A stranger in a holiday photo | The person in the red jacket at the far left, beside the railing | Railing alignment and any remaining shoes or shadow |
| Clutter on a desk | The black charging cable across the front of the wooden desk | Wood grain and the edge of the laptop |
| A drink beside a portrait subject | The white paper cup on the table to the right of the seated person | The person's fingers and the tabletop |
| A cone on a walkway | The orange traffic cone on the pavement in front of the bench | Paving joints and the cone's shadow |
These are starting prompts, not demonstrated results. Match each description to your own photo, and remove details that don't apply.
When there are several similar objects, “the person” leaves too much ambiguity. Try “the person wearing a yellow coat nearest the left edge” instead. If that still selects the wrong figure, a tool with manual selection may be a better fit than increasingly elaborate wording.
Check the repair before calling it finished
Look at the whole image first, at the size you expect people to see it. Does the cleared area fit the scene, or does it now draw attention because it's unusually smooth or bright? A missing object can be replaced by a distracting patch.
Next, open the original and downloaded result at the same display scale. Inspect the boundary around the removed object, then follow any lines that cross it. Fence rails, floorboards, horizons, and tile joints make useful reference points because a bend or break is easy to spot.
Check shadows and reflections separately. A person can disappear while a dark shape remains on the ground, or a cup can leave a reflection in a glossy table. Compare those areas with the source before deciding whether they belong to the removed object or to something still in the scene.
Finally, check the things you meant to preserve: faces, fingers, lettering, jewellery, and the outline of the main subject. LoveImage's removal workflow reconstructs image content, and nearby details can change too. A clean-looking patch doesn't compensate for an altered face or product label.
When the result looks wrong, change the right thing
The wrong object disappeared. Tighten the target description with its position and one distinguishing feature. Retry from the original so you're comparing two attempts at the same task, rather than repairing an accidental deletion.
Part of the object remains. Check whether your wording identified only part of it, such as a bag when you meant the person carrying it. Describe the complete target, and inspect any handles, straps, or other thin extensions after the next attempt.
The object is gone, but a shadow remains. You can try naming the object and its shadow together, but treat this as another attempt, not a guaranteed fix. A faint reflection or irregular shadow may need manual retouching if the text description cannot isolate it reliably.
The background looks melted or repetitive. Reconsider how much the editor has to reconstruct. If a large car covers a brick wall, the tool has no view of the hidden bricks; another photo from the same scene may be a better source, or a tighter crop may be enough.
A face, hand, or important edge changed. Reject that version and return to the original. For an object overlapping a person, precise manual retouching or a different shot may be preferable to spending more attempts on an edit whose central detail keeps changing.
For several distractions, tackle one first and inspect the result before moving on. To remove the next object, upload the version you've checked and describe the new target. Keep each useful intermediate file so you can return to it if a later removal makes the photo worse.
What the free plan covers
Object Removal is available on LoveImage's free plan, but free access is credit-based rather than unlimited. New accounts receive 20 signup credits once, and processing uses your balance. Check the displayed cost before each run instead of assuming retries are free.
The free plan supports image quality up to 1K and does not include commercial use. Creator, Studio, and Scale include commercial use; review the plan details if you're preparing images for client or business work. For this tutorial, a personal photo with one isolated distraction is a useful place to start.
Judge the downloaded file against your intended use. Something that looks acceptable in a small social post may reveal a rough patch in a larger layout. Check the file's dimensions and visible detail before committing it to the finished design.
Start with one distraction you can identify clearly
Choose a photo where the unwanted object is separate from the main subject, and write a short description that identifies it unambiguously. After processing, compare the replacement texture, nearby edges, shadows, and important details with the original. Keep the result only if the whole picture still works.
Open LoveImage's object removal tool, upload your photo, and name the first object you want to remove. Start with one careful edit; decide what else needs changing after you've seen it.