
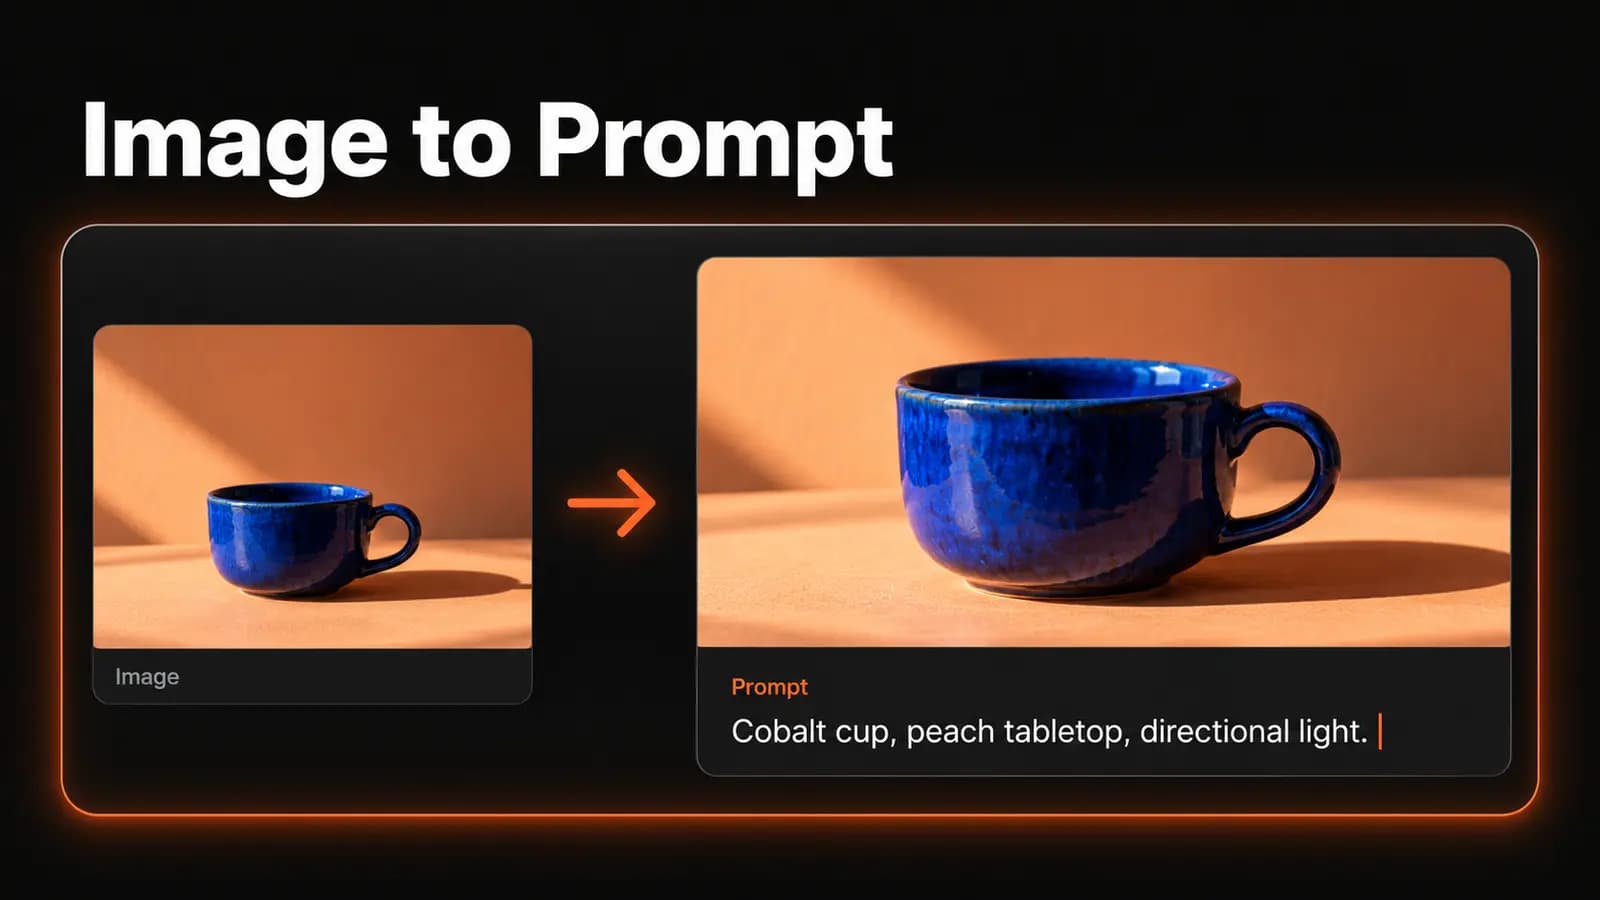
You have an image you like, but no prompt. Maybe it's the tiny figure beneath a huge sky, the rough edges of an illustration, or the way a cup's shadow cuts across a table. You can see what works; describing it is harder.
An image to prompt tool turns those visible details into text you can edit and use for generation. It gives you a starting description, not the hidden instructions that made the original. The useful work is deciding which details to keep, correct, or change.
What image to prompt can actually recover
Image analysis can describe a subject, its surroundings, colors, and spatial relationships. That makes it useful for rebuilding a composition or borrowing a lighting idea for a different subject. It cannot establish the original model, seed, exact wording, or sequence of edits from the picture alone.
Think of reverse engineering here as writing a new brief from visible evidence. Several different prompts could describe a blue cup on a peach table, and the original might never have mentioned the table color. Some choices may have come from the generator rather than its instructions.
Google's official Imagen prompt guide recommends starting with the subject, context, and style, then refining the description through iteration. Those same categories give you a useful way to organize what you see in a reference before writing a new prompt.
If you need the actual prompt, first check whether the creator published it alongside the image. For examples with text already attached, LoveImage's image prompt library lets you inspect and copy prompts. Use image analysis when that information is missing, or when you want a fresh description of a particular visual detail.
Choose a reference that answers one question
Before uploading, finish this sentence: “I want to keep the image's ___.” Choose something concrete, such as the low viewpoint, muted colors, or empty space above the subject. This keeps the description focused on what you need for your next image.
Use a clear source file where the relevant detail is visible. Crop away browser controls or unrelated panels before uploading, but keep enough surrounding space to show the composition. A tight crop of a face cannot explain how that person sits within a landscape.
For LoveImage, prepare one JPEG, PNG, or WebP, up to 10 MB, with neither side exceeding 4096 pixels. Create an account, sign in, and verify your email before uploading or processing it. Use an image you have permission to upload; a reference you made yourself is a straightforward place to start.
If the file is too large, resize or export it locally before trying again. Check the new file at normal viewing size so that shrinking it has not erased the texture or small shapes you wanted to describe.
Extract the description, then review it
LoveImage's Image to Prompt tool returns an editable English description. It is available on the free plan and uses credits; free access does not mean unlimited processing. New accounts receive a one-time allowance of 20 signup credits.
The workflow has three steps:
- Choose source photo. Upload your prepared image and check the preview. Process one reference at a time.
- Process image. Submit the analysis and wait for the text result. The page displays the credit cost beside the processing button.
- Edit the English prompt. Correct misidentified objects and add the details that matter to your brief. Use Copy prompt to save the text or Generate with this prompt to carry it into the generator.
The handoff opens a generation draft; it does not immediately create another image. Review the model, settings, and credit cost before submitting that separate task. Only the text is carried into this workflow, so the next generator must get the information it needs from your words.
Keep the edited prompt within 1,500 characters for generation. If the description is longer, save a full copy first, then trim incidental objects and repetitive adjectives. The handoff button stays disabled while the text exceeds the limit.
Read the result against the picture
A fluent description can still get the important detail wrong. Compare it with the reference before spending credits on a new image, especially when the subject is small or partly hidden. Use these checks to decide what deserves an edit.
| Check | What to look for | Useful wording |
|---|---|---|
| Subject | Identity, count, pose, and action | One seated figure, seen from behind |
| Placement | Relative size and position | Figure small in the lower-left corner |
| Viewpoint | Camera height and distance | Wide view from ground level |
| Light | Direction, softness, and shadow | Warm light from the left, shadow to the right |
| Surface | Texture and material | Rough paper with uneven ink edges |
| Palette | Dominant colors and contrast | Muted blue sky against rust-colored ground |
Check guessed camera settings, artist names, and locations. If you cannot verify a label, describe the visible effect instead: “soft background with a sharp subject” says what you can see without claiming a particular lens was used. For lettering, inspect the image yourself and replace any incorrect transcription.
Also remove details that compete with your purpose. A description may mention a plant in the corner because it is visible, even though your next composition needs an empty corner for copy. Your prompt should reflect that decision.
A worked rewrite from caption to brief
Consider a hypothetical reference showing a blue ceramic cup on a peach table. The cup sits low in the frame, light enters from the left, and a broad area above it is empty. The examples below are written to illustrate the editing process, not presented as measured tool output.
A basic caption might read: “A blue cup sits on a table in warm light. The background is plain.” That identifies the scene but leaves out the placement and shadow that give the composition its character.
A more useful generation prompt would be:
A single cobalt-blue ceramic cup sits in the lower third of a peach-colored tabletop scene, its handle pointing right. Warm light enters from the left and casts a defined shadow to the right; the upper half of the frame is an uncluttered cream background. Show a slightly uneven ceramic surface, viewed from just above table height, with no lettering or extra props.
Each addition answers a visual question. Where is the cup, which way does the handle face, and where should the viewer see empty space? None of those instructions requires knowing the original prompt or naming the generator that made the reference.
Now suppose you want the same composition for a yellow bowl. Replace the subject and its material description, remove the handle instruction, and keep the placement and light. Read the whole prompt afterward: substitutions often leave behind details that belonged only to the previous subject.
This approach also works for illustrations. Replace photographic language with visible marks such as flat color shapes, thick outlines, or grainy shading, while keeping the spatial relationships you want.
When the generated image misses the point
Send the revised brief to text-to-image generation and choose an available aspect ratio close to your intended layout. A wide scene squeezed into a square asks the generator to solve a different composition. Keep the model and settings stable while you revise the wording so comparisons remain useful.
Judge the first result against the feature you chose to preserve. If the cup looks right but fills the frame, adjust its scale and placement before rewriting the color palette. Try “small cup occupying the bottom third, with generous empty space above” and compare the framing again.
If the lighting feels wrong, compare the shadow before adding mood words. “Warm and cozy” leaves its direction open; “light from the left, dark shadow extending right” gives a clearer instruction. Remove contradictions such as asking for both flat, shadowless lighting and a hard directional shadow.
If the style drifts, describe how the image is constructed. Uneven brush edges, flat blocks of color, and visible paper grain are more specific than “artistic.” Add only the traits you can see and want to preserve.
Expect variation even after careful editing. The text does not contain every contour, pixel, or relationship in the original, and a different generation can interpret the same words differently. If success requires an exact face, product shape, or layout, a text description alone is a poor fit for that requirement.
Keep a brief you can reuse
Save the reference, your edited prompt, and the settings used for each useful result together. Add a short note about what changed, such as “smaller subject fixed the empty space.” That record is easier to work from than a folder of attractive outputs with no explanation.
For later generations, distinguish the fixed parts of the brief from the variables. You might keep the viewpoint, light direction, and background while changing the subject or palette. This gives you a repeatable starting point without pretending every output will match.
Before using generated images commercially, check the plan allowances. LoveImage's free plan supports image output up to 1K and does not include commercial use; Creator, Studio, and Scale include commercial use, subject to the terms.
Start with one reference and one detail worth preserving. Turn your image into an editable prompt, correct the description, and change one thing for your next image.