
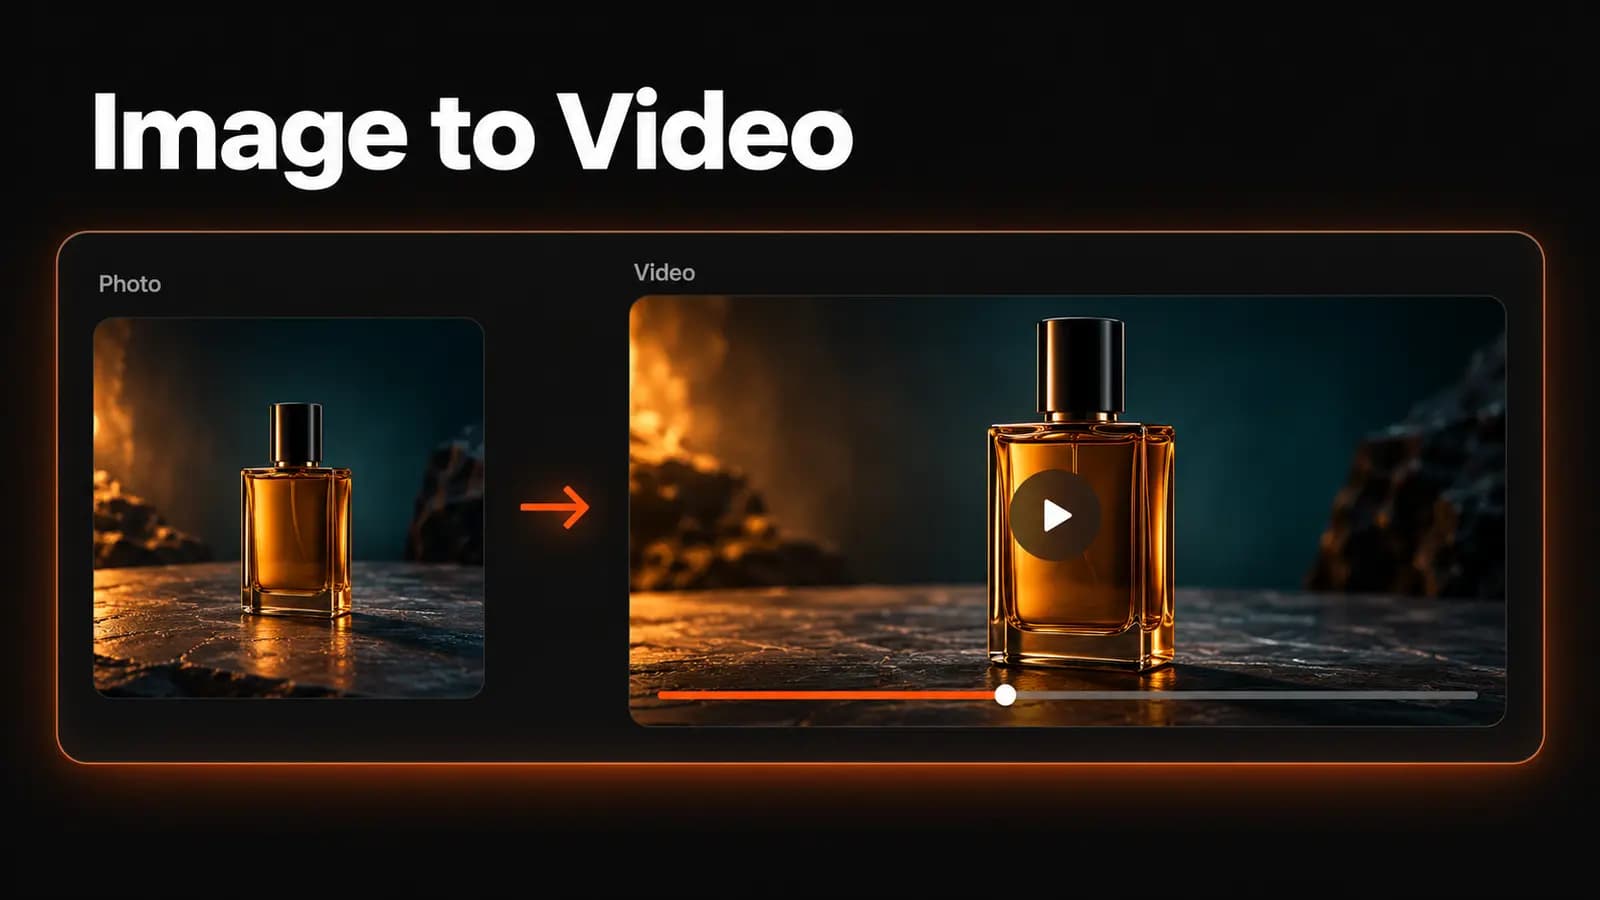
A product photo needs a little movement for an ad. A landscape would work as an opening shot if the water rippled. With image to video AI, you can use that still as the starting point for a short clip and describe what should happen next.
The difficult part is getting movement without losing the picture you liked. This guide walks through choosing an image, directing the motion, and picking settings that fit the shot before committing more credits.
1. Pick a photo with room to move
Start with a clear subject and inspect the image at full size. Check the eyes and hands in a portrait, or the silhouette and label on a product. Google's official video generation guide recommends a sharp, clear, well-composed source image for more coherent image-to-video results.
Leave space around anything you intend to move. For a person turning slightly, use a crop that includes the shoulders rather than just the face; for a drifting camera, avoid placing the product against the frame edge. A visible foreground and background also give you a clearer way to describe where movement should occur.
Use the sharpest clean source you have, without assuming that a large file fixes poor detail. If the starting product shot needs work, the guide to writing product photography prompts can help you prepare it. Keep essential ad copy separate so you can add it as a stable overlay in a video editor later.
2. Set up your image to video AI clip
An image to video generator uses the uploaded picture as visual guidance and the prompt to direct what happens over time. Treat the image as an anchor, not a promise that every detail will remain identical. If you need a completely new scene without an existing picture, text-to-video generation is the more direct starting point.
In LoveImage, open Image to Video and continue into the workspace to upload your reference. Choose an image-compatible model; some families have a separate entry ending in I2V. Video generation requires a paid plan.
- Upload one prepared image and check its preview.
- Select the model, then review its available resolution, duration, and aspect ratio.
- Write the motion prompt and check the audio option, if offered.
- Start with one output, review the credit estimate, and click Generate video.
The current workspace accepts one reference image per generation, with no separate end-frame upload control or multiple-reference uploader for the models below. Seedance 2.5 and Hailuo 3 I2V receive that image as a first-frame input; other models may use it as a visual reference, so do not assume every option fixes the opening frame. You can describe a desired ending in words, but cannot upload a second picture to specify it in this workflow.
3. Describe the movement, not the photograph again
Your image already supplies the setting and appearance. Google's video generation best practices recommend focusing image-to-video prompts on motion rather than repeating those visual details. Begin with the change you actually want to see.
Separate camera movement from subject movement. “The camera moves slowly closer to the bottle” asks for a different shot from “the bottle turns slowly on its base.” For a first attempt, pick one main action and decide whether the camera should move or stay fixed.
A useful working pattern is: what moves, how it moves, and what stays steady. “A light breeze lifts the ends of her hair; she maintains the same pose; the camera stays fixed” gives you something specific to judge. Directions such as “cinematic” can describe a mood, but they do not explain the action.
Specify pace when it matters: a gradual push-in throughout the clip, or a brief blink followed by stillness. Keep preservation requests short and positive, such as “the bottle remains upright.” These are instructions to evaluate, not guarantees of perfect consistency.
4. Choose a model by the controls your shot needs
Start with practical constraints: do you need a square clip, a short draft, or generated sound? LoveImage's Image to Video picker offers more models than this shortlist. These selections include Seedance 2.5, Wan 3.0, and PixVerse V6 I2V, with workspace settings checked as of October 27, 2026. Capabilities offered elsewhere by a model maker may differ.
| Model | Resolutions | Durations in seconds | Aspect ratios and image behavior | Audio here |
|---|---|---|---|---|
| Seedance 2.5 | 480p, 720p, 1080p | 4, 5, 10, 15 | Catalog: 1:1, 4:3, 3:4, 16:9, 9:16, 21:9; with an image: follows its proportions | On/off toggle |
| Wan 3.0 | 480p, 720p, 1080p | 2, 4, 5, 10, 15 | Auto, 16:9, 9:16, 1:1 | On/off toggle |
| PixVerse V6 I2V | 360p, 540p, 720p, 1080p | 4, 5, 8, 15 | Auto | On/off toggle |
| Kling 4.0 | 720p, 1080p | 3, 5, 10 | 16:9, 9:16, 1:1, 21:9 | Always generated |
| Hailuo 3 I2V | 768p, 2K | 4, 6, 10 | Auto | No audio toggle |
| Veo 3, Veo 3 Fast, Veo 3 Lite | 720p | 8 | 16:9, 9:16 | Always generated |
Seedance 2.5 has a 480p draft tier. Its catalog lists six selectable ratios, but supplying a first-frame image makes the output follow that image’s proportions; the selected ratio does not override the source crop. Wan 3.0 also starts at 480p and offers a two-second option for a brief insert. PixVerse V6 I2V adds 360p and 540p choices with an automatic frame shape. Hailuo 3 I2V remains an option for 2K delivery, subject to your plan.
For a selectable 21:9 frame with a reference image, Kling 4.0 offers that setting. With Seedance 2.5, prepare a 21:9 source image instead of relying on the ratio selector. Seedance 2.5, Wan 3.0, and PixVerse V6 I2V expose an audio switch. Veo 3 variants and Kling 4.0 generate sound without an off toggle, while Hailuo 3 I2V has no audio toggle. Check the selected model's controls before planning a soundtrack.
5. Set the format and budget before generating
Choose the intended frame shape early: 9:16 for a vertical composition, 16:9 for a wide shot, or 1:1 for a square placement when supported. Auto leaves framing to the model; models listing only Auto have no separate shape selector. Wan 3.0 offers both Auto and explicit ratios.
Prepare the source crop accordingly, and keep the important subject inside it. For Seedance 2.5 image-to-video, crop to your intended proportions before uploading: changing the selected ratio will not reshape the supplied first frame.
Use the shortest available duration that gives the action enough time. A blink needs a different amount of time from a slow reveal; squeezing a reveal into two seconds changes the brief. For a first draft, consider Seedance 2.5 or Wan 3.0 at 480p, or PixVerse V6 I2V at 360p or 540p. Compare the displayed estimate before deciding which draft fits your budget.
The credit estimate depends on the model, resolution, duration, and output count. Check it again after switching models because unsupported settings can reset. Review video plan limits and pricing before planning higher-resolution work: Creator supports up to 1080p, while Studio and Scale support up to 4K where the model offers it.
Once the movement works, consider a higher-resolution run for delivery. That is another generation, so inspect it again rather than assuming it will reproduce the draft exactly. Avoid paying for a longer, sharper version of a shot whose basic action is still wrong.
6. Four motion prompts you can adapt
These prompts assume the relevant subject is already visible in your source image. They are starting points, not tested presets or promises of a particular result.
Product: a restrained camera move
The camera inches closer to the bottle at a steady pace. The bottle remains upright and stationary on the tabletop. Its shape and label stay consistent throughout the single continuous shot.
Use this when the packaging matters more than dramatic movement. Inspect the lettering throughout the result before using it in an ad.
Portrait: a small, readable action
The person blinks once, then holds the same relaxed expression. Their head and shoulders remain still. Fixed camera, gentle natural breathing.
Start here before requesting a head turn or a gesture. If the face changes, remove the breathing instruction and judge the blink alone.
Landscape: motion within the scene
Small ripples travel slowly across the lake. The shoreline, mountains, and trees remain stationary. The camera holds its original position throughout the shot.
This gives you one moving area to inspect. Add a slow camera move only after the water behaves as intended.
Illustration: keep the drawing's character
The illustrated character's scarf sways gently from side to side. The character holds the same pose. Keep the original flat colors and drawn outlines consistent, with a fixed camera.
Use this with an illustration that already includes a scarf. Check whether linework flickers or textures change before adding more movement.
7. Fix the failed motion before increasing quality
Faces morph or hands warp: reduce the requested pose change and inspect the source for unclear anatomy. If fingers become distorted during a wave, try leaving the hands still and moving the camera instead. Compare the opening, middle, and closing frames for changes in identity or proportions.
Text melts or packaging bends: hold the product still and remove any orbit or rotation request. If essential lettering remains unstable, animate a text-free version and add the copy in a separate editor. A photo to video AI result still needs checking when exact product details matter.
Everything moves at once: remove secondary actions and give the shot one focus. Replace “wind, swirling mist, dancing light, flying leaves, dramatic orbit” with just the movement that serves the scene. If you want several distinct moments, plan separate clips rather than packing them into one prompt.
Watch the complete clip at normal speed, then pause where something looks wrong. Change one instruction between attempts so you can tell whether it helped, and keep the image and settings consistent for that comparison. Before delivery, check the final framing and listen to any generated audio as well.
Ready to animate your still? Open Image to Video and create your first short clip.