
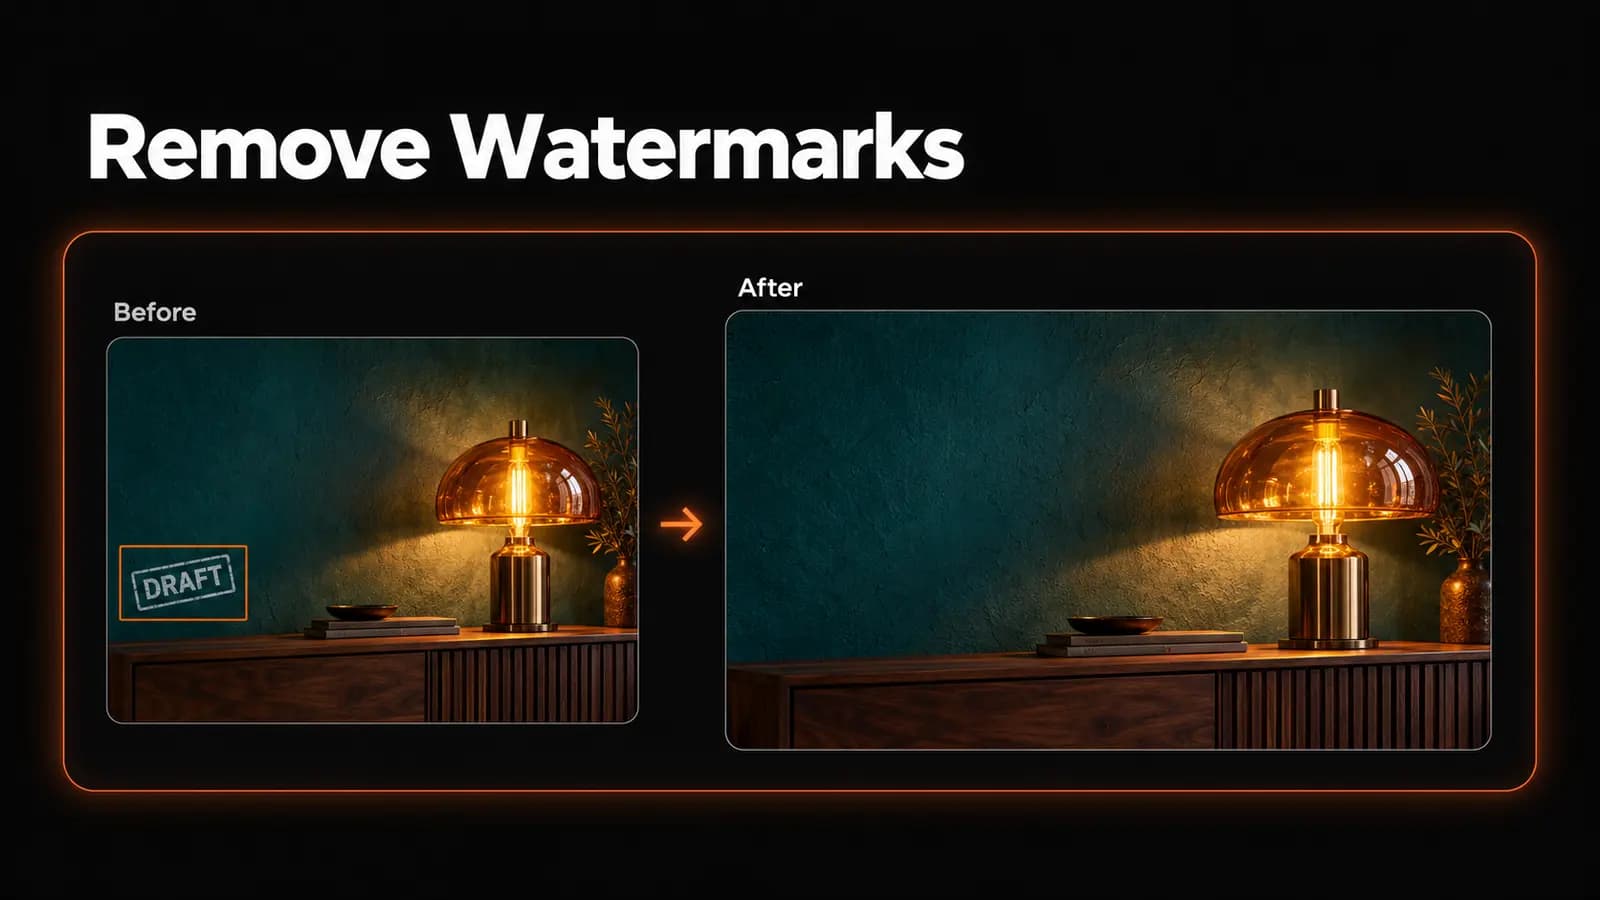
An old export of your photo still has a draft stamp in the corner. The editable file is missing, and you need a clean copy. A watermark remover can fill the marked area, though it reconstructs the covered detail rather than recovering the original pixels.
Start with a simple check: do you have the right to remove the mark and use the edited photo? If the image belongs to someone else, get permission first. Then follow the steps below to select the mark, process the photo, and inspect the repair.
Check who owns the photo and who added the mark
The legal context here is U.S. copyright law, not advice on your particular situation. Rules elsewhere may differ.
Start with the source of the image. The photographer is generally the initial copyright owner, and an original photograph receives protection when it is taken, without needing registration. Employment and qualifying work-for-hire arrangements can change ownership, as the U.S. Copyright Office's guidance for photographers explains.
For your own photo with a draft label you added, check whether you still hold the relevant rights and whether any agreement limits the edit. For someone else's photo, read the license or ask the rights holder. Permission to display an image does not necessarily include permission to remove a visible credit or watermark.
| What you have | What to do before editing |
|---|---|
| Your own photo with your own old proof stamp | Look for the original; confirm you have retained the rights needed. |
| A client's image | Get confirmation that the client can authorize the removal and proposed use. |
| A licensed stock image | Download the licensed clean file and follow its license conditions. |
| A photographer's proof of you | Ask the photographer for the appropriate finished file or explicit permission. |
| An image saved from search or social media | Find the rights holder and obtain permission before proceeding. |
Keep the license or written permission with the photo. A useful request identifies the exact file, the mark you want removed, and where the edited image will appear. “May I remove this corner proof stamp for our printed brochure?” is clearer than “Can I use this?”
Why a watermark can have legal significance
A watermark may identify the creator or copyright owner, making it more than a visual obstruction. Identifying information and terms of use can qualify as copyright management information, including in digital form, under 17 U.S.C. § 1202.
Section 1202(b) covers intentional removal without authority and certain acts of distribution. It also requires knowing, or for civil remedies having reasonable grounds to know, that the conduct will help cause or hide infringement. The facts matter; this does not make every watermark edit automatically unlawful.
Treat a creator's name, signature, or copyright notice as a reason to confirm authority before touching the file. Cropping the mark out instead of painting over it does not resolve the permission question. Nor does replacing someone else's mark with your own establish ownership.
Noncommercial use is not an automatic exception. The Copyright Office describes fair use as a case-by-case assessment, weighing four factors rather than offering a blanket permission for personal projects. If your plan depends on a legal exception or a disputed license, get advice specific to your circumstances and jurisdiction before editing.
Look for a clean original before reconstructing anything
Check your camera originals, cloud backups, earlier exports, and the source design file. If the watermark sits on a separate layer, hiding that layer and exporting again preserves the photograph underneath. For a purchased image, retrieving the licensed download also avoids unnecessary retouching.
Once an opaque mark has been flattened into a JPEG or PNG, it may have replaced the pixels beneath it. An AI fill estimates suitable replacement content; it cannot promise to recover the original texture, lettering, or face. That distinction matters when the photo is supposed to show a product accurately.
Suppose your own proof stamp covers the empty wall beside a lamp. Reconstructing that wall may be acceptable for a portfolio image. If the same stamp covers the lamp's safety label, find the original or photograph it again rather than publish invented text.
How to use the watermark remover on an authorized photo
Once permission is settled, open the LoveImage watermark remover. It works on one source photo per task, using a brush or rectangular selection to mark the area for reconstruction. Before uploading someone else's image, check that your permission covers processing it through the service; the Acceptable Use Policy prohibits infringement of copyright and other rights.
1. Prepare and upload a working copy
Keep your untouched original in a separate folder. Sign in to your account and verify your email, then use Choose source photo to upload a JPEG, PNG, or WebP. The file must be no larger than 10 MB, with neither side above 4,096 pixels.
Use the best available export within those limits, rather than a screenshot of a compressed preview. If resizing is necessary, resize a duplicate and keep the full-size source. Check the uploaded orientation before making a selection.
2. Cover the mark with a small, deliberate selection
Adjust Brush size, then paint over the watermark, including its faint edges or shadow. The orange overlay shows the area that will be rebuilt. Leave a small margin around the mark while avoiding nearby features you need to preserve.
For a simple rectangular stamp, expand Position a selection with numbers (percent). Set Left, Top, Width, and Height, then click Add rectangular selection. Those values are percentages of the image dimensions, so inspect the orange region before proceeding.
If the selection covers too much, use Clear selection and start again. A rectangle is convenient over an empty corner; a smaller brush gives you more control when letters sit close to an object. You do not need to write a removal prompt in this editor.
3. Process, inspect, and save separately
Check the displayed credits per task and your available balance, then click Process image. Keep the page open while processing. If the interface reports that the task is still running, use Check task status rather than submitting another request.
When the result appears, compare it with your source and use Download image to save a separate edited copy. Inspect the downloaded file at full size before deciding it is ready. A result that looks fine in the page preview can still contain a soft patch or a broken edge.
Check the reconstructed detail
Start at the boundary of the edited area. Follow table edges, window frames, seams, and shadows through the repair, looking for bends or abrupt changes. On plain backgrounds, check for a lighter rectangle, smeared texture, or remnants of the lettering.
Then inspect anything that carries meaning: eyes, jewelry, product labels, and printed numbers. A plausible replacement can still be wrong. For a listing photo, compare the result against the actual product or a separate reference that shows the covered detail.
Dense repeating marks leave less untouched image to guide the reconstruction. If you have permission to remove them, try a small representative area first, including a difficult patch rather than only an empty corner. Success over a wall tells you little about the result over hair or patterned fabric.
If you retry, make a specific change to the selection and compare versions. Return to the original working copy when the reconstruction starts drifting. Repeatedly processing an already distorted patch can leave you with a cleaner-looking but less faithful photograph.
Free-plan access and commercial permission are separate
LoveImage's free plan includes access to the watermark-removal model, but processing consumes credits. Access does not guarantee a free completed edit: the current task cost exceeds a new account's one-time starter credit grant. Check the editor's displayed cost and the current plans and credit options before starting. Credit packs are available only to paid subscribers.
Under the LoveImage Terms of Service, free-plan outputs are for personal, noncommercial use, while paid-plan outputs may be used commercially, subject to the terms and applicable model license restrictions. The Creator, Studio, and Scale plans include commercial use.
Those terms do not grant you someone else's image rights or override the source license. A paid plan cannot authorize removal of a photographer's credit if your agreement requires it. For client or business work, confirm both the source-image permissions and the applicable output terms.
Before you share the edited photo
Save the original, the approved edit, and the permission record together. If the license requires a credit, preserve it in the agreed location; removing a visible mark does not cancel an attribution obligation. LoveImage strips metadata during upload, so retain any required embedded credits separately and restore them where your license requires. Check the final image at the size people will actually see, as well as at full size.
A small repair is useful only if the photograph remains suitable for its purpose. When the covered detail must be exact, a clean source file or a new photograph is worth the extra effort. If you have permission and the repair is appropriate, open the watermark remover and select the mark to begin.