GPT Image 2 AI Image Generator
Create images from a written brief with GPT Image 2. Turn a complex request into an ordered set of visual priorities rather than a long list of equally important details.
Your prompt and settings follow you through sign-in. Review them before generating.
Start with a visual direction
Explore creative references, reuse a scene description and add your own ideas.
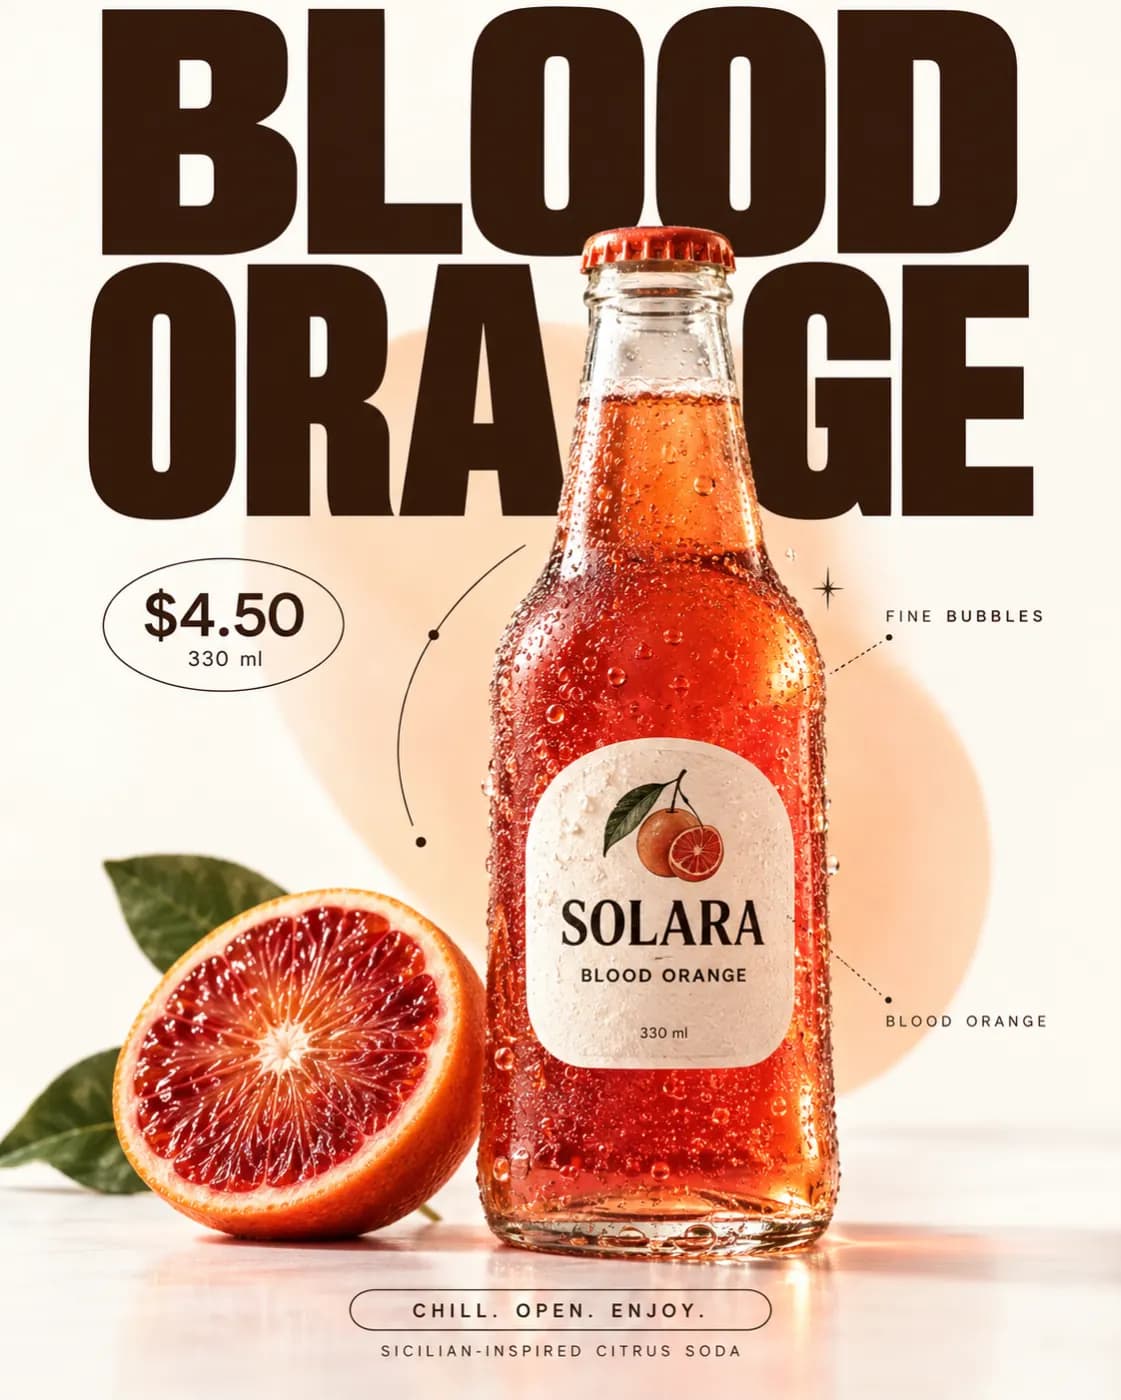
Blood orange
A blood orange drink poster, sliced citrus, a cream paper background and bold BLOOD ORANGE typography.
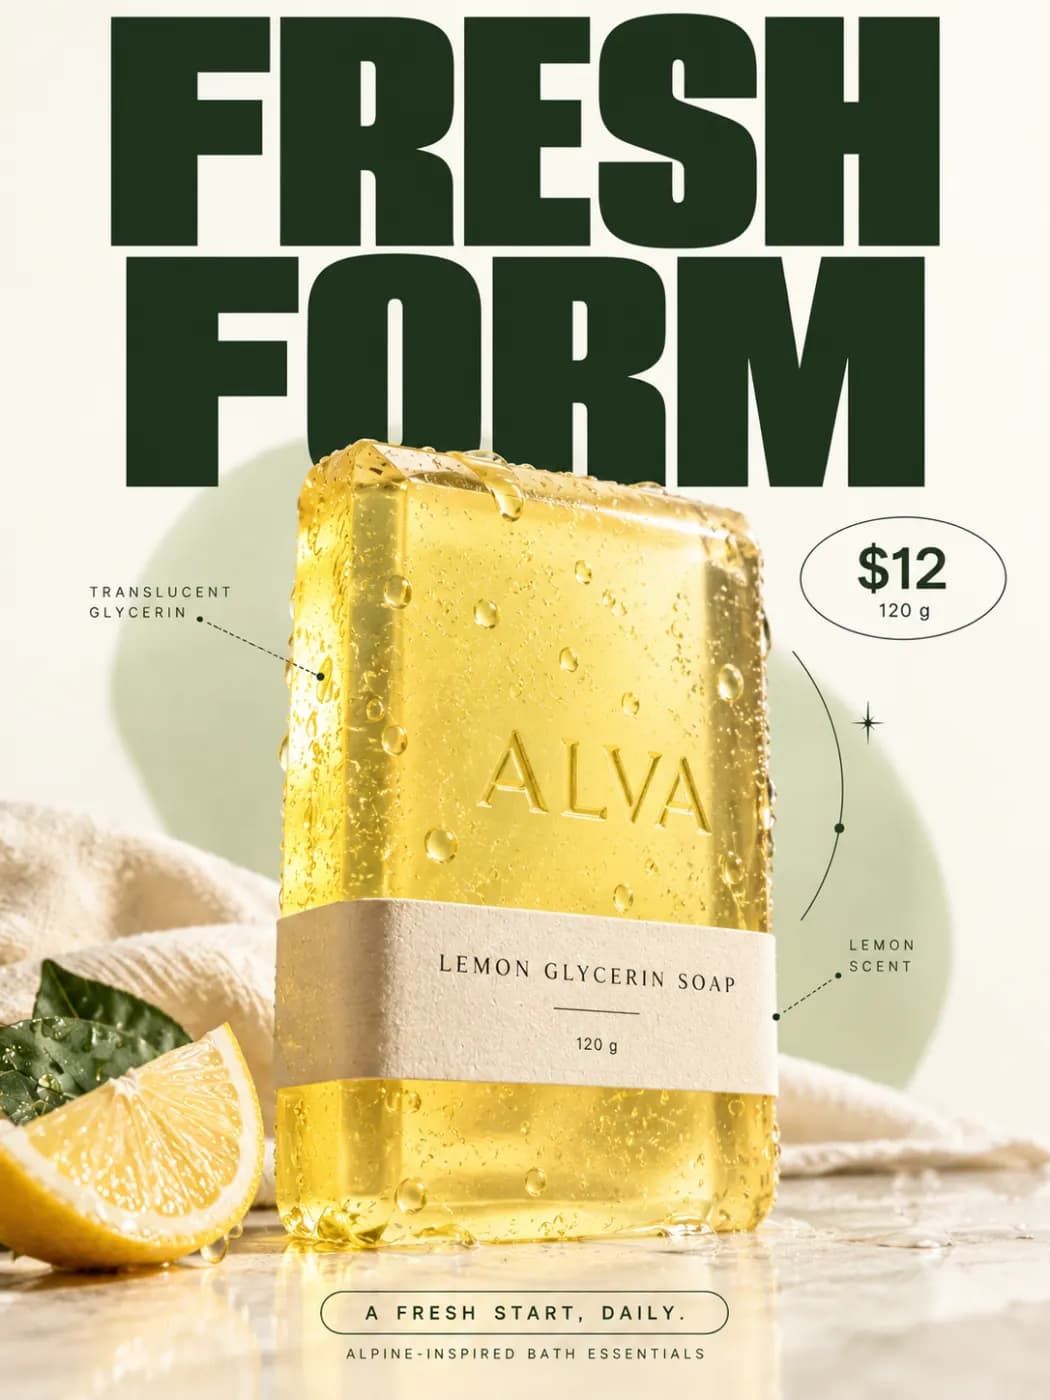
Fresh form
A pale yellow soap product poster with citrus slices, cream background and bold FRESH FORM typography.
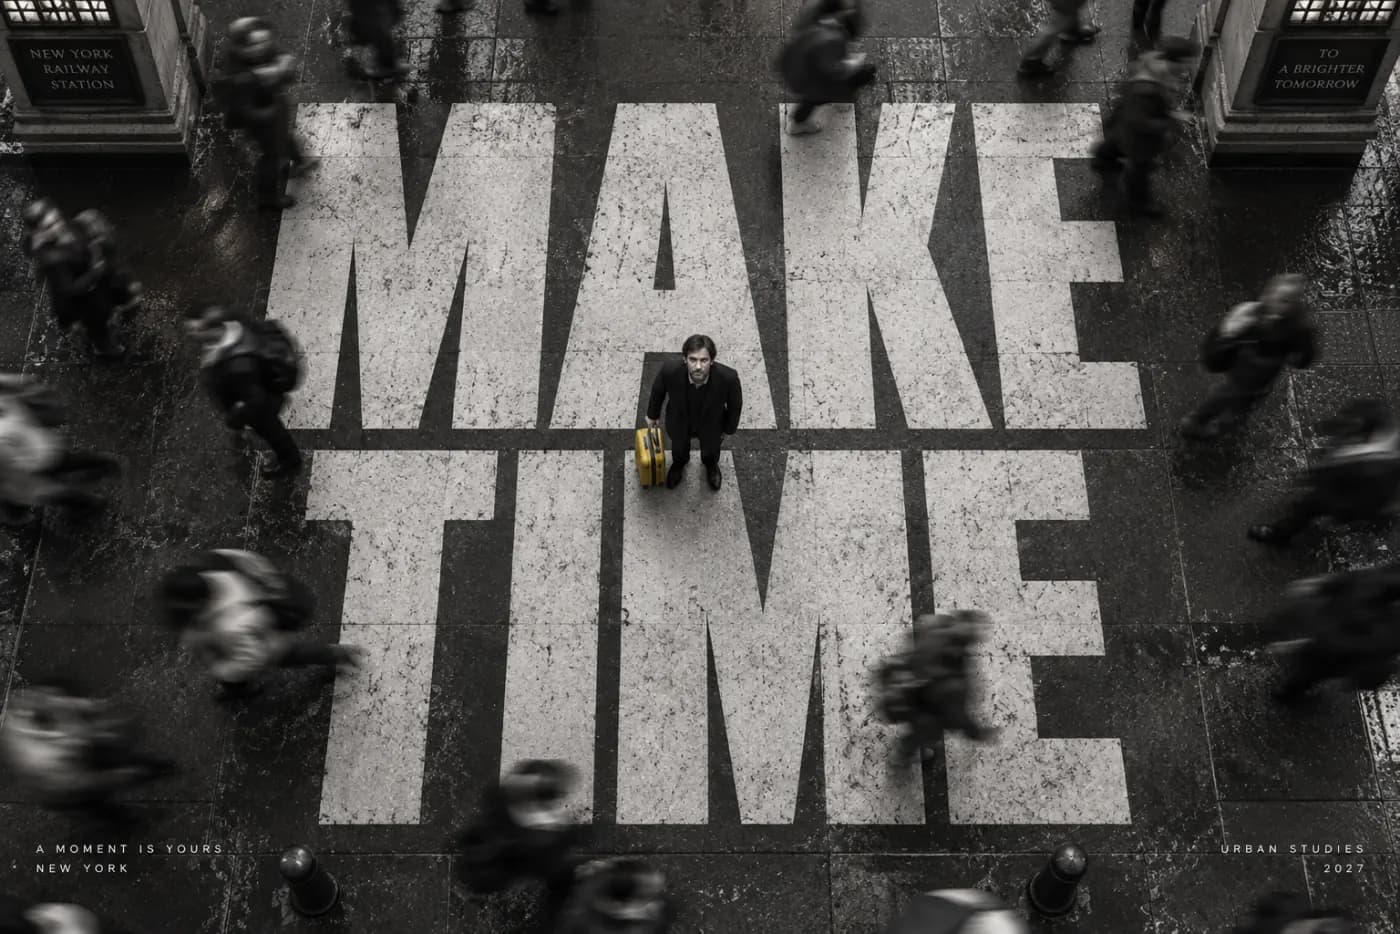
Make time
A monochrome New York street poster with large MAKE TIME typography integrated into the buildings.
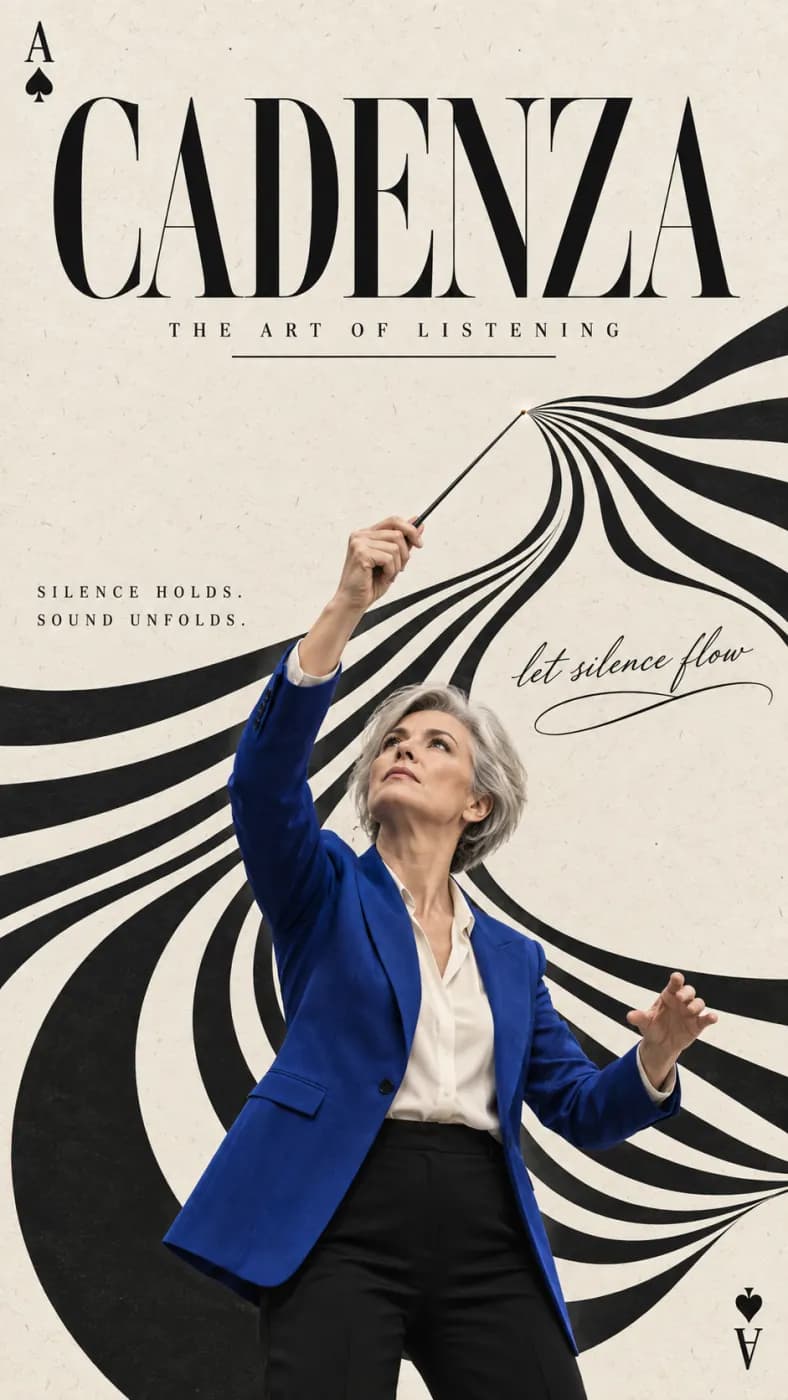
Cadenza
A graphic music poster with a conductor, flowing black-and-white lines and CADENZA lettering.
How to get more from GPT Image 2
Turn a complex request into an ordered set of visual priorities rather than a long list of equally important details.
Define the composition first
For an illustrated explanation, campaign concept or product scene, state the main subject and the purpose of the image. List the few elements that the viewer must notice first.
Separate requirements from preferences
Describe required objects, their placement and any exact text before optional style choices. For an edit, name the change explicitly and identify the areas that should remain unchanged.
Check relationships as well as details
Verify object count, relative positions and the meaning of any visible text. A polished image can still miss the brief if one important element is absent or the layout communicates the wrong relationship.
GPT Image 2 at a glance
What this model actually accepts. The studio shows exactly these options when it is selected — nothing more, nothing it would reject.
Sharpest text rendering, eleven aspect ratios
Open GPT Image 2 in the studio →- Made by
- OpenAI
- Output
- Still images
- Aspect ratios
- 1:1 · 5:4 · 4:5 · 3:2 · 2:3 · 4:3 · 3:4 · 16:9 · 9:16 · 21:9
- Resolution
- 1K
- Reference image
- Not used
- Price
- 6 credits per image
How to use GPT Image 2 on LoveImage
- STEP 01Write the brief
Describe required objects, their placement and any exact text before optional style choices. For an edit, name the change explicitly and identify the areas that should remain unchanged.
- STEP 02Choose available settings
Available here: 1K. These are the settings enabled in this workspace, not an exhaustive list of the provider’s options.
- STEP 03Review the result
Verify object count, relative positions and the meaning of any visible text. A polished image can still miss the brief if one important element is absent or the layout communicates the wrong relationship.
GPT Image 2 on LoveImage: questions people ask
For an illustrated explanation, campaign concept or product scene, state the main subject and the purpose of the image. List the few elements that the viewer must notice first.
Available here: 1K. These are the settings enabled in this workspace, not an exhaustive list of the provider’s options.
Auto · 1:1 · 5:4 · 4:5 · 3:2 · 2:3 · 4:3 · 3:4 · 16:9 · 9:16 · 21:9
Describe required objects, their placement and any exact text before optional style choices. For an edit, name the change explicitly and identify the areas that should remain unchanged.
Upload one reference image in the workspace, then choose a compatible image-to-image or image-to-video model. Available settings depend on that model.
Verify object count, relative positions and the meaning of any visible text. A polished image can still miss the brief if one important element is absent or the layout communicates the wrong relationship.
The cost depends on the model, settings and output count. The workspace shows the credit cost before submission; check that estimate for your selected configuration.
Select the model in the workspace and describe your scene. Add a reference image when needed, choose your settings and review the credit cost before generating.