Nano Banana 2 AI Image Generator
Create images from a written brief with Nano Banana 2. Use early drafts to settle the idea and layout, then give the selected direction a more precise brief.
Your prompt and settings follow you through sign-in. Review them before generating.
Image editing · Creative inspiration
One image. More possibilities.
Explore editing ideas for Nano Banana 2. Pick a direction and make it yours.
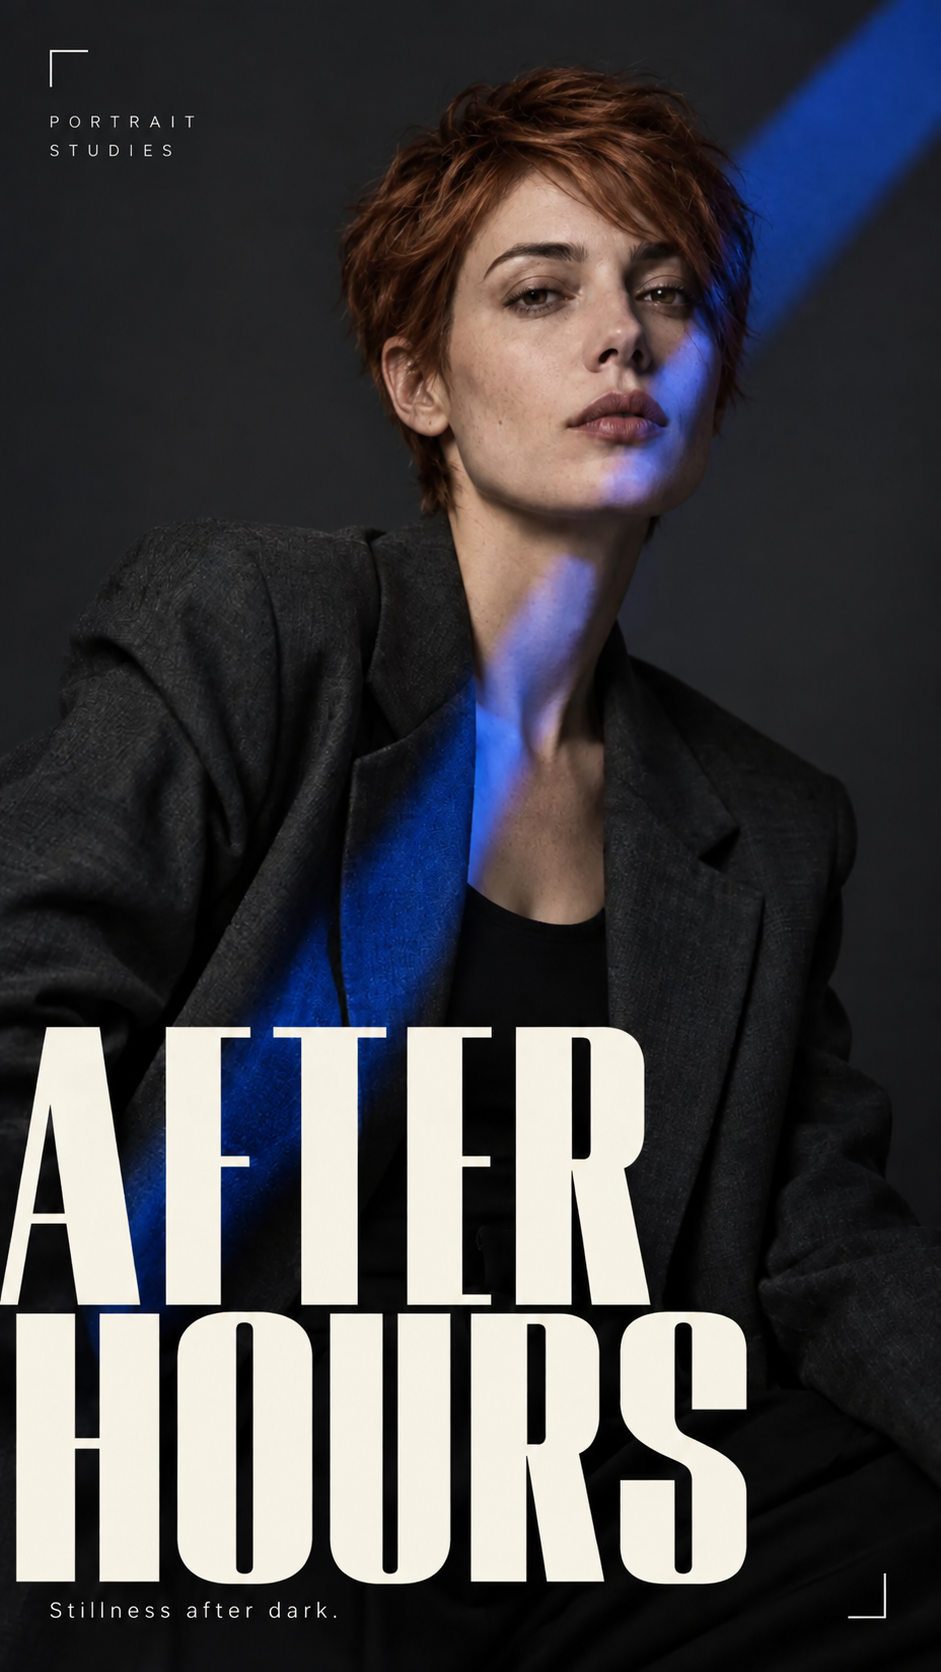
Change hairstyle
Copper pixie cut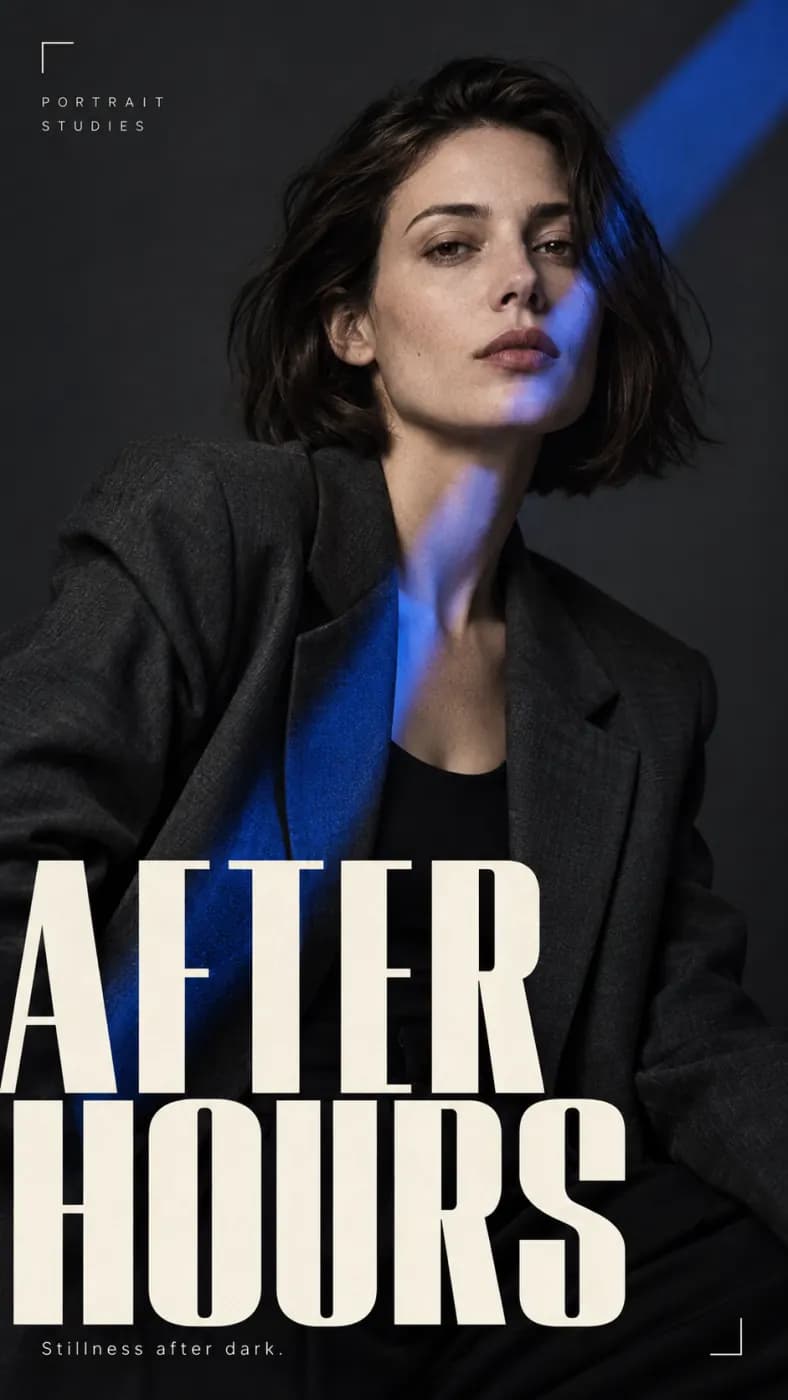
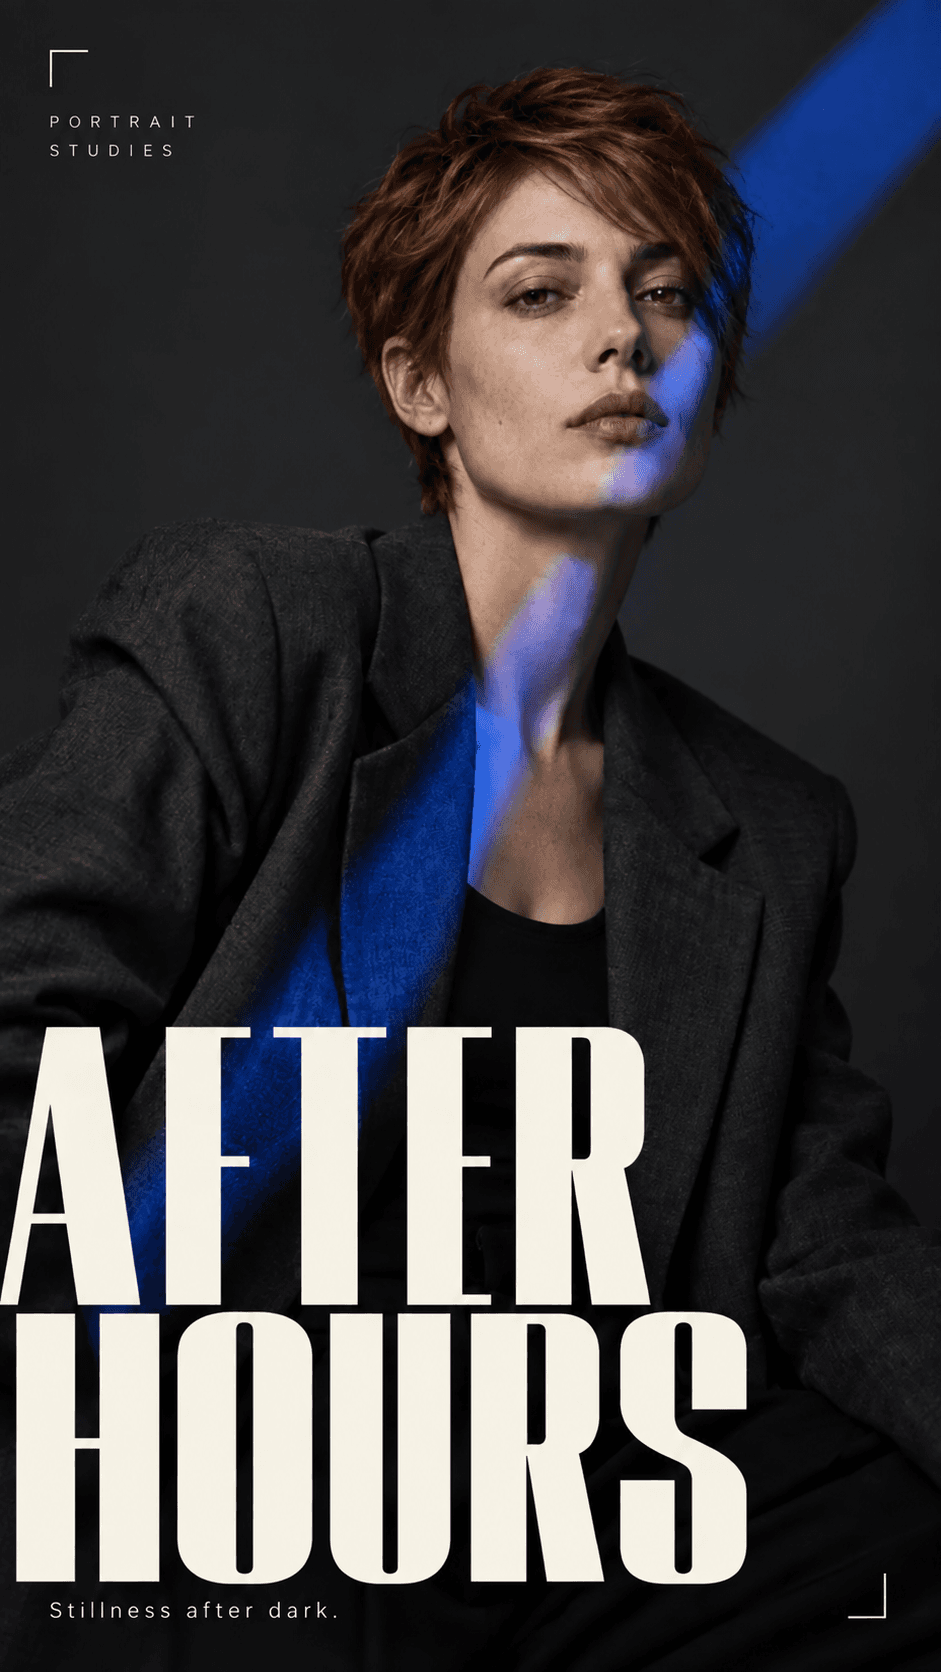
Start with this image and prompt. Make your own version.
Choose an editing example and use its image and prompt to start your own creation.
How to get more from Nano Banana 2
Use early drafts to settle the idea and layout, then give the selected direction a more precise brief.
Explore alternatives deliberately
Try different product backgrounds, social-image compositions or illustration concepts. Keep the purpose fixed while varying one choice, such as framing, color or the setting.
Make each revision easy to compare
Reuse the core subject description and change one instruction per draft. If using a reference, state the intended transformation and the details that should stay recognizable.
Choose on composition before finish
First compare focal point, crop and space for text. Once the layout works, inspect edges, spelling and subject details. Prepare the final asset for its destination rather than choosing solely from a small preview.
Nano Banana 2 at a glance
What this model actually accepts. The studio shows exactly these options when it is selected — nothing more, nothing it would reject.
Gemini quality up to 4K
Open Nano Banana 2 in the studio →- Made by
- Output
- Still images
- Aspect ratios
- 1:1 · 4:3 · 3:4 · 3:2 · 2:3 · 5:4 · 4:5 · 16:9 · 9:16 · 21:9
- Resolution
- 1K · 2K · 4K
- Reference image
- Optional
- Price
- 11 credits per image
How to use Nano Banana 2 on LoveImage
- STEP 01Write the brief
Reuse the core subject description and change one instruction per draft. If using a reference, state the intended transformation and the details that should stay recognizable.
- STEP 02Choose available settings
Available here: 1K / 2K / 4K. These are the settings enabled in this workspace, not an exhaustive list of the provider’s options.
- STEP 03Review the result
First compare focal point, crop and space for text. Once the layout works, inspect edges, spelling and subject details. Prepare the final asset for its destination rather than choosing solely from a small preview.
Nano Banana 2 on LoveImage: questions people ask
Try different product backgrounds, social-image compositions or illustration concepts. Keep the purpose fixed while varying one choice, such as framing, color or the setting.
Available here: 1K / 2K / 4K. These are the settings enabled in this workspace, not an exhaustive list of the provider’s options.
Auto · 1:1 · 4:3 · 3:4 · 3:2 · 2:3 · 5:4 · 4:5 · 16:9 · 9:16 · 21:9
Reuse the core subject description and change one instruction per draft. If using a reference, state the intended transformation and the details that should stay recognizable.
Upload one reference image in the workspace, then choose a compatible image-to-image or image-to-video model. Available settings depend on that model.
First compare focal point, crop and space for text. Once the layout works, inspect edges, spelling and subject details. Prepare the final asset for its destination rather than choosing solely from a small preview.
The cost depends on the model, settings and output count. The workspace shows the credit cost before submission; check that estimate for your selected configuration.
Select the model in the workspace and describe your scene. Add a reference image when needed, choose your settings and review the credit cost before generating.